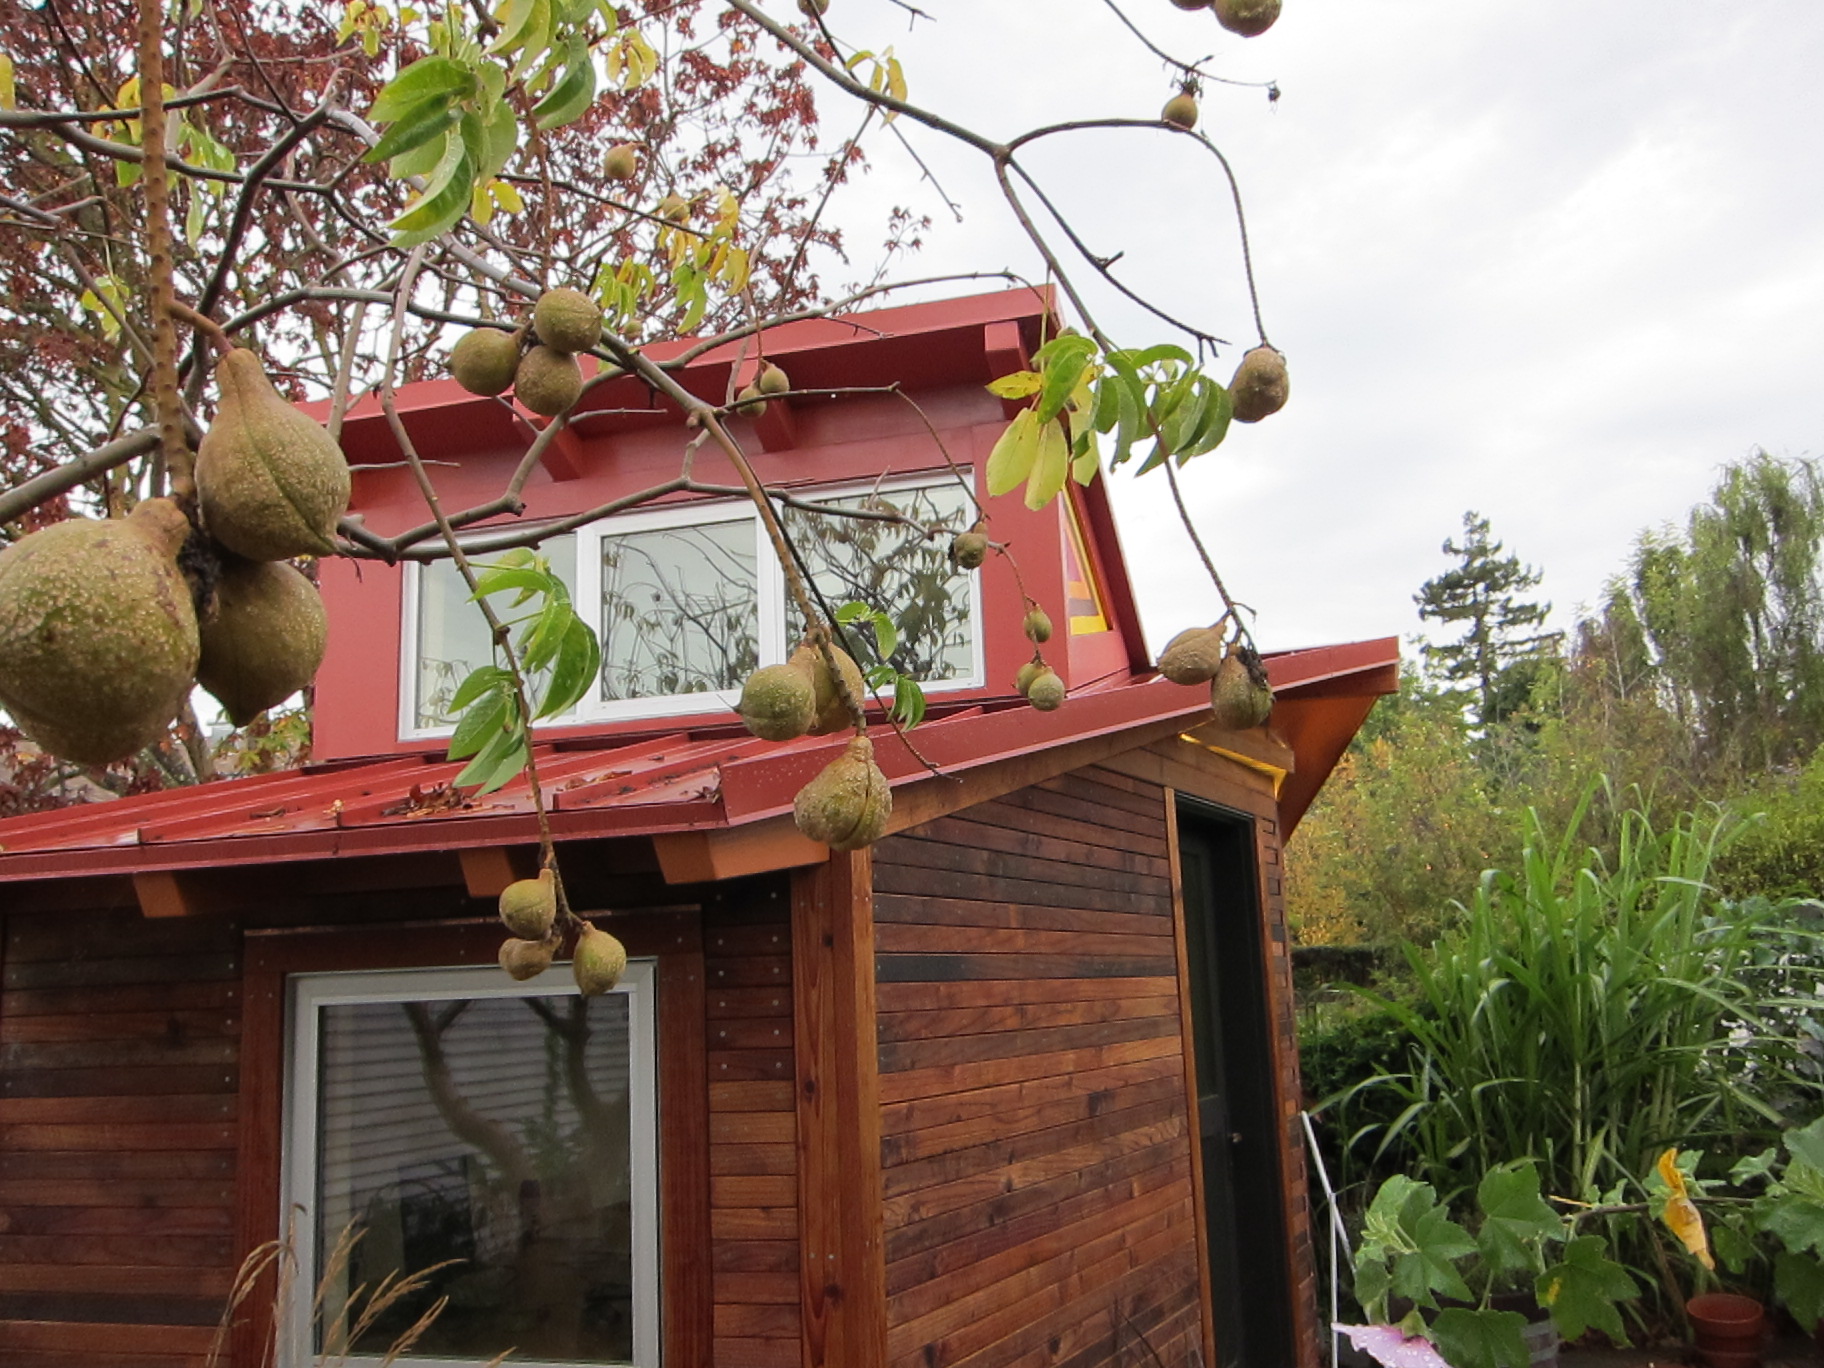
Go HERE and HERE for more photos of the project Here is an article about the project on Dwell Magazine’s website and Here you can vote for or against the design.
Total Cost: $24522.47 ($204/ SF)
Design: Free (by owner)
Permit Fees: $111.55 (Electrical only, 120 SF accessory building didn’t require a building permit.
Foundation materials: $1425.79 (incl sand, gravel, plastic, 30% Flyash concrete, forming materials, pumping labor, tool rental, rebar, etc)
Framing materials: $2661.73 (Almost all FSC Certified includes several large appearance grade exposed beams and FSC Certified sheathing plywood and all the hardware)
Building Paper and Flashing: $397.00 (We had to buy the roofing felt twice because the roof installation was repeatedly delayed by rain.
3 Windows & 1 Door: $1720.02 $750 (half price) for the Loewen half glass aluminum clad fir door salvaged from another project. The windows are dbl glazed aluminum= inexpensive. I chose aluminum because It looks good with the redwood. This is a small outbuilding without heat and they work fine, but metal windows have lower U-value than wood, fiberglass and vinyl. It would be hard to justify metal windows in a larger project with a heating system. The glass in the south facing windows is Sungate 500. This is a special glass that is designed to have a high U-value and also a high solar heat gain coefficient. “In winter, Sungate 500 Low-E Glass transmits the sun’s visible light and directs solar shortwave infrared energy into the home. At the same time, it reflects longs wave infrared (heat) energy — like that which comes from a home’s heating system — back into the room”
Paints and Finishes: $544.90 (Penofin Verde, American Pride, Earth Paint, AFM Safecoat, Bioshield) These are not the cheapest finishes, but honestly way more pleasant to work with than the traditional smelly stuff. Ill have to report back on longevity and durability, but so far so good.
Insulation, Sheetrock install and finish (incl labor), Interior Trim (FSC certified): $1609.93
Roof: $2615.93 (galvanized standing seam painted red by Tri Sheet Metal, James Morgenroth) I hope this is a long lasting solution. It was chosen for the clean crisp lines and the cheerful color. I was considering a zinc roof for its infamous longevity advantages, but didn’t find a local installer familiar with the material.
Exterior Siding & Trim: $850.73 (All the redwood siding was milled from logs salvaged from a road widening project in Sonoma County and gifted to the building. (ie free, just involved a lot of labor and $200 worth of stainless steel screws)
The siding is installed as a rain screen with a space behind the siding for ventilation and drainage. The idea is to make everything last longer by preventing moisture from getting trapped and rotting the siding or the framing. I used Penofin Verde, an eco-friendly penetrating sealer on the redwood. I’m hoping that I wont have to reseal it more than every other year. I have used the more stinky petroleum product Marine Grade Penofin on my wood garage doors for several years. It seems to do a good job of protecting the wood, but since they are on the south side without much protection, I reapply every year.
I sealed the exposed fir rafter tails with penetrating epoxy before priming and painting. They should hold up well, but I need to keep an eye on the corner where the high-end rafters meet the wall. I can imagine water running down the underside and sitting in this corner.
Rain protection & Dump runs: $114.66
Tools and bits: $75.87
Electrical & Plumbing: $1469.40 (includes fixtures, somewhat expensive LED exterior strip light that only uses 7 wAtts. The Louis Poulsen PH5 pendant was a gift)
Landscaping: $1982.88 (brick path by Hornby Garden Design and Construction)
Misc: $585.35
General Labor: $8,004.00 (carpentry, Built-in furniture, electrical, trenching, rough plumbing, etc. Some of this is discounted because it was done by my good friend John Mcbride. This does not include extensive work by owner/designer)
Cost analysis: The door, the roof and some of the lights are expensive. The built-ins were inexpensive, but involved a lot of labor that normally would have cost far more. The unusual shape involved more labor in framing, siding, and roofing. This building didn’t require a permit except for the electrical. Many components that were free would normally have cost a fair bit. The design labor and other extensive labor of the designer also would normally have cost money. For this reason, one should assume that a similar structure might cost at least $36,000, not including design. This would mean $300/ SF.
Things I would do differently or might change later: Insulate the concrete slab, use this sort of window trim detail
Performance: So far the thick and careful insulation (R19 in the 2×6 framed walls and R30 in the roof) and the passive solar features (mainly the south-facing windows with overhangs and a deciduous California Buckeye tree in front of them) perform wonderfully. The building is very comfortable without supplemental heat. On the occasional day that is too warm, opening the high windows works magic. When it is too cold I warm up the room by turning on a few lights and my computer. Sometimes I bring a large dog inside or do 10 jumping jacks to generate some heat. Because of the insulation, the heat sticks around.