I was hunting for these pictures from 2018 and realized I never saved them to my blog. Super inspiring redwood shingles and other custom details in redwood and metal. (love the lights)


Posted in Found Objects, tagged lanterns, lighting design, petrolia, redwood, shingles on March 22, 2022| Leave a Comment »
Posted in Design Projects, tagged Berkeley, cabinets, details, doorways, lighting design, Oak, redwood, wood on January 21, 2019| Leave a Comment »
This recent full house remodel and additions in Berkeley turned out great. I don’t usually use so much wood, but it makes this house very cozy. More photos soon!
Posted in Design Projects, tagged addition, Berkeley, cedar, copper, dining room, fun, indoor-outdoor, lighting design, poet's corner, redwood on November 27, 2016| Leave a Comment »
Posted in Found Objects, tagged Berkeley, details, historical styles, houses, paint, patterns, porch railings, railings, redwood, victorian, whimsy, wood on September 2, 2013| 2 Comments »
This old house near my office caught my eye this afternoon. I am curious how they maintain that beautiful wood. Is it original? It looks like high quality material. I bet they restain it frequently. The combination of stained wood and painted wood details is nicely done. I particularly like the gable end details.
Posted in Design Projects, tagged green, landscape, paint, painted plywood, passive solar, rainscreen, redwood, salvaged, small buildings, video on April 10, 2012| 2 Comments »
Posted in Design Projects, Found Objects, tagged botanical cutouts, cedar, copper pipe, deck railings, decks, guards, historical styles, holes, paint, painted wood, porch railings, railing, railings, redwood on February 1, 2012| Leave a Comment »
Posted in Found Objects, tagged artisan siding, fibercement, fibercement siding, miter, mitered corner, process, redwood, redwood siding, siding, window trim, windows, wood on January 17, 2012| Leave a Comment »
Posted in Design Projects, tagged bathroom, boxes, fir, furniture, plywood, pyrography, redwood, whimsy on April 22, 2011| Leave a Comment »
Prototype #1 is finished with a bit of pyrography – a prehistoric winged creature.
Apologies to customers waiting for treasure chests, this one has become my toilet paper storage box. As you can see there are many uses for such a chest. Soon we will have prototype #2 underway.
Posted in Found Objects, Information, tagged passive house, rainscreen, redwood, windows on April 13, 2011| Leave a Comment »
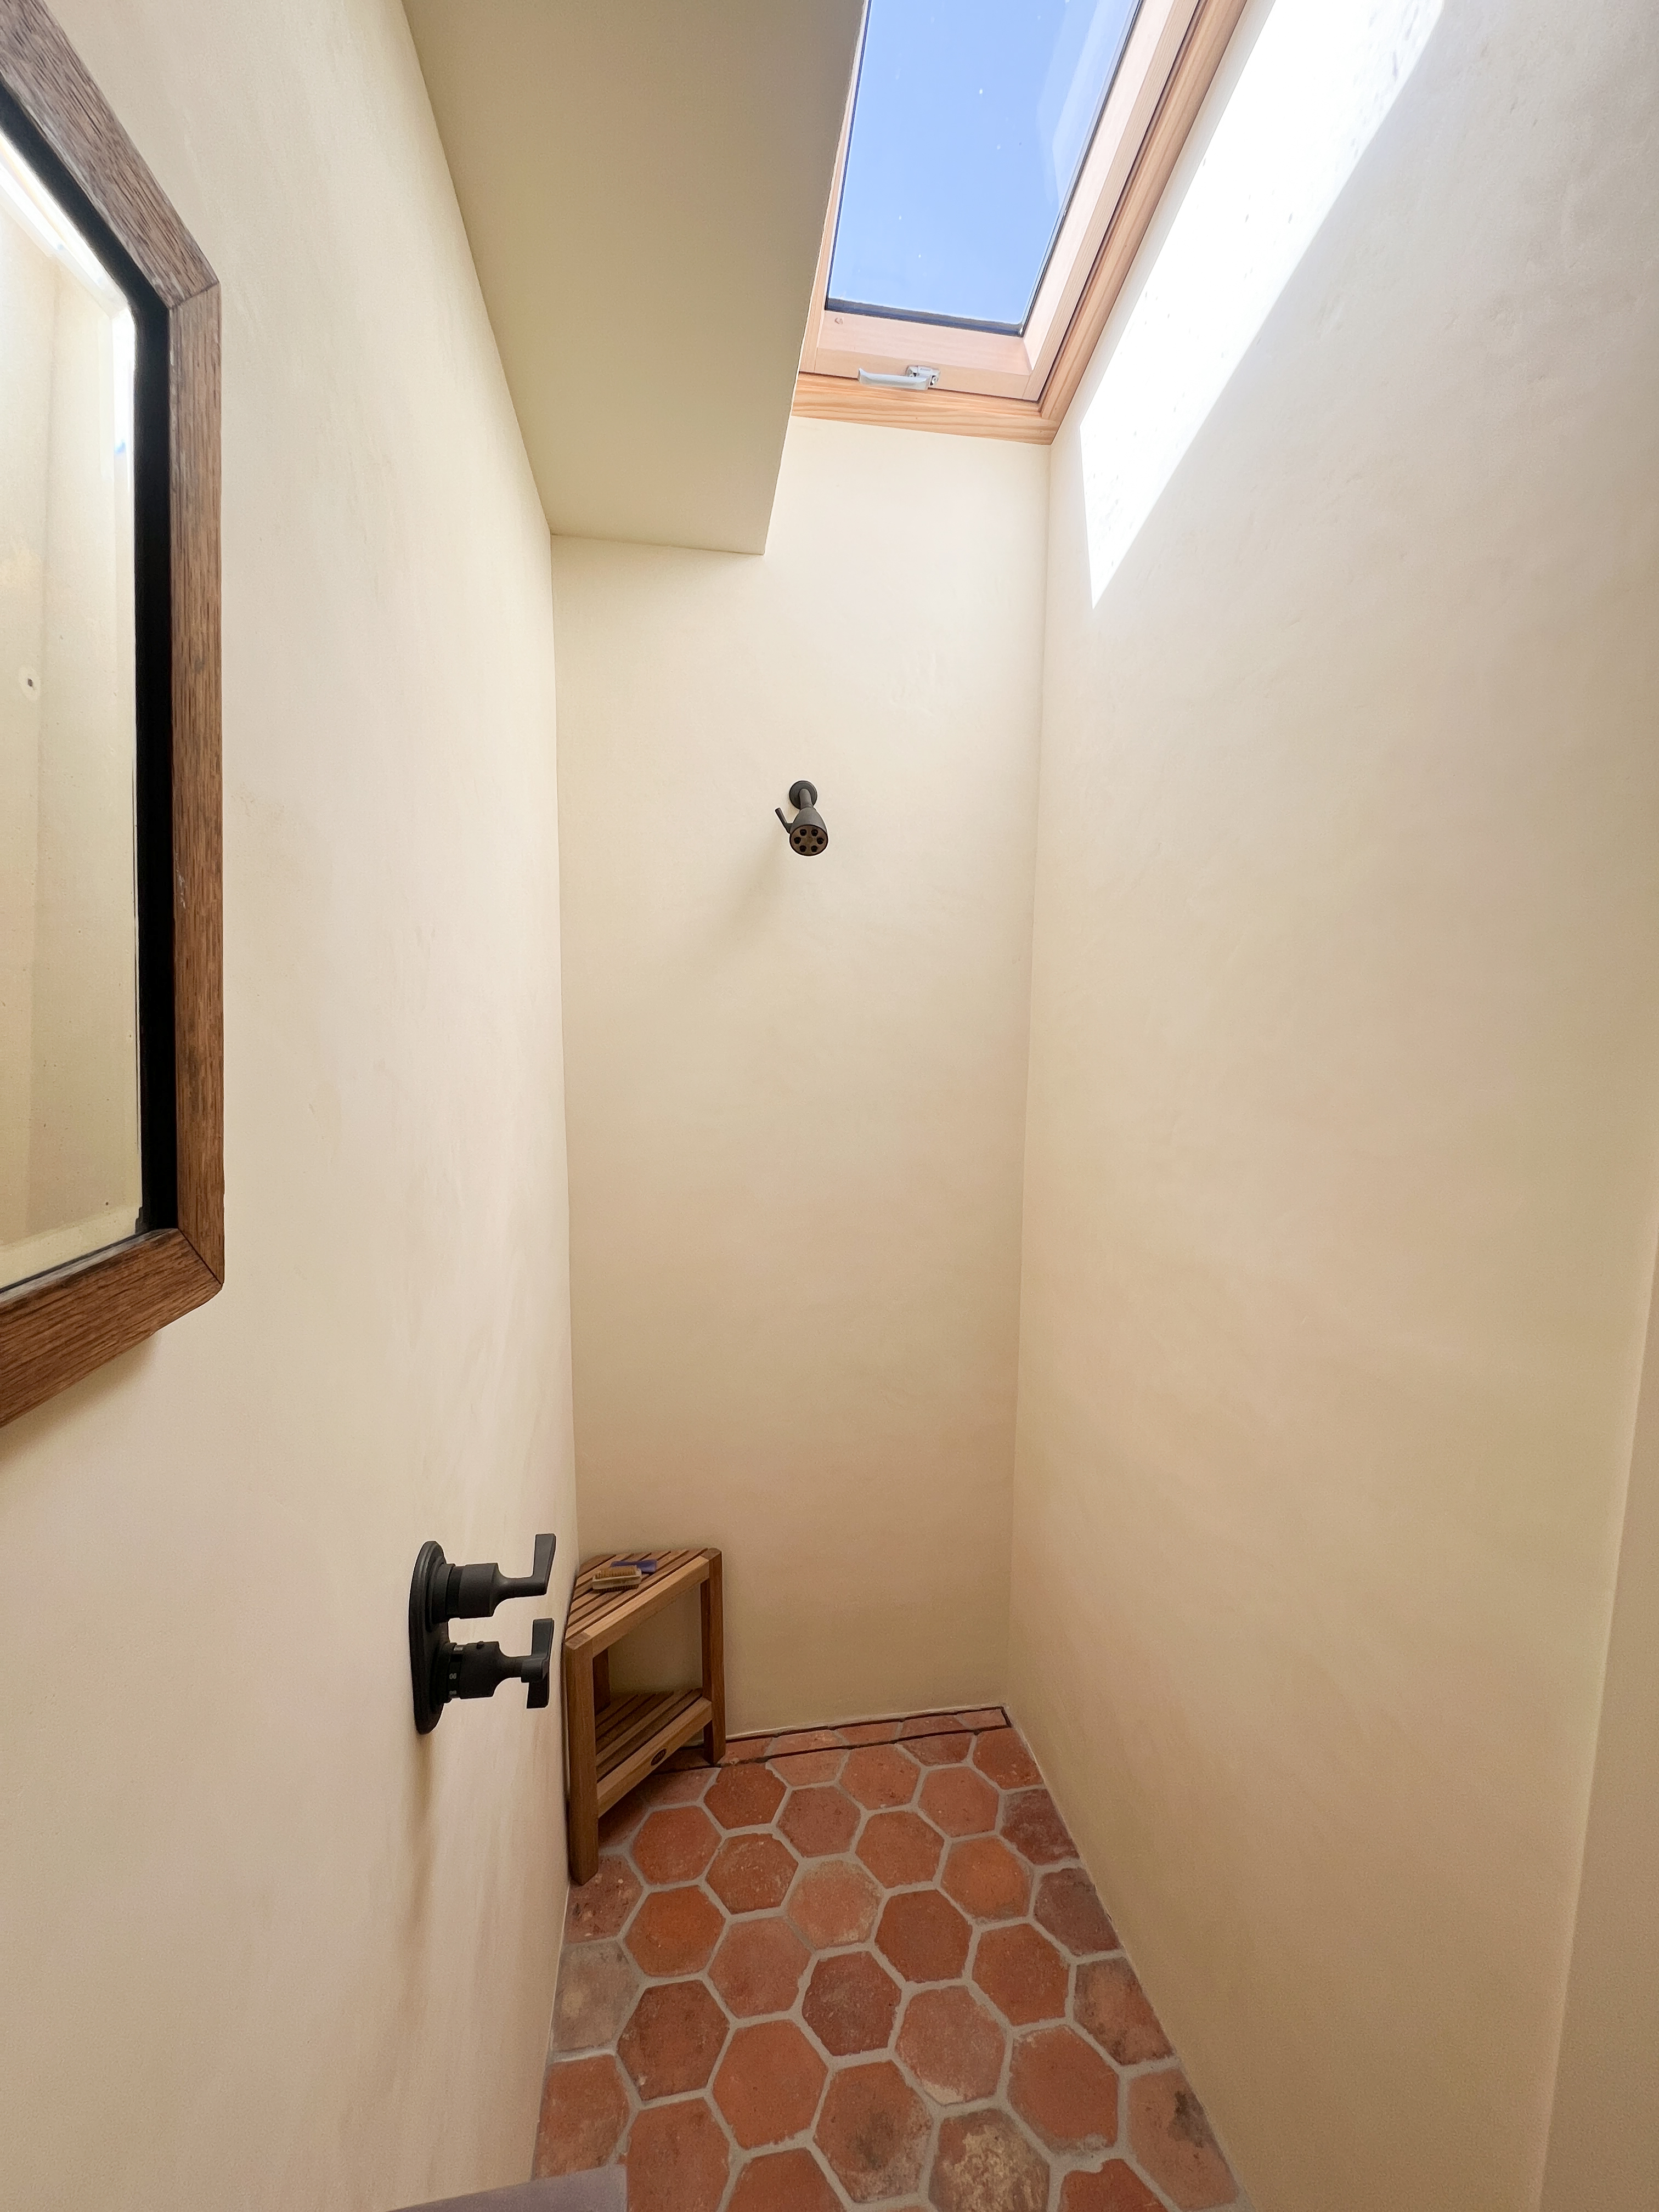
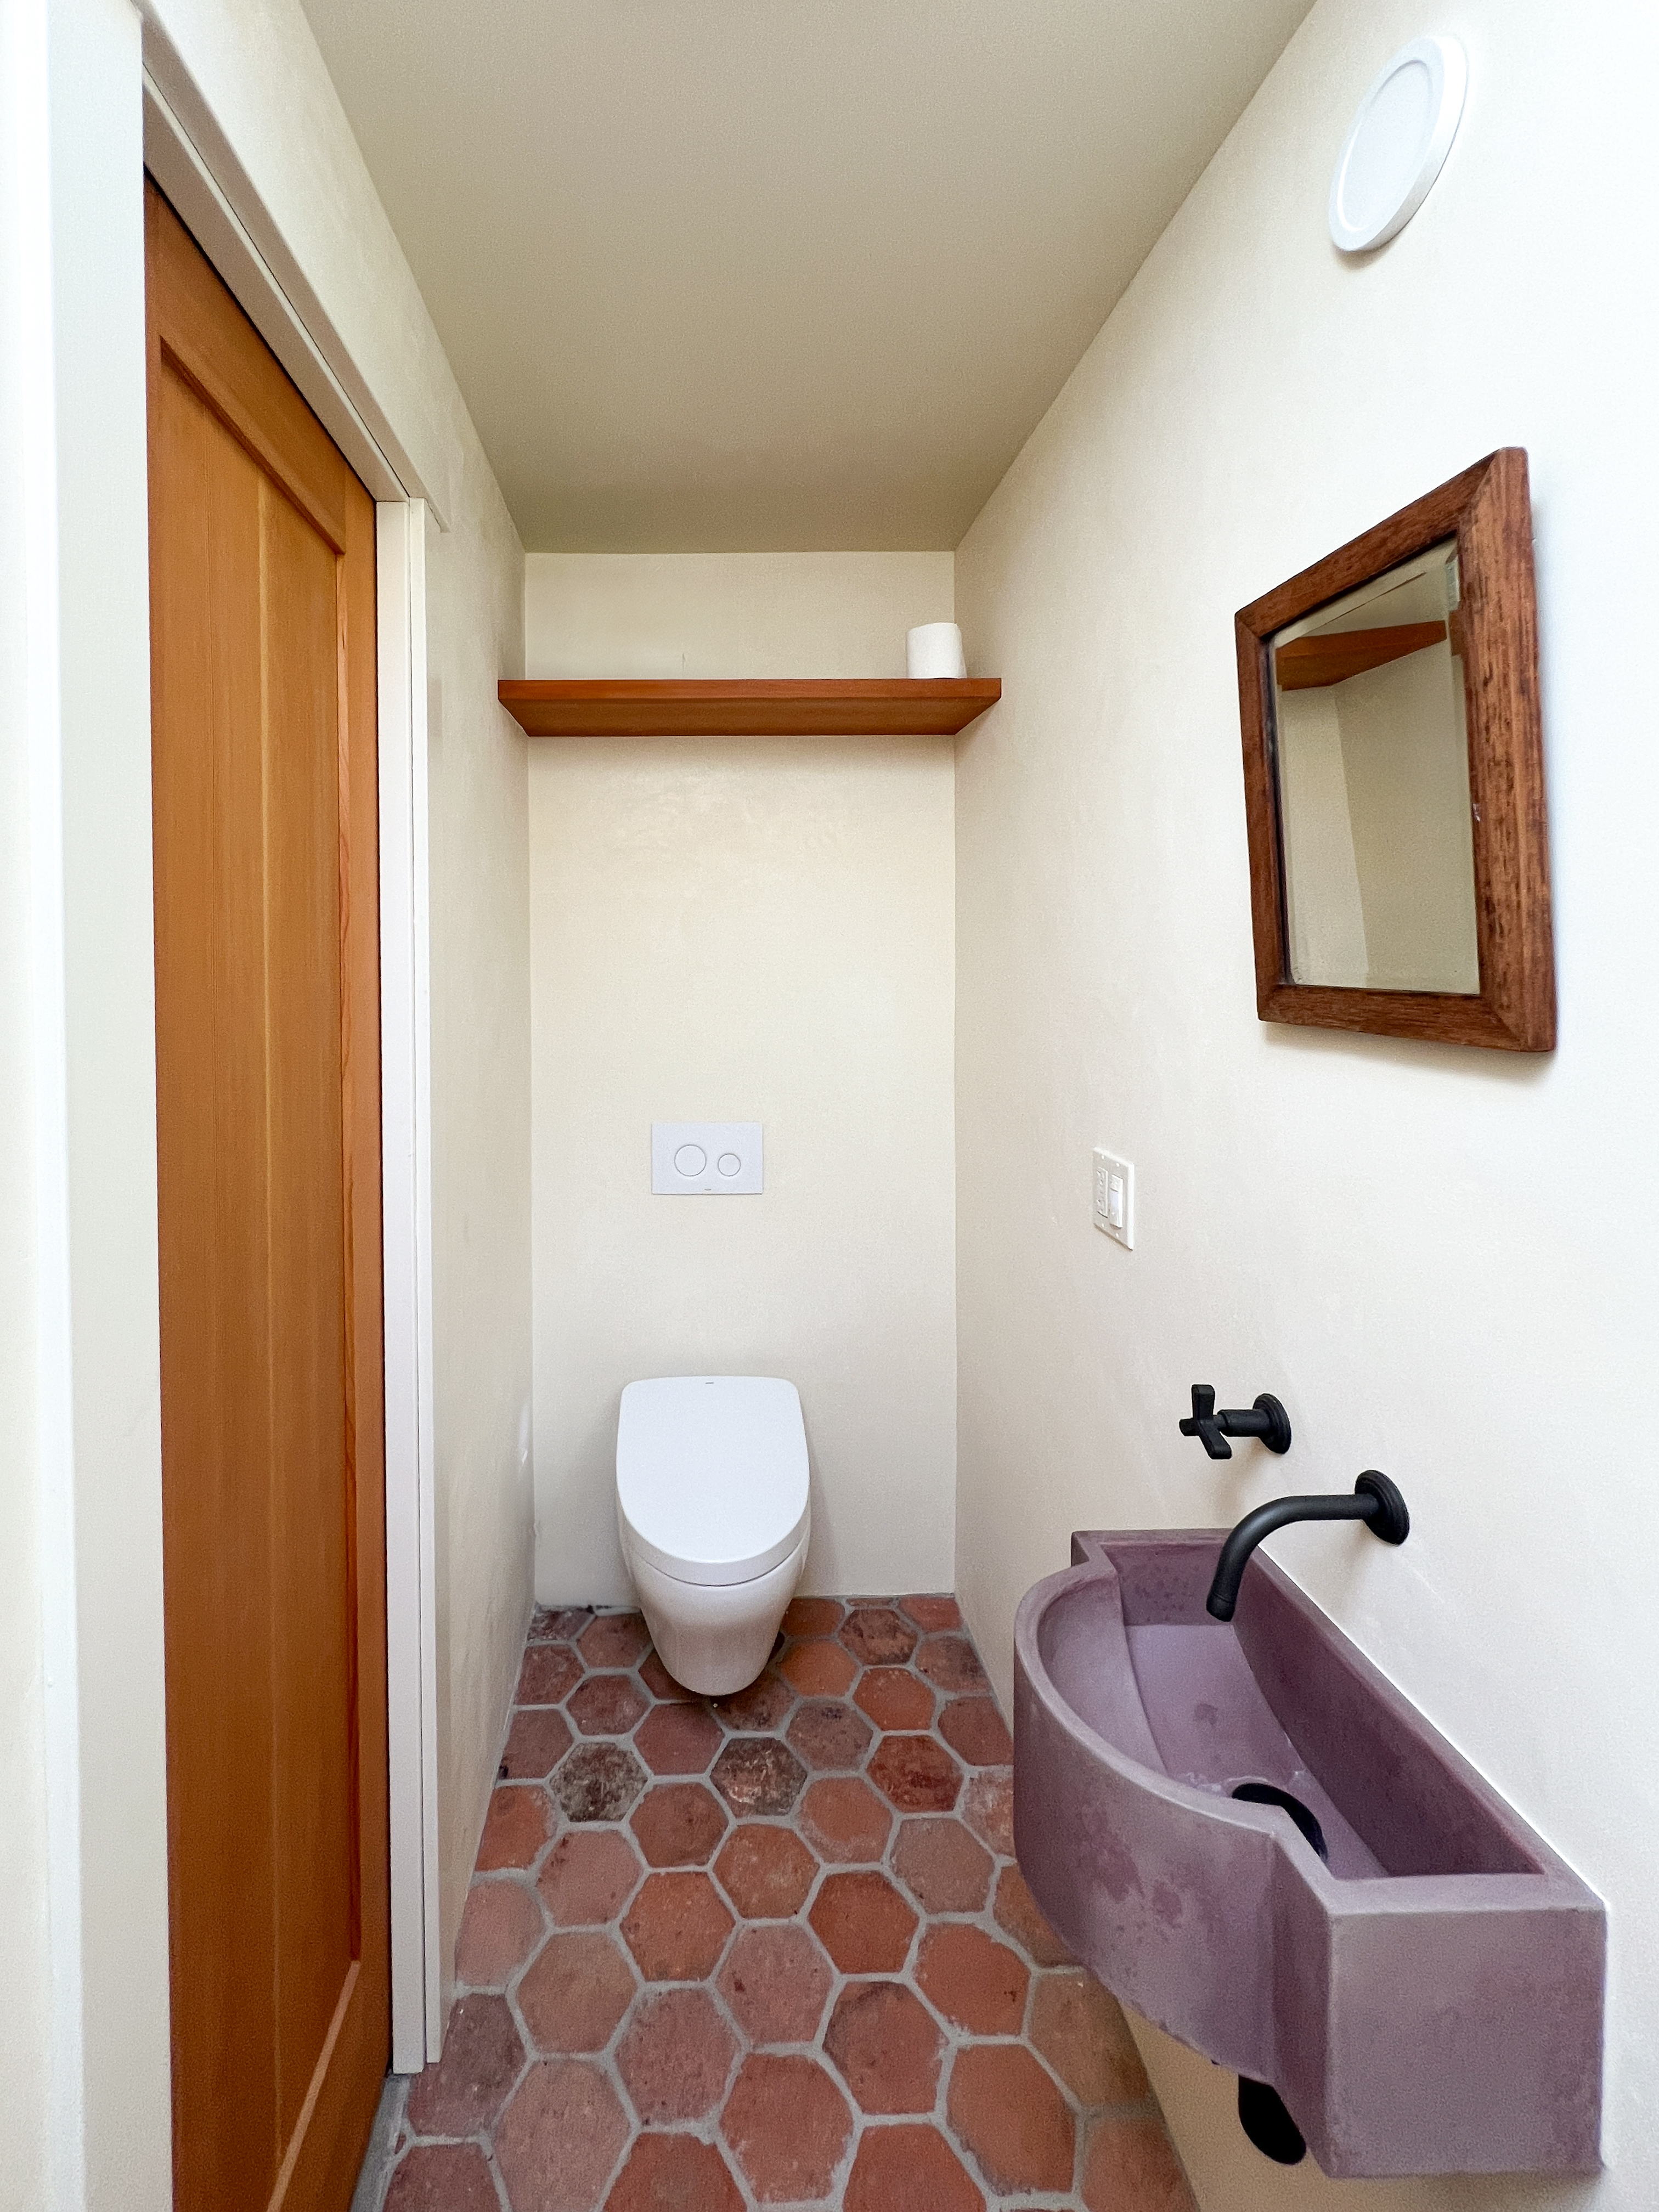
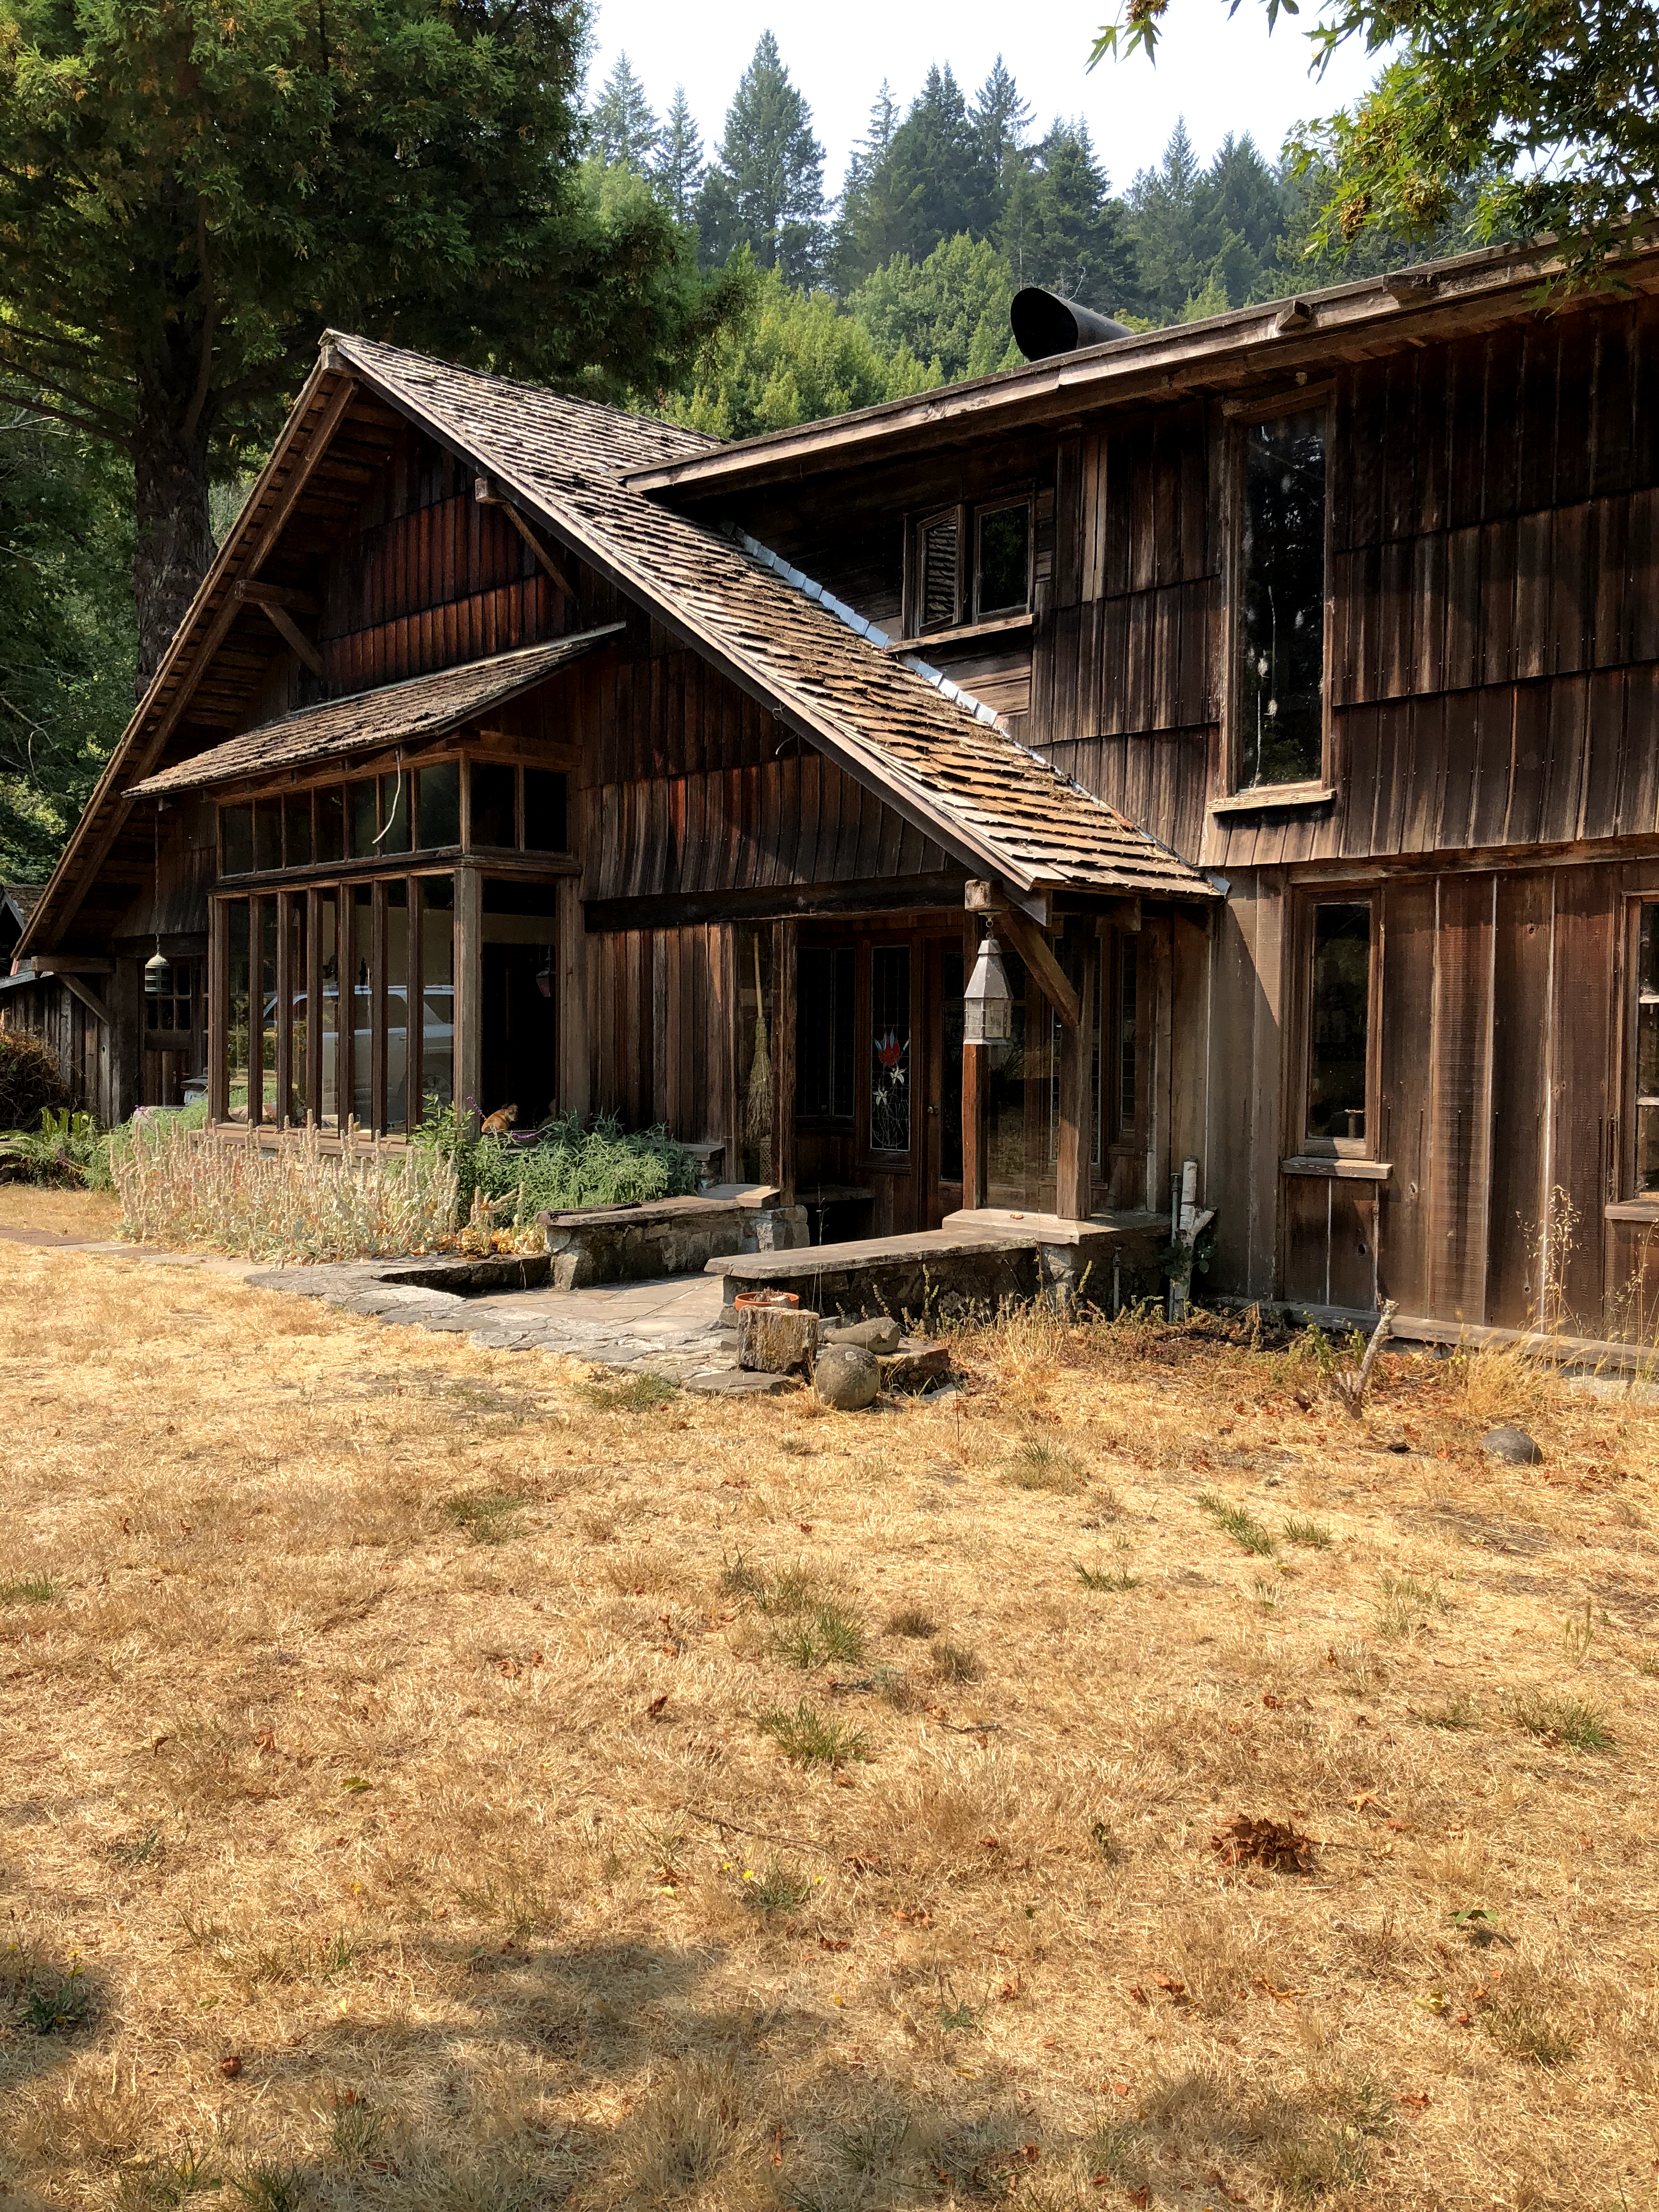
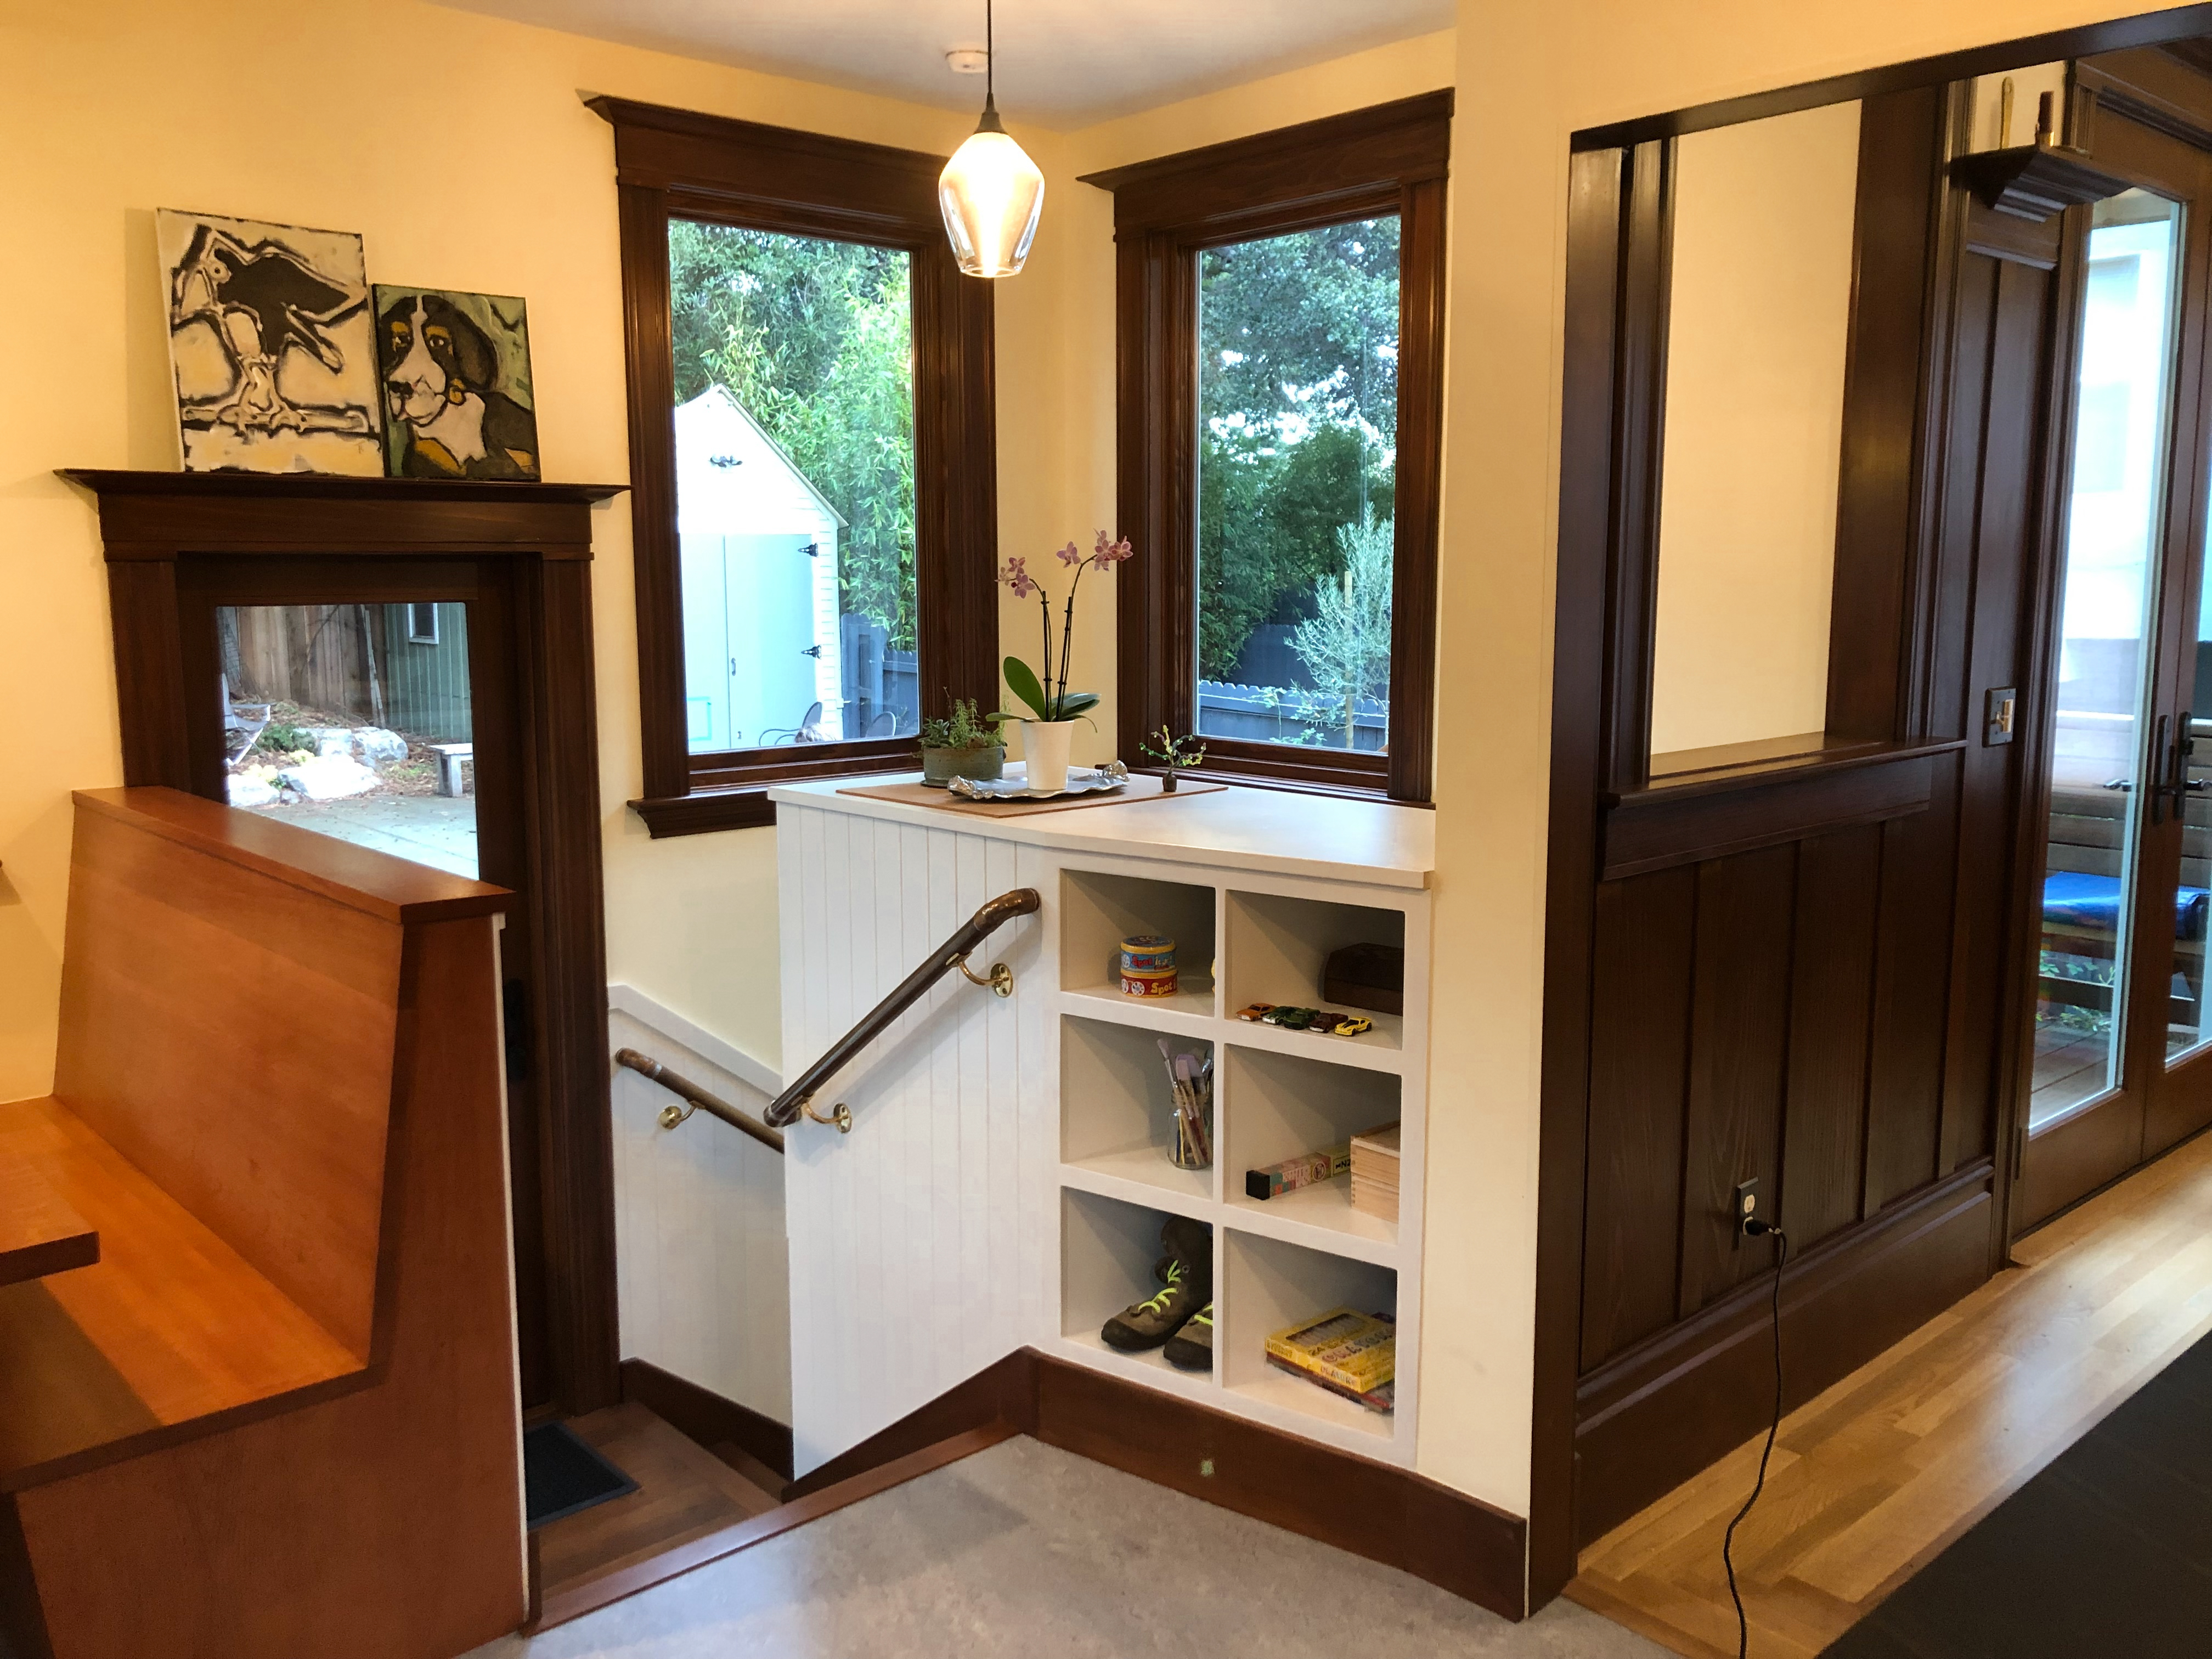
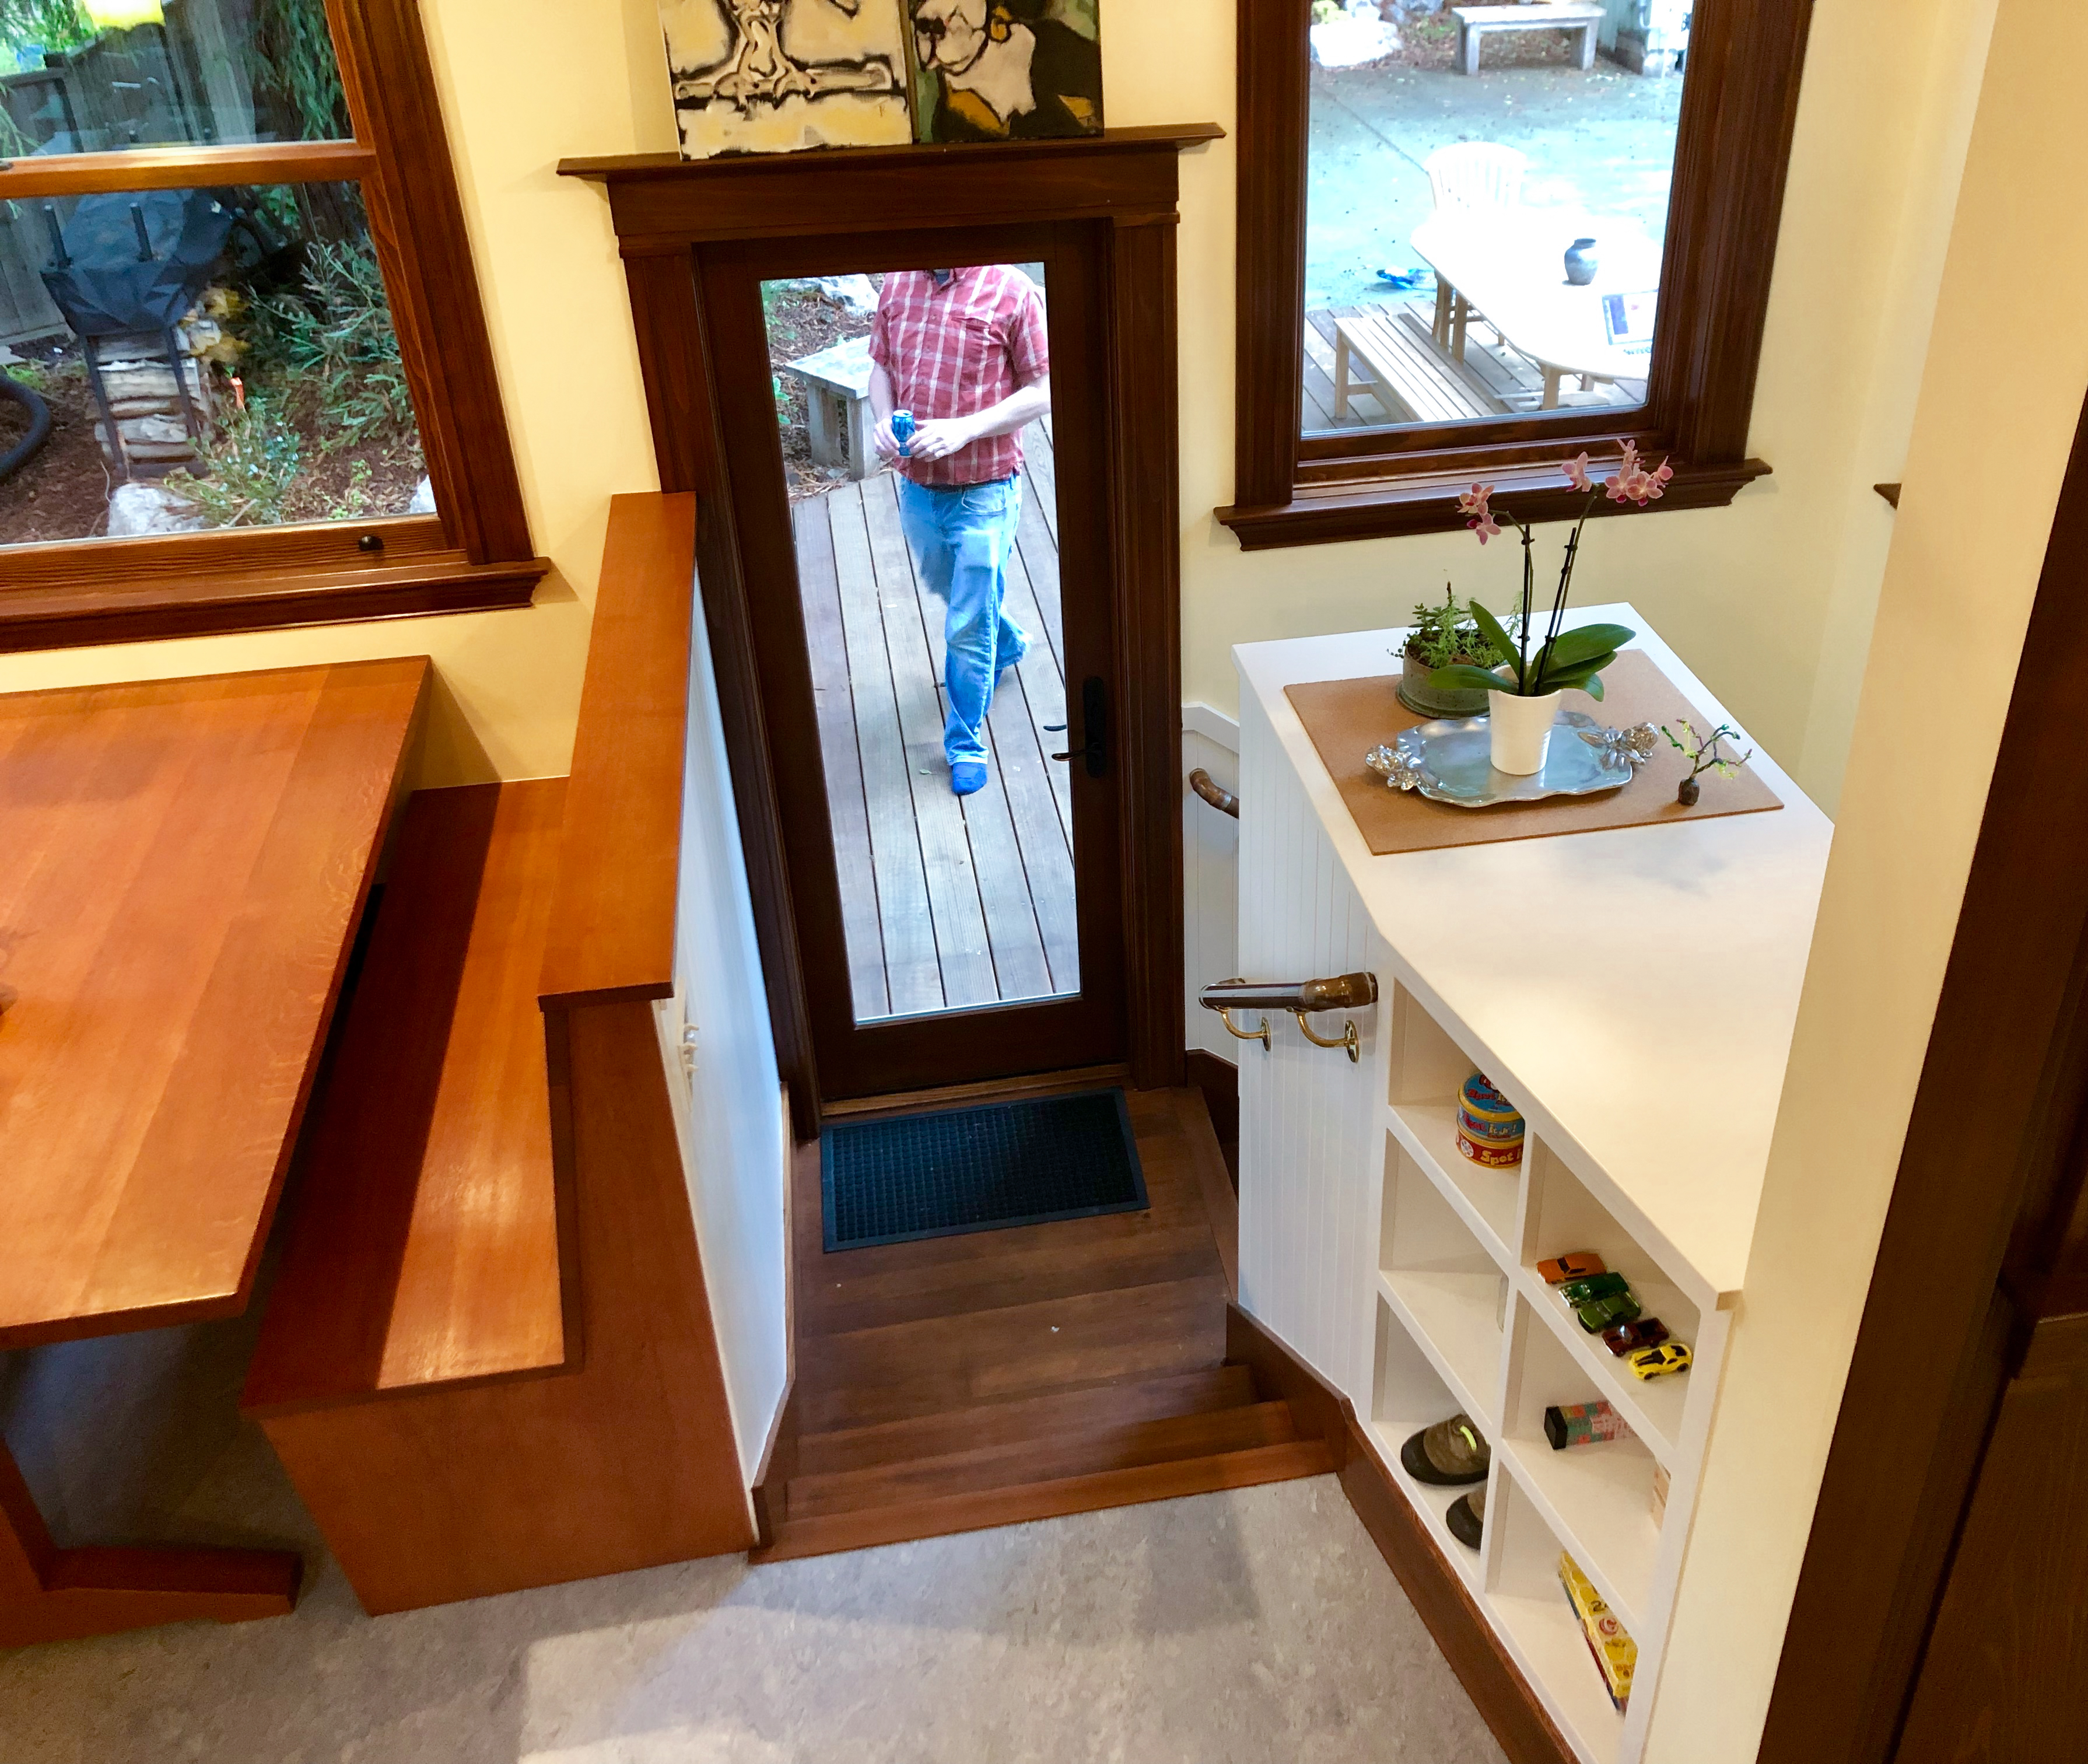
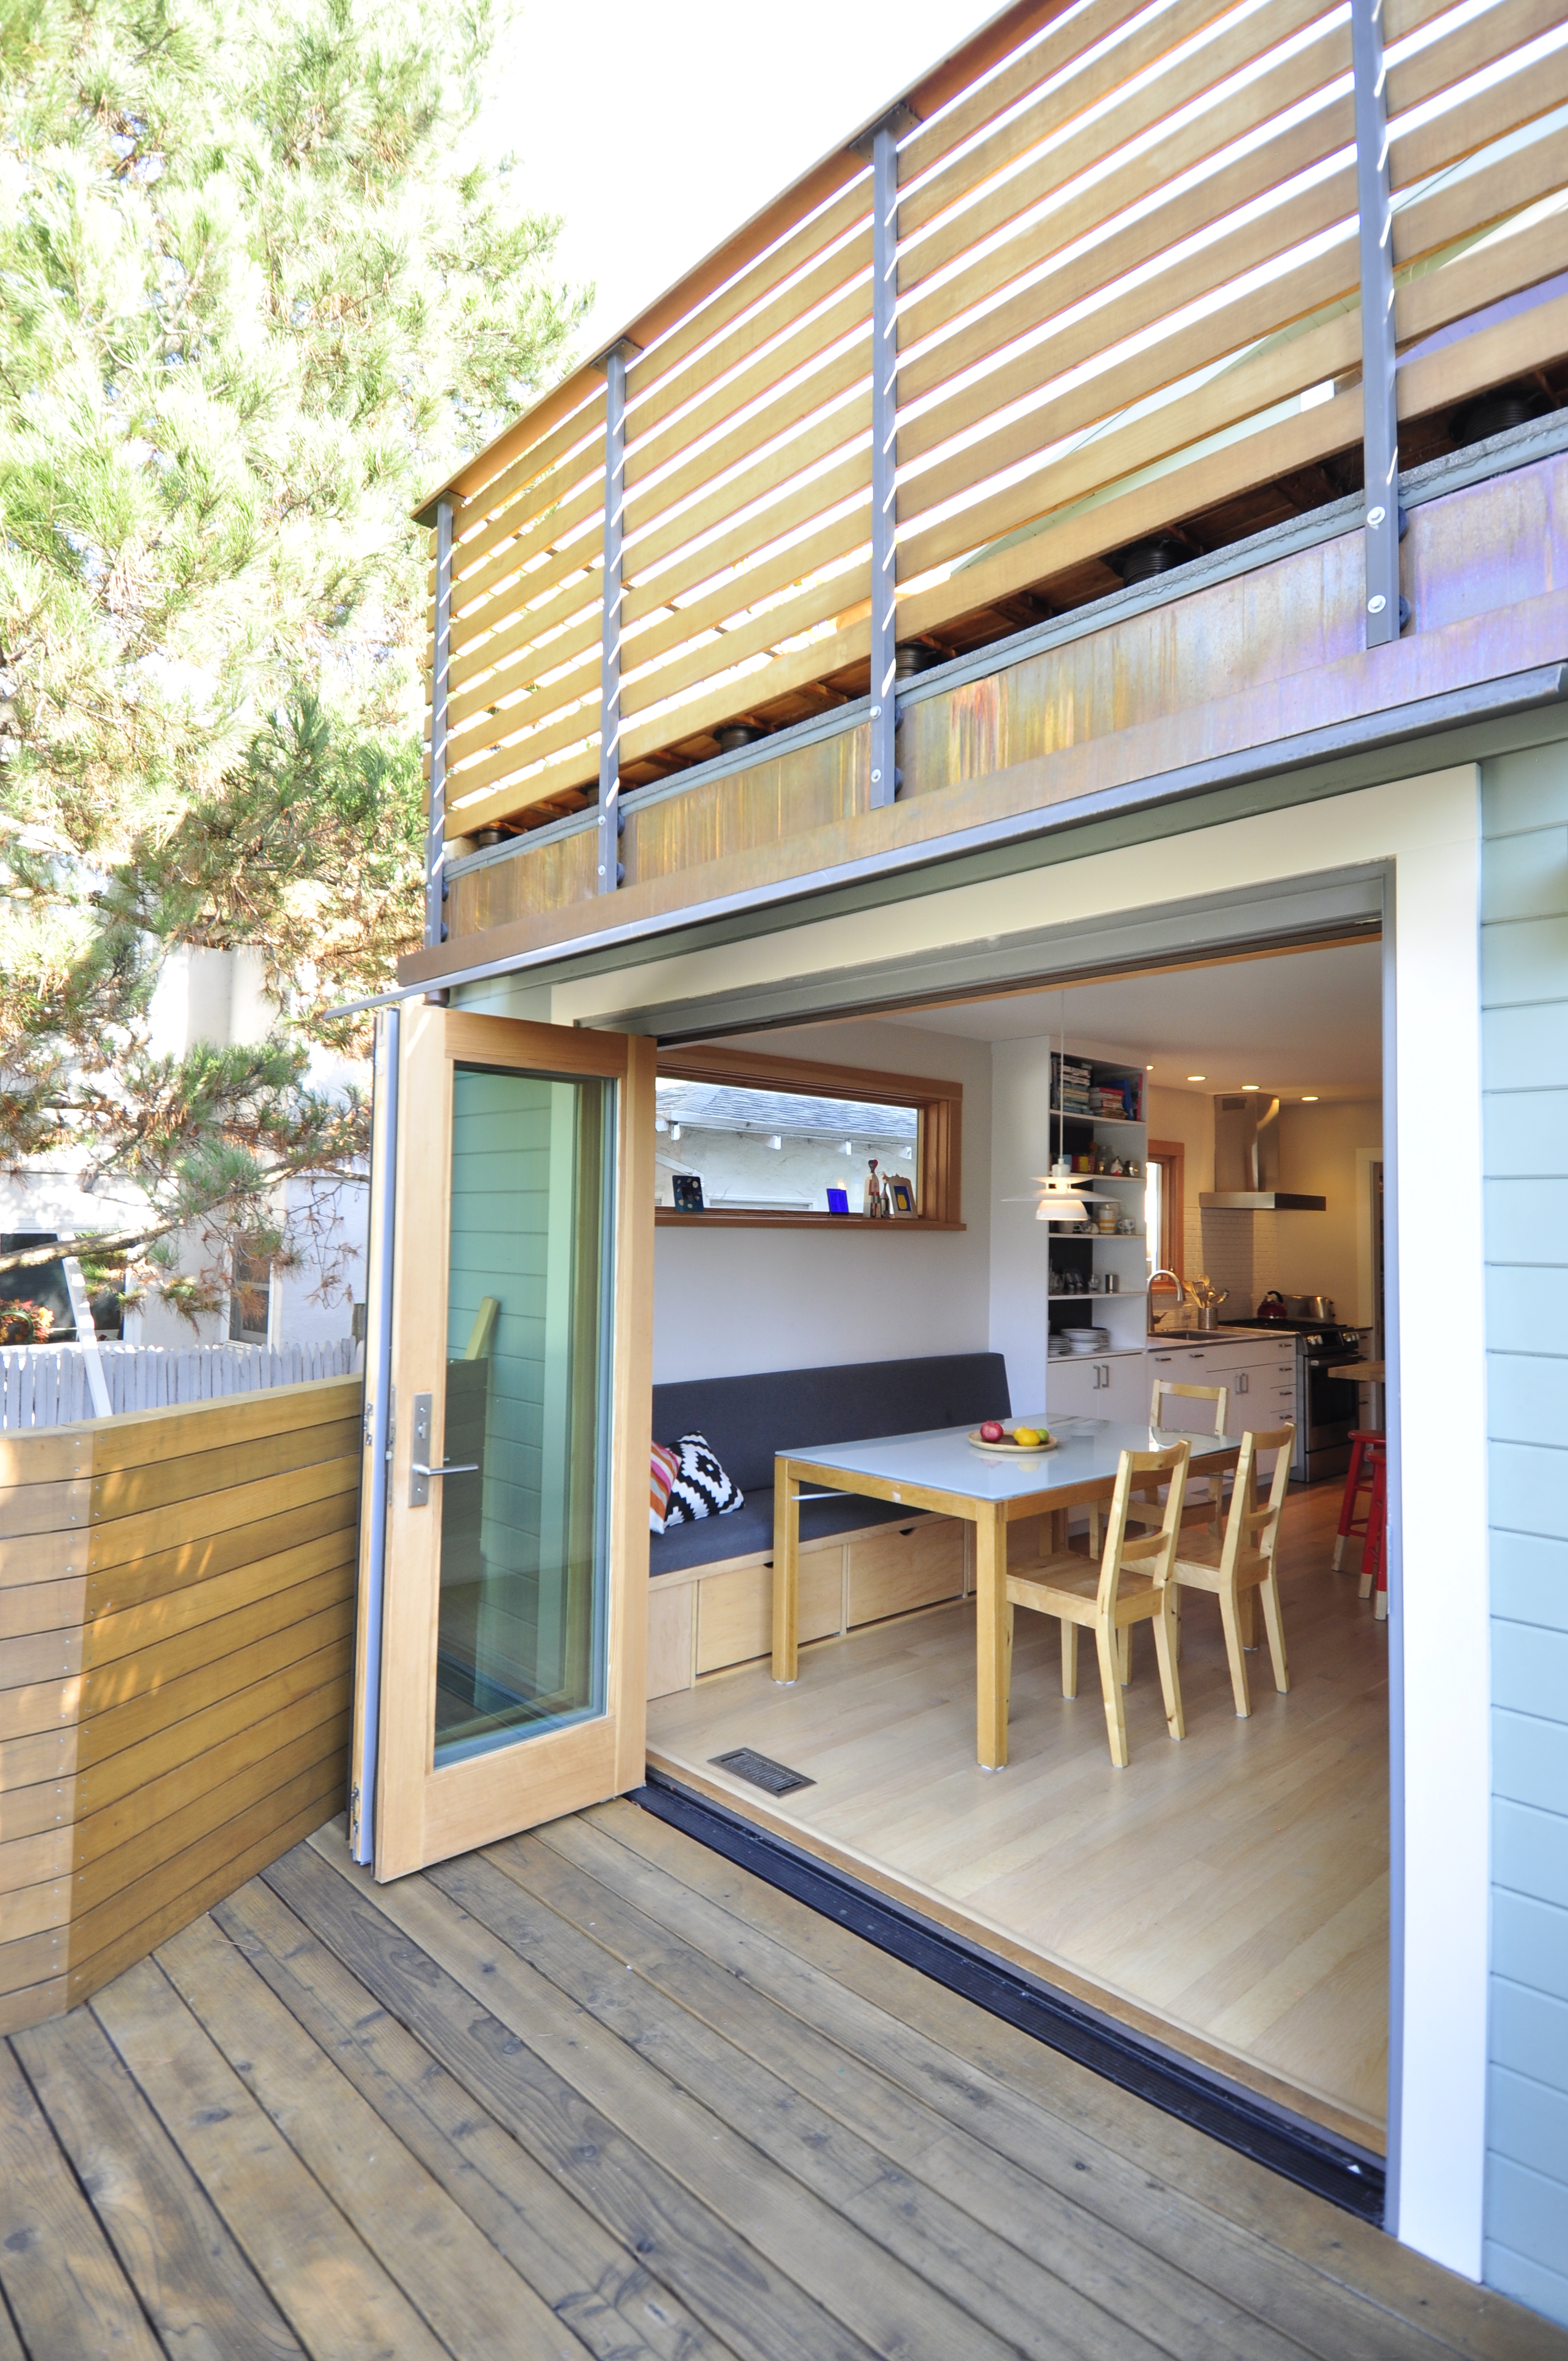
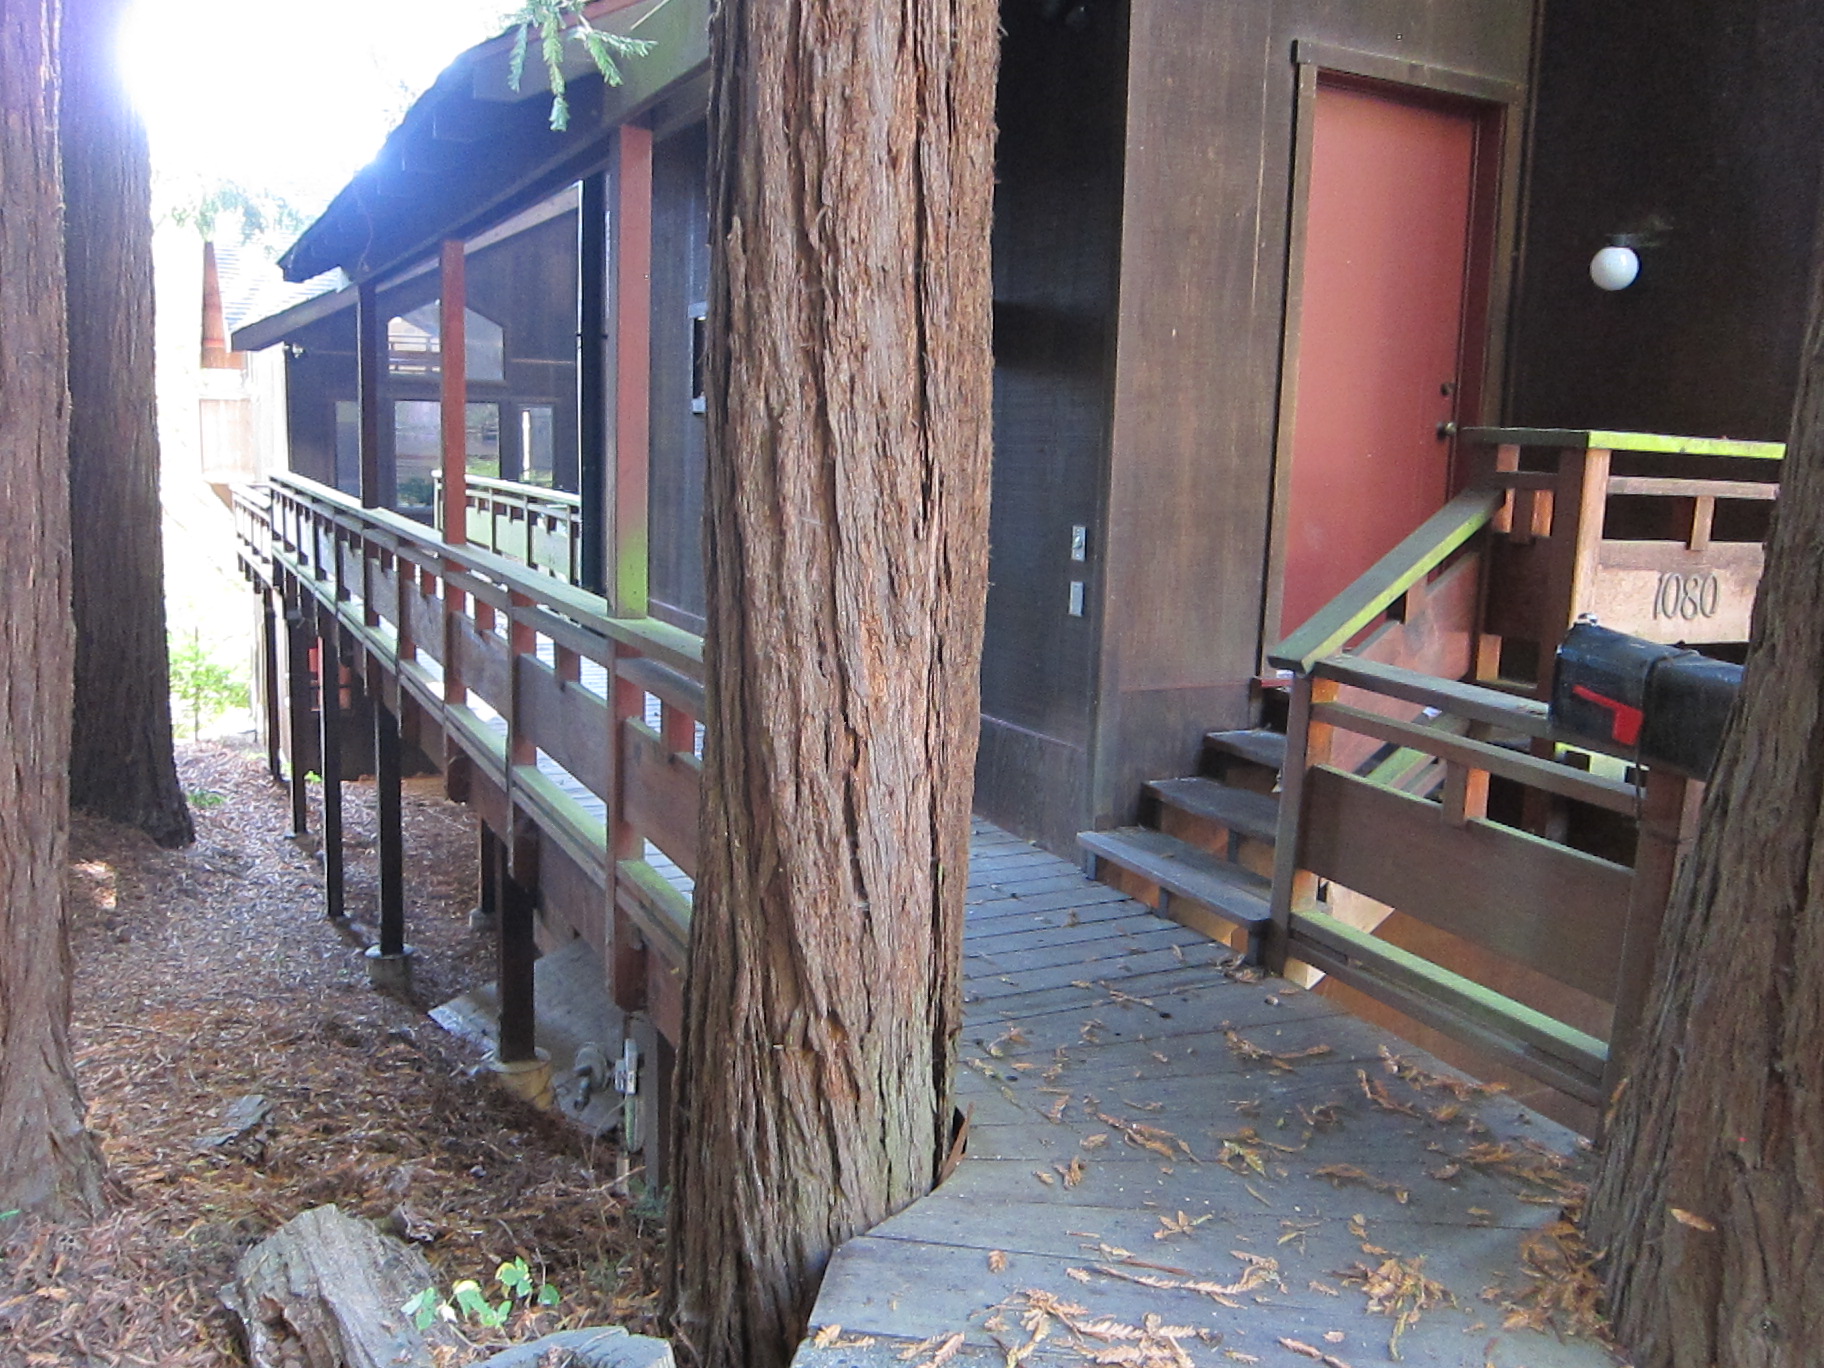
I went on another tour of a couple of passive houses under construction in the San Jose area. The two were very different from each other. The first is a remodel, designed by Thamby Kumaran with energy modelling by the owner-builder, Scott Heeschen. It uses a lot of salvaged redwood for the rainscreen siding, a mixture of Marvin Integrity and Serious windows, and rainwater catchment. Clearly architecture was a priority, since attics and flat ceilings make it easier to maximize insulation. (Compared to this beautiful vaulted ceiling)
I am curious how the long strip of south-facing clerestory windows will perform in summer with such a minimal overhang.
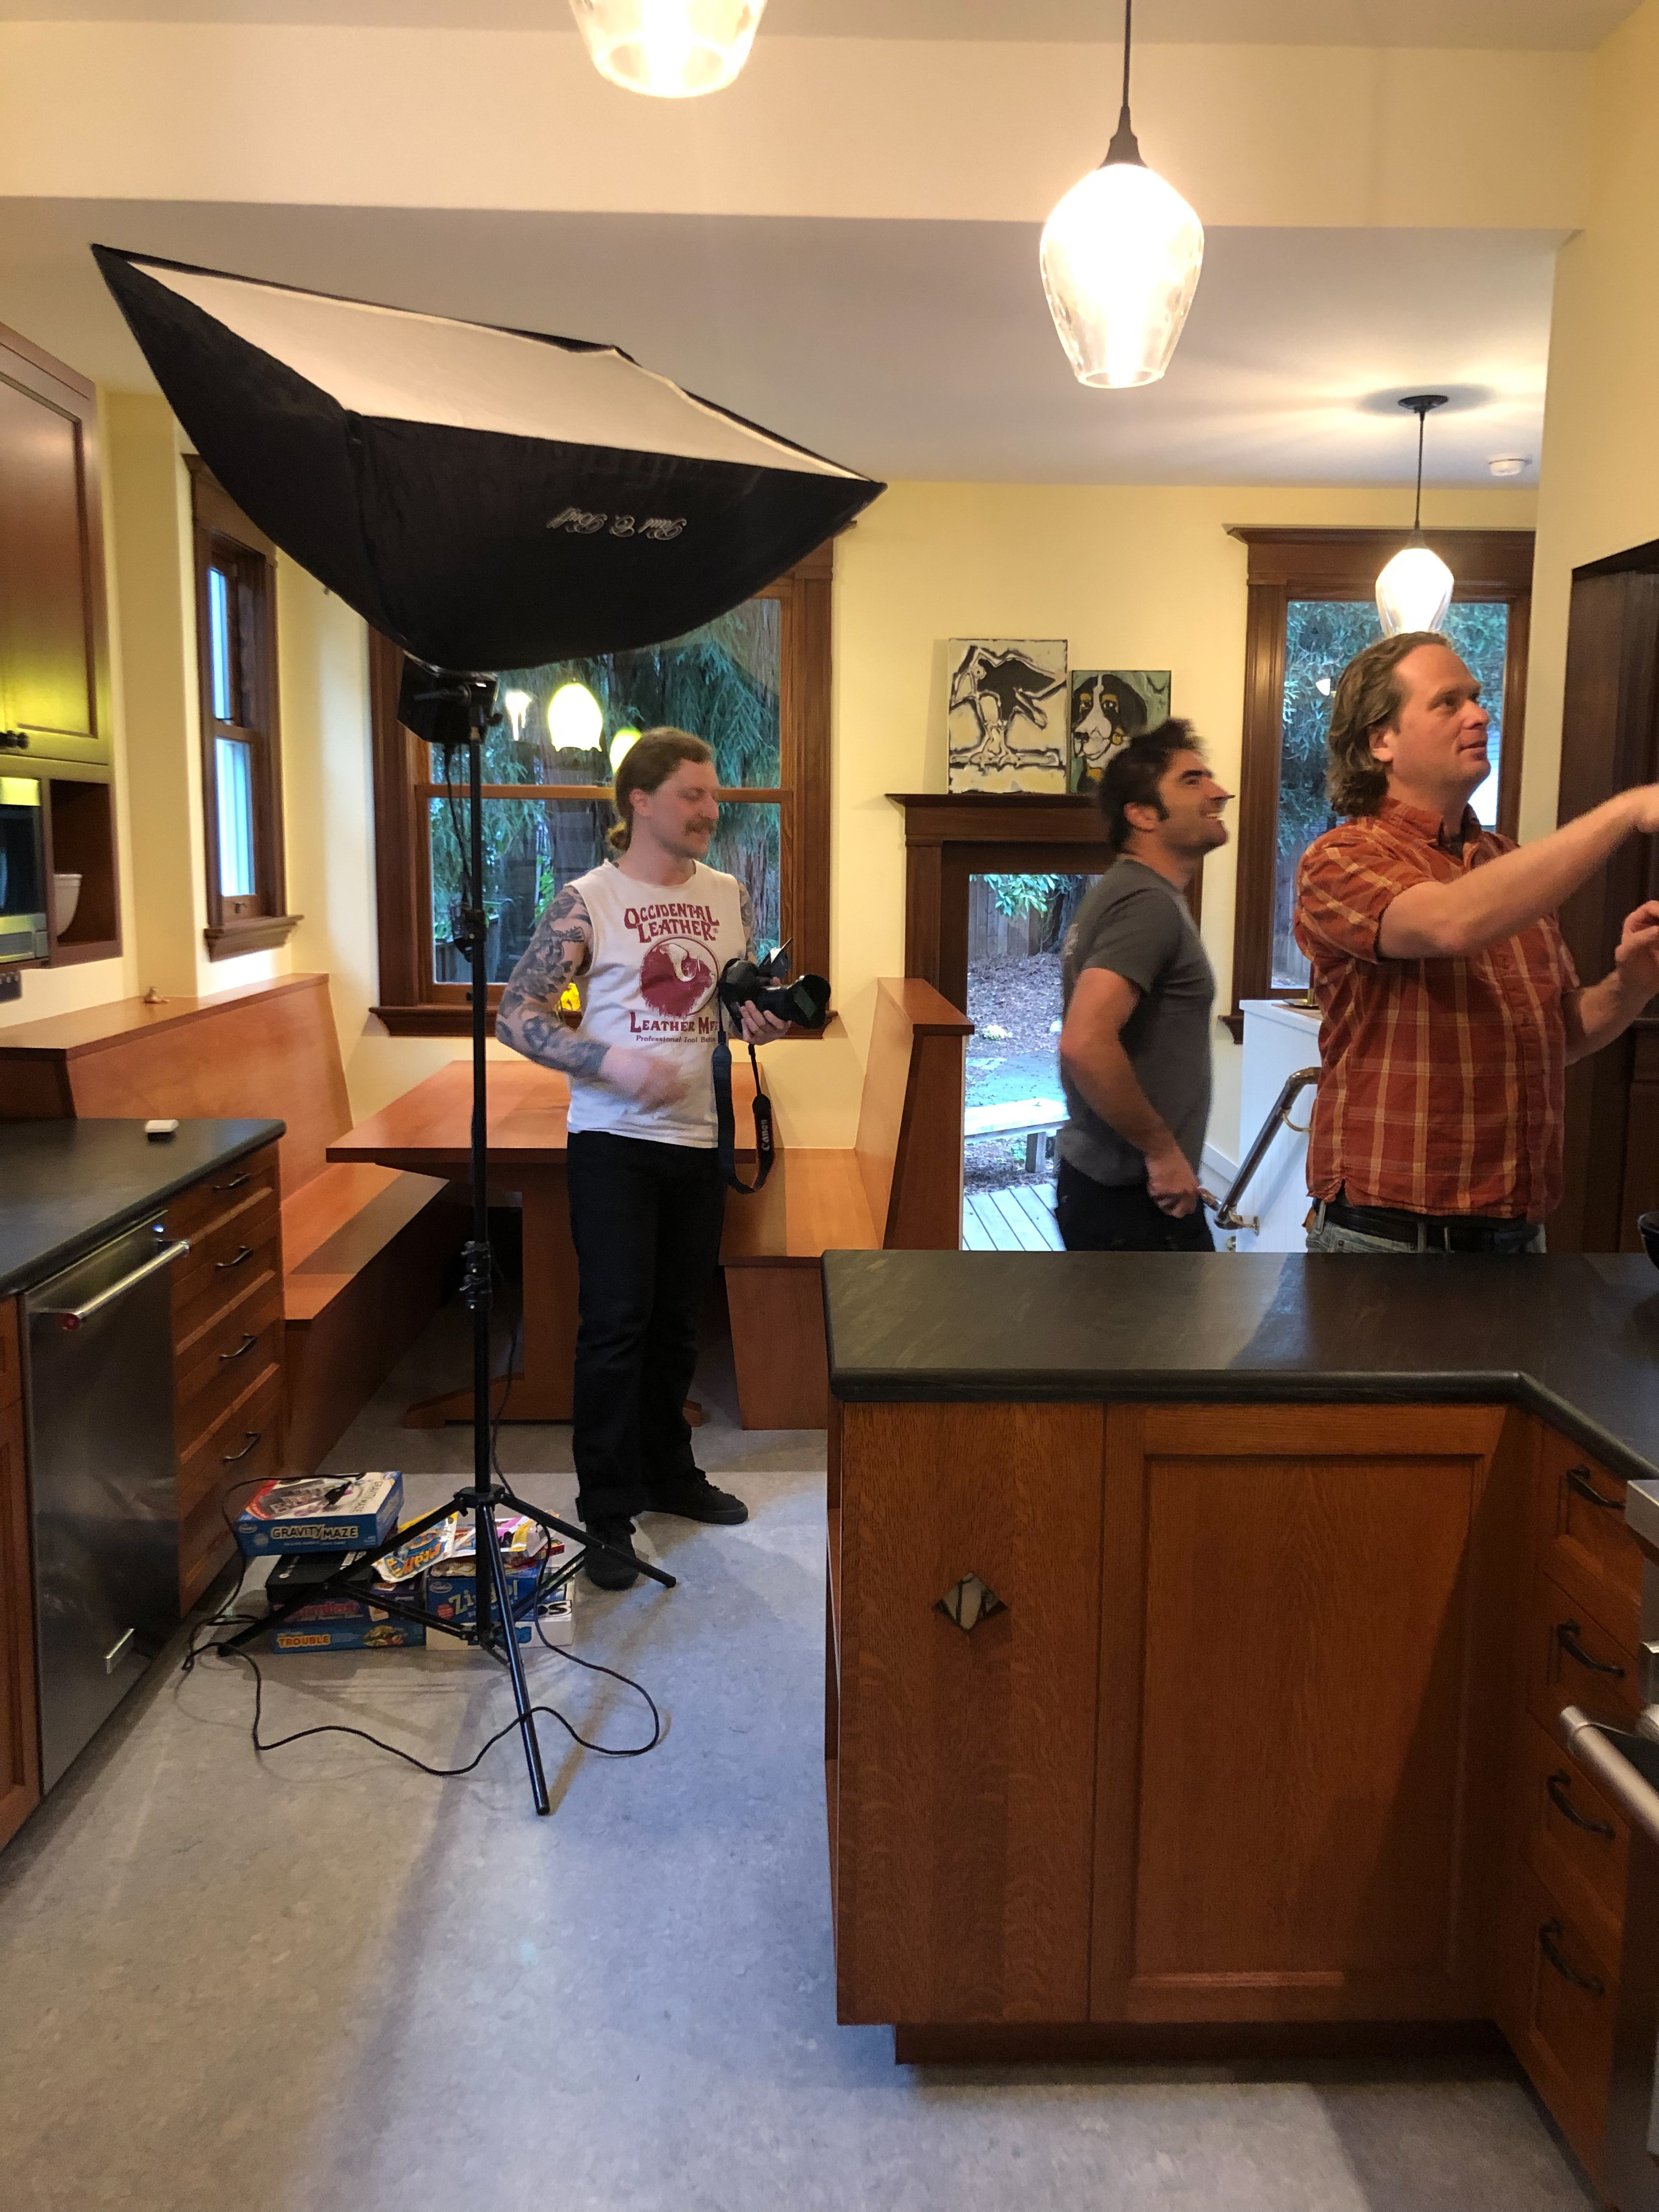
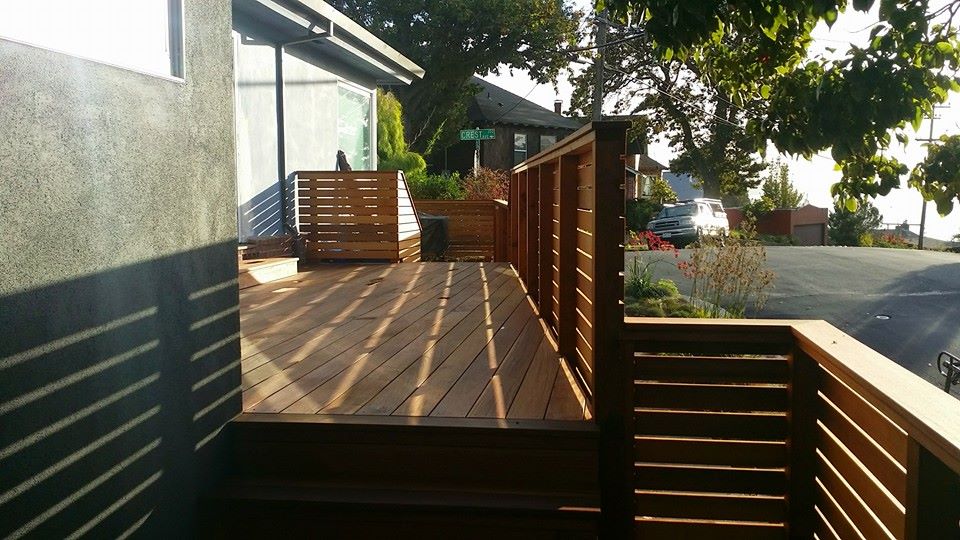
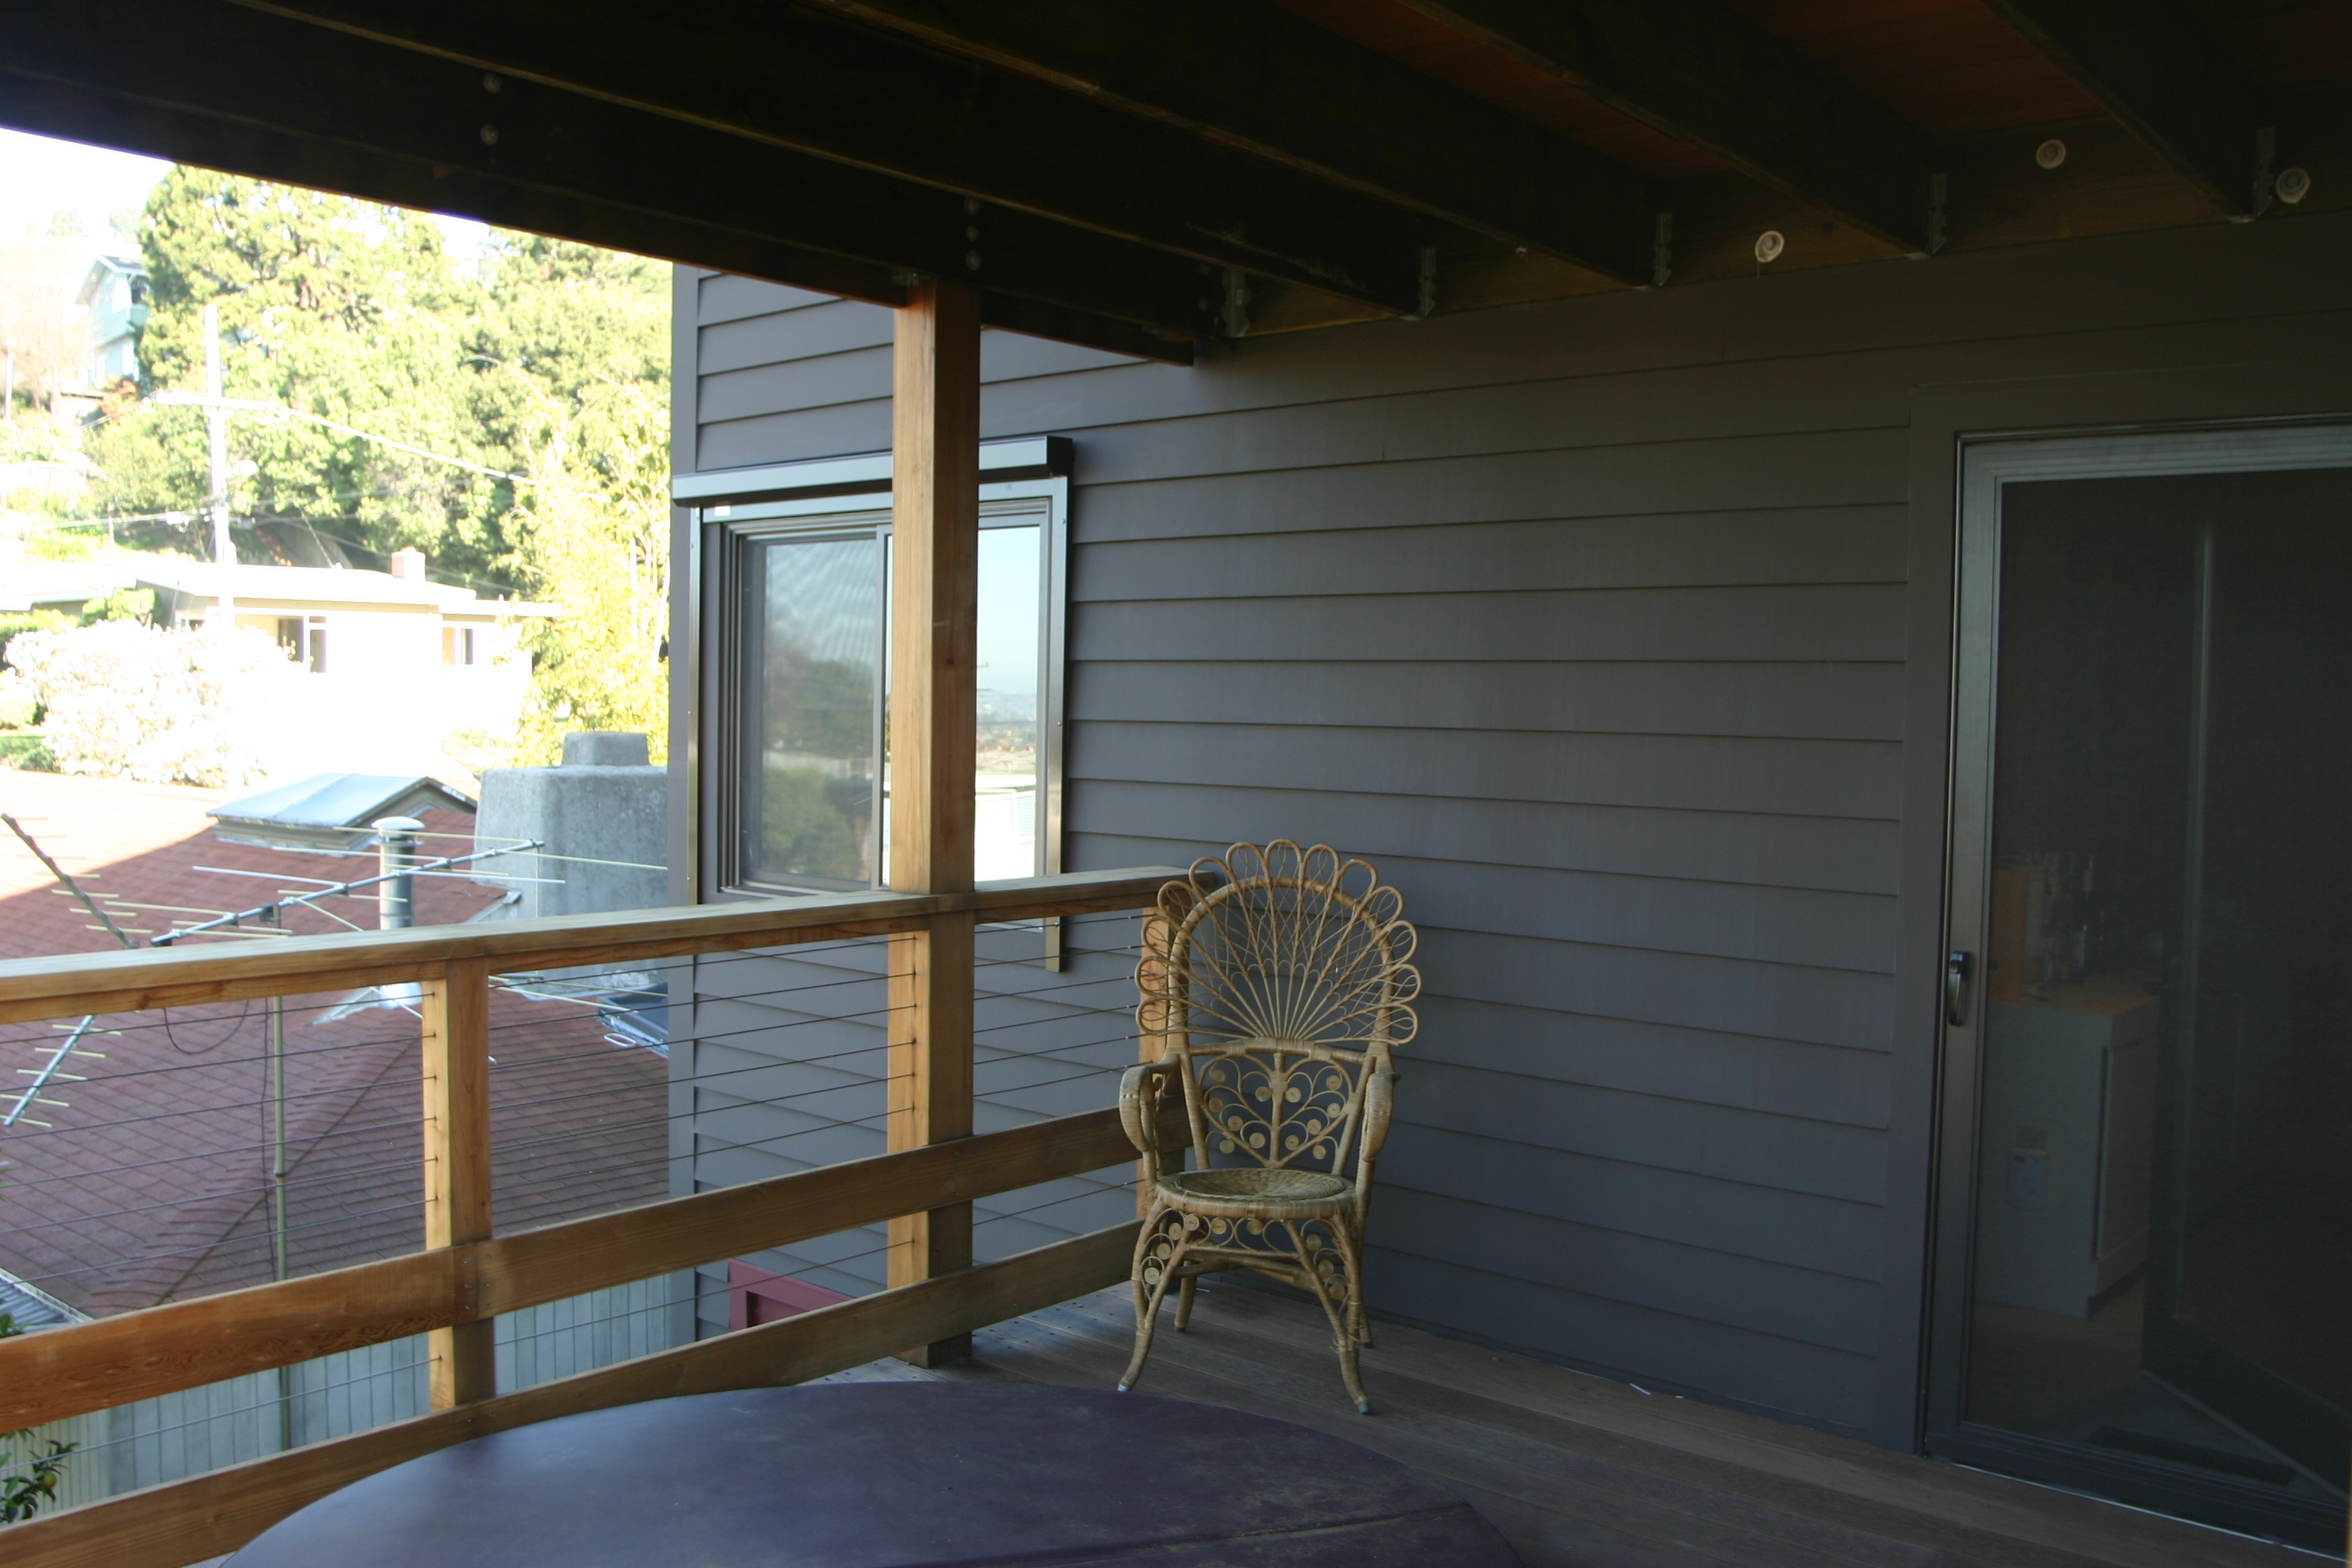
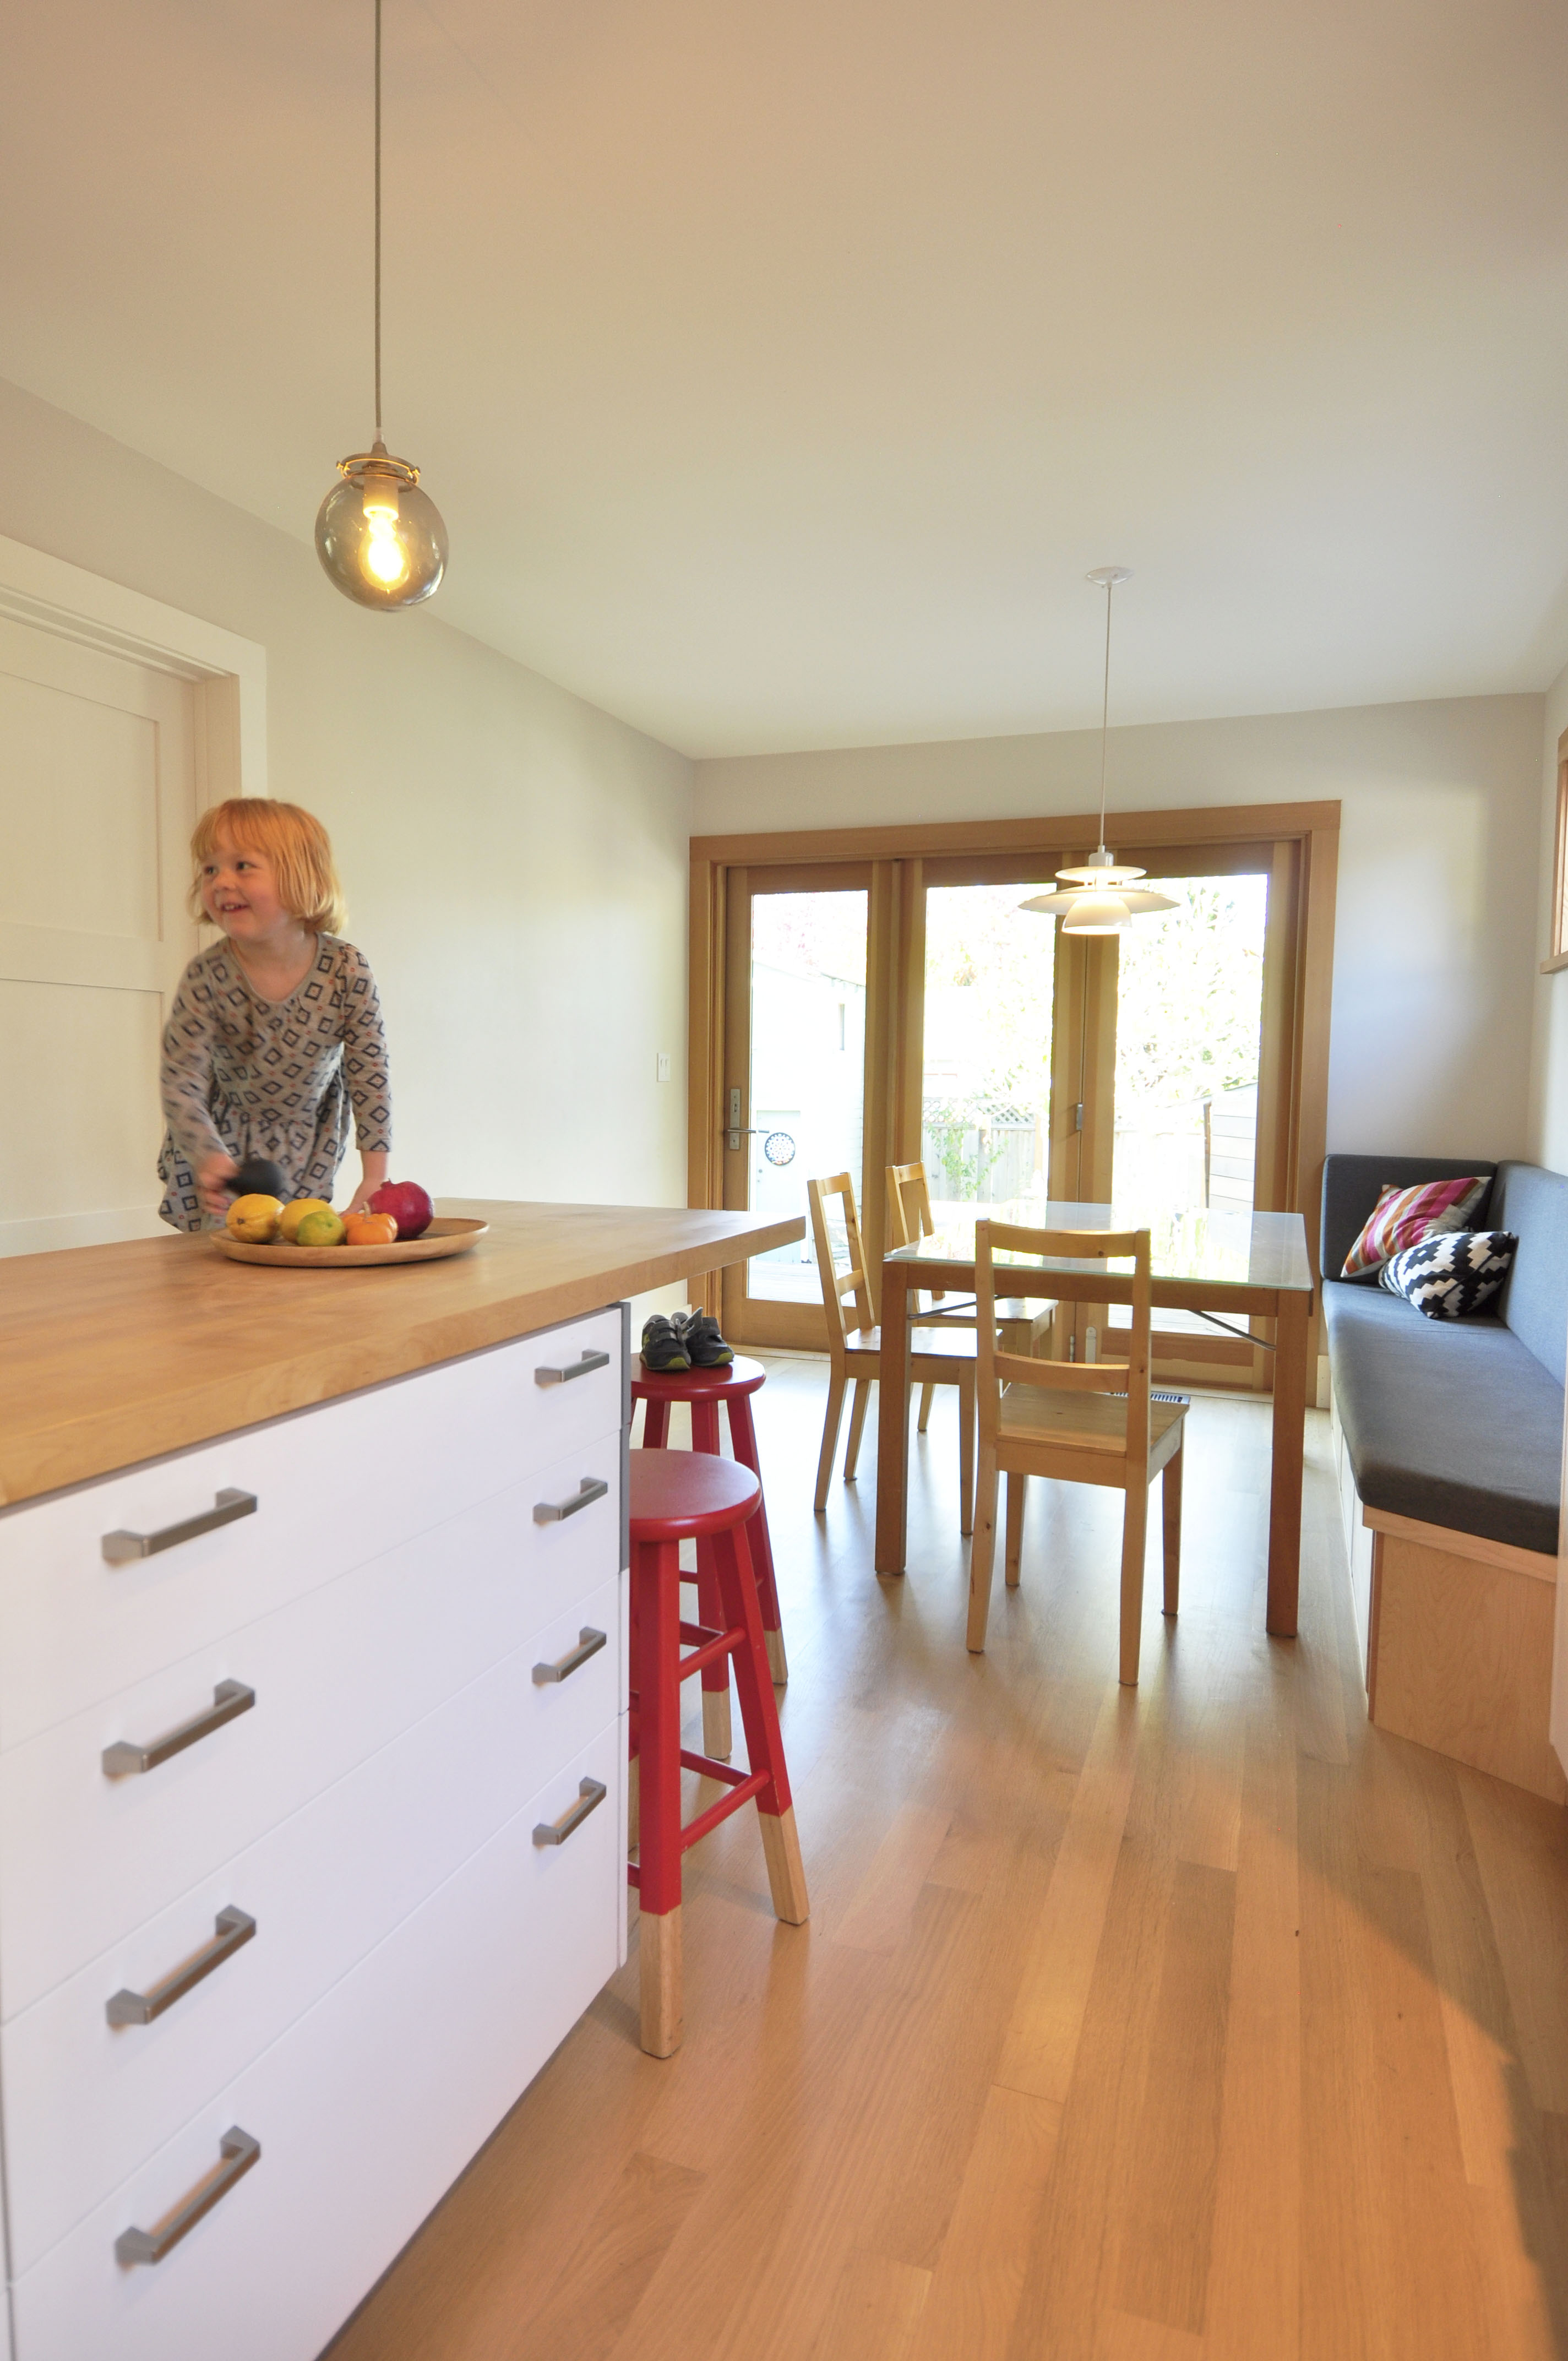
Casement, awning, and fixed windows were chosen for their air tight seals.
The other house I had already visited in the fall of 2010.
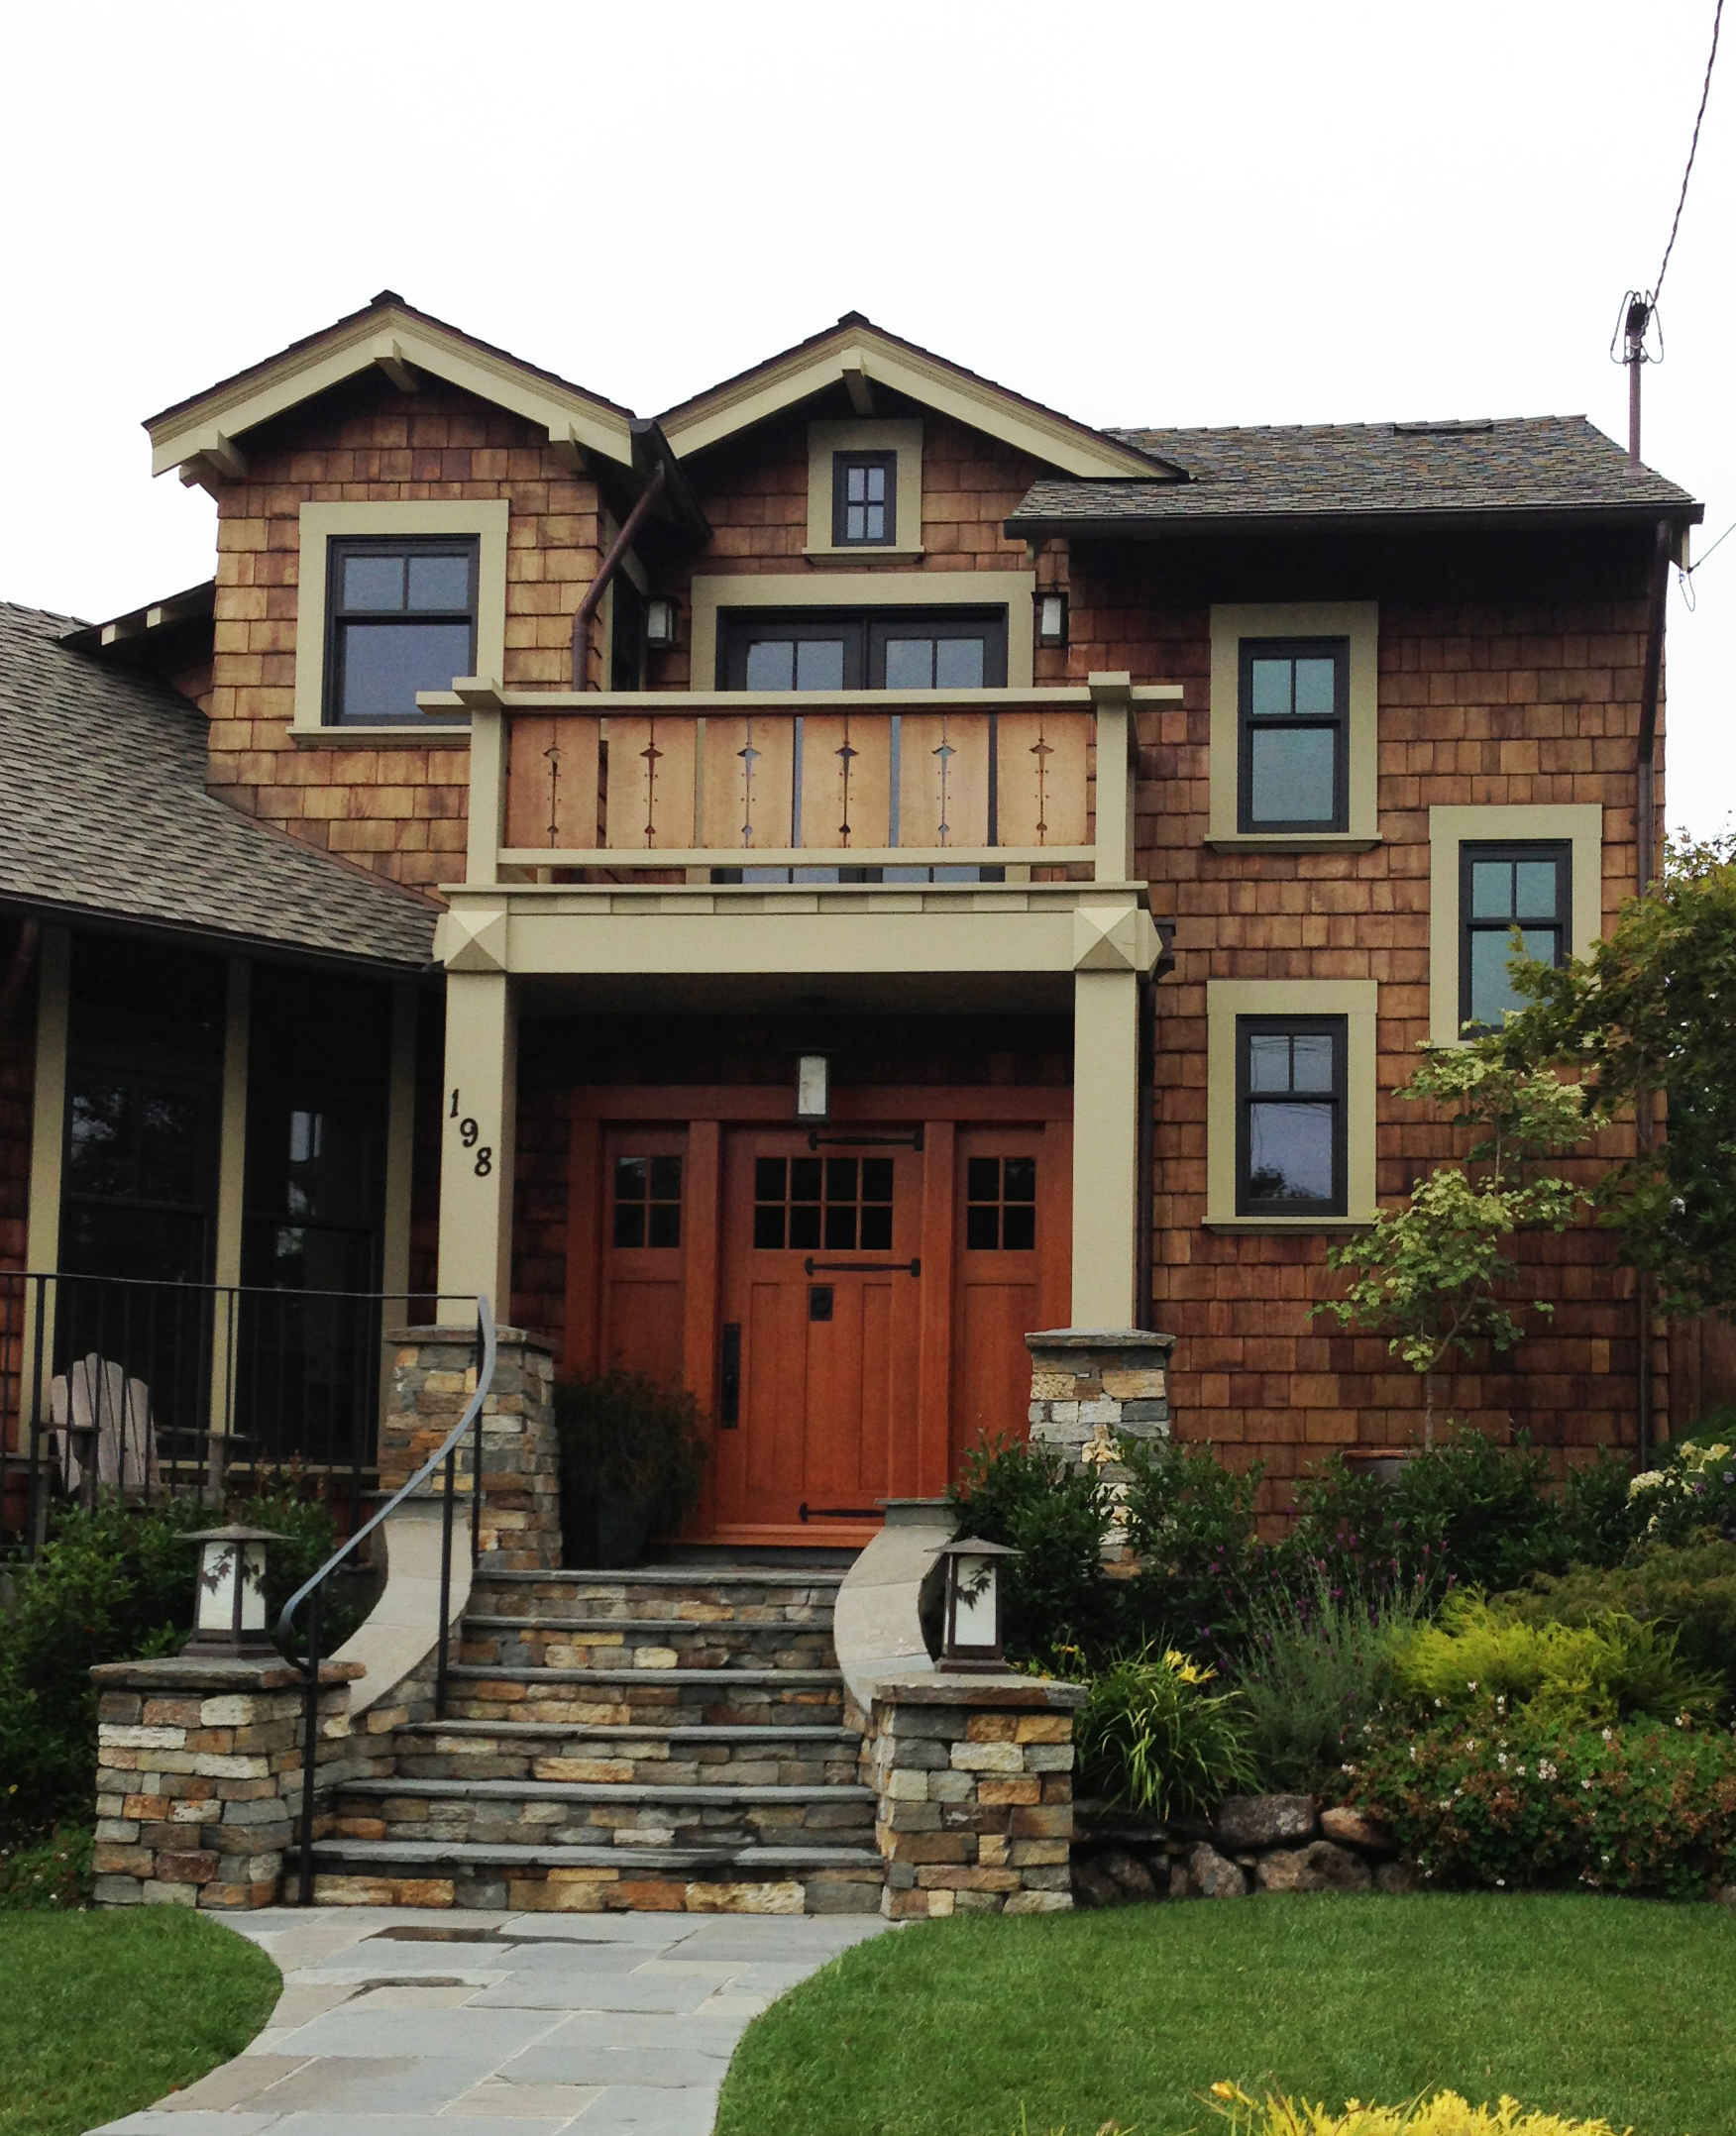
This one is more of a standard high-end spec house, but it seems to be quite technically competent on many levels.
Posted in Design Projects, tagged boxes, fir, furniture, green, plywood, redwood, rope, salvaged on April 5, 2011| 2 Comments »
I’ve made progress on the prototype. The lid is installed. I fashioned a hinge out of retired spectra running rigging from the 5o5 Bar-ba-loot (pictured below). The hinge needs a little fine-tuning, but I like the Xs. I handcarved the curves in the lid. Nice soft fir makes for easy carving.
Posted in Design Projects, tagged boxes, fir, furniture, process, redwood, salvaged, wood on March 26, 2011| Leave a Comment »
After gluing the box together, it needed some sanding.
——————————————>
The lid is made from two fir 2×6 scraps and a redwood 2×4 scrap that John brought home from his job site. Better than average specimens, with fairly straight, tight grain; they are probably from appearance grade stock. I did not have a planer on hand, but they were pretty straight and flat. I used my new jointer to make edges flat and perpendicular to the faces. I also used the jointer to clean up the faces. (This is usually accomplished by a planer) Then I glued and clamped them together as shown in this photo.