My client for a remodel of a 1960s house on Galiano Island invited my family up to see the almost finished house. (a few details and exterior paint not finished yet)
The location is truly spectacular and I was very happy with the improvements that we made. Improvements included: on the practical side: tightening up the exterior envelope (including new fibercement rainscreen siding, all new windows, & insulation), upgrading to an energy efficient heating system, and adding a HRV, and then rearranging the interior extensively to simplifying and improve the transitions between spaces. The lower level was majorly improved, but it was a pretty straight forward rearrangement breaking it up into more usable rooms, guest suite, familyroom, office and storage. I didn’t include those photos.
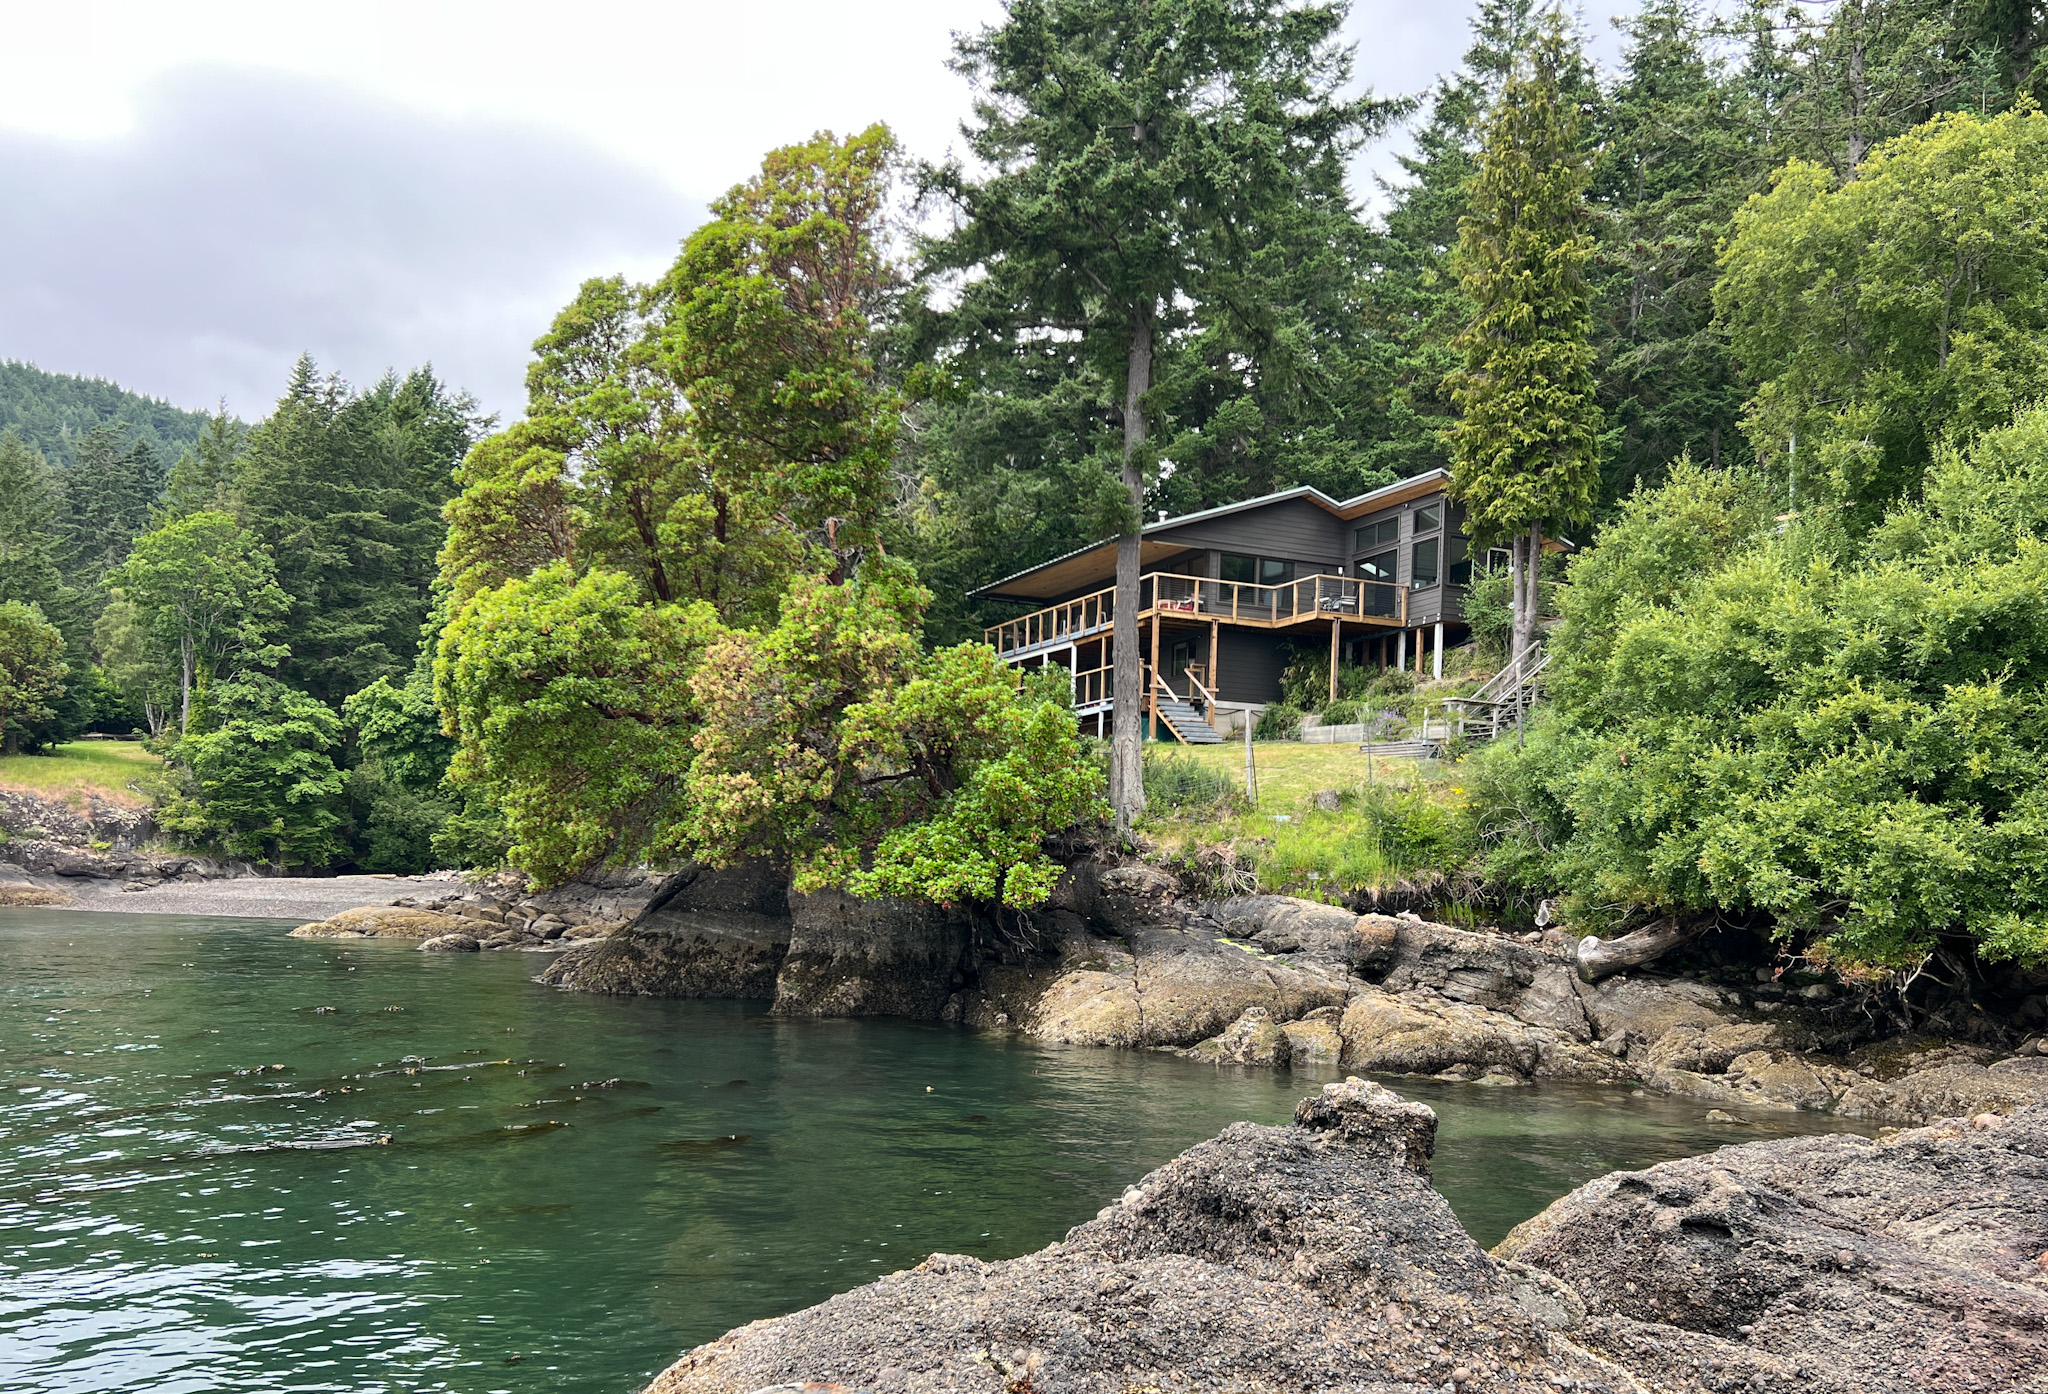
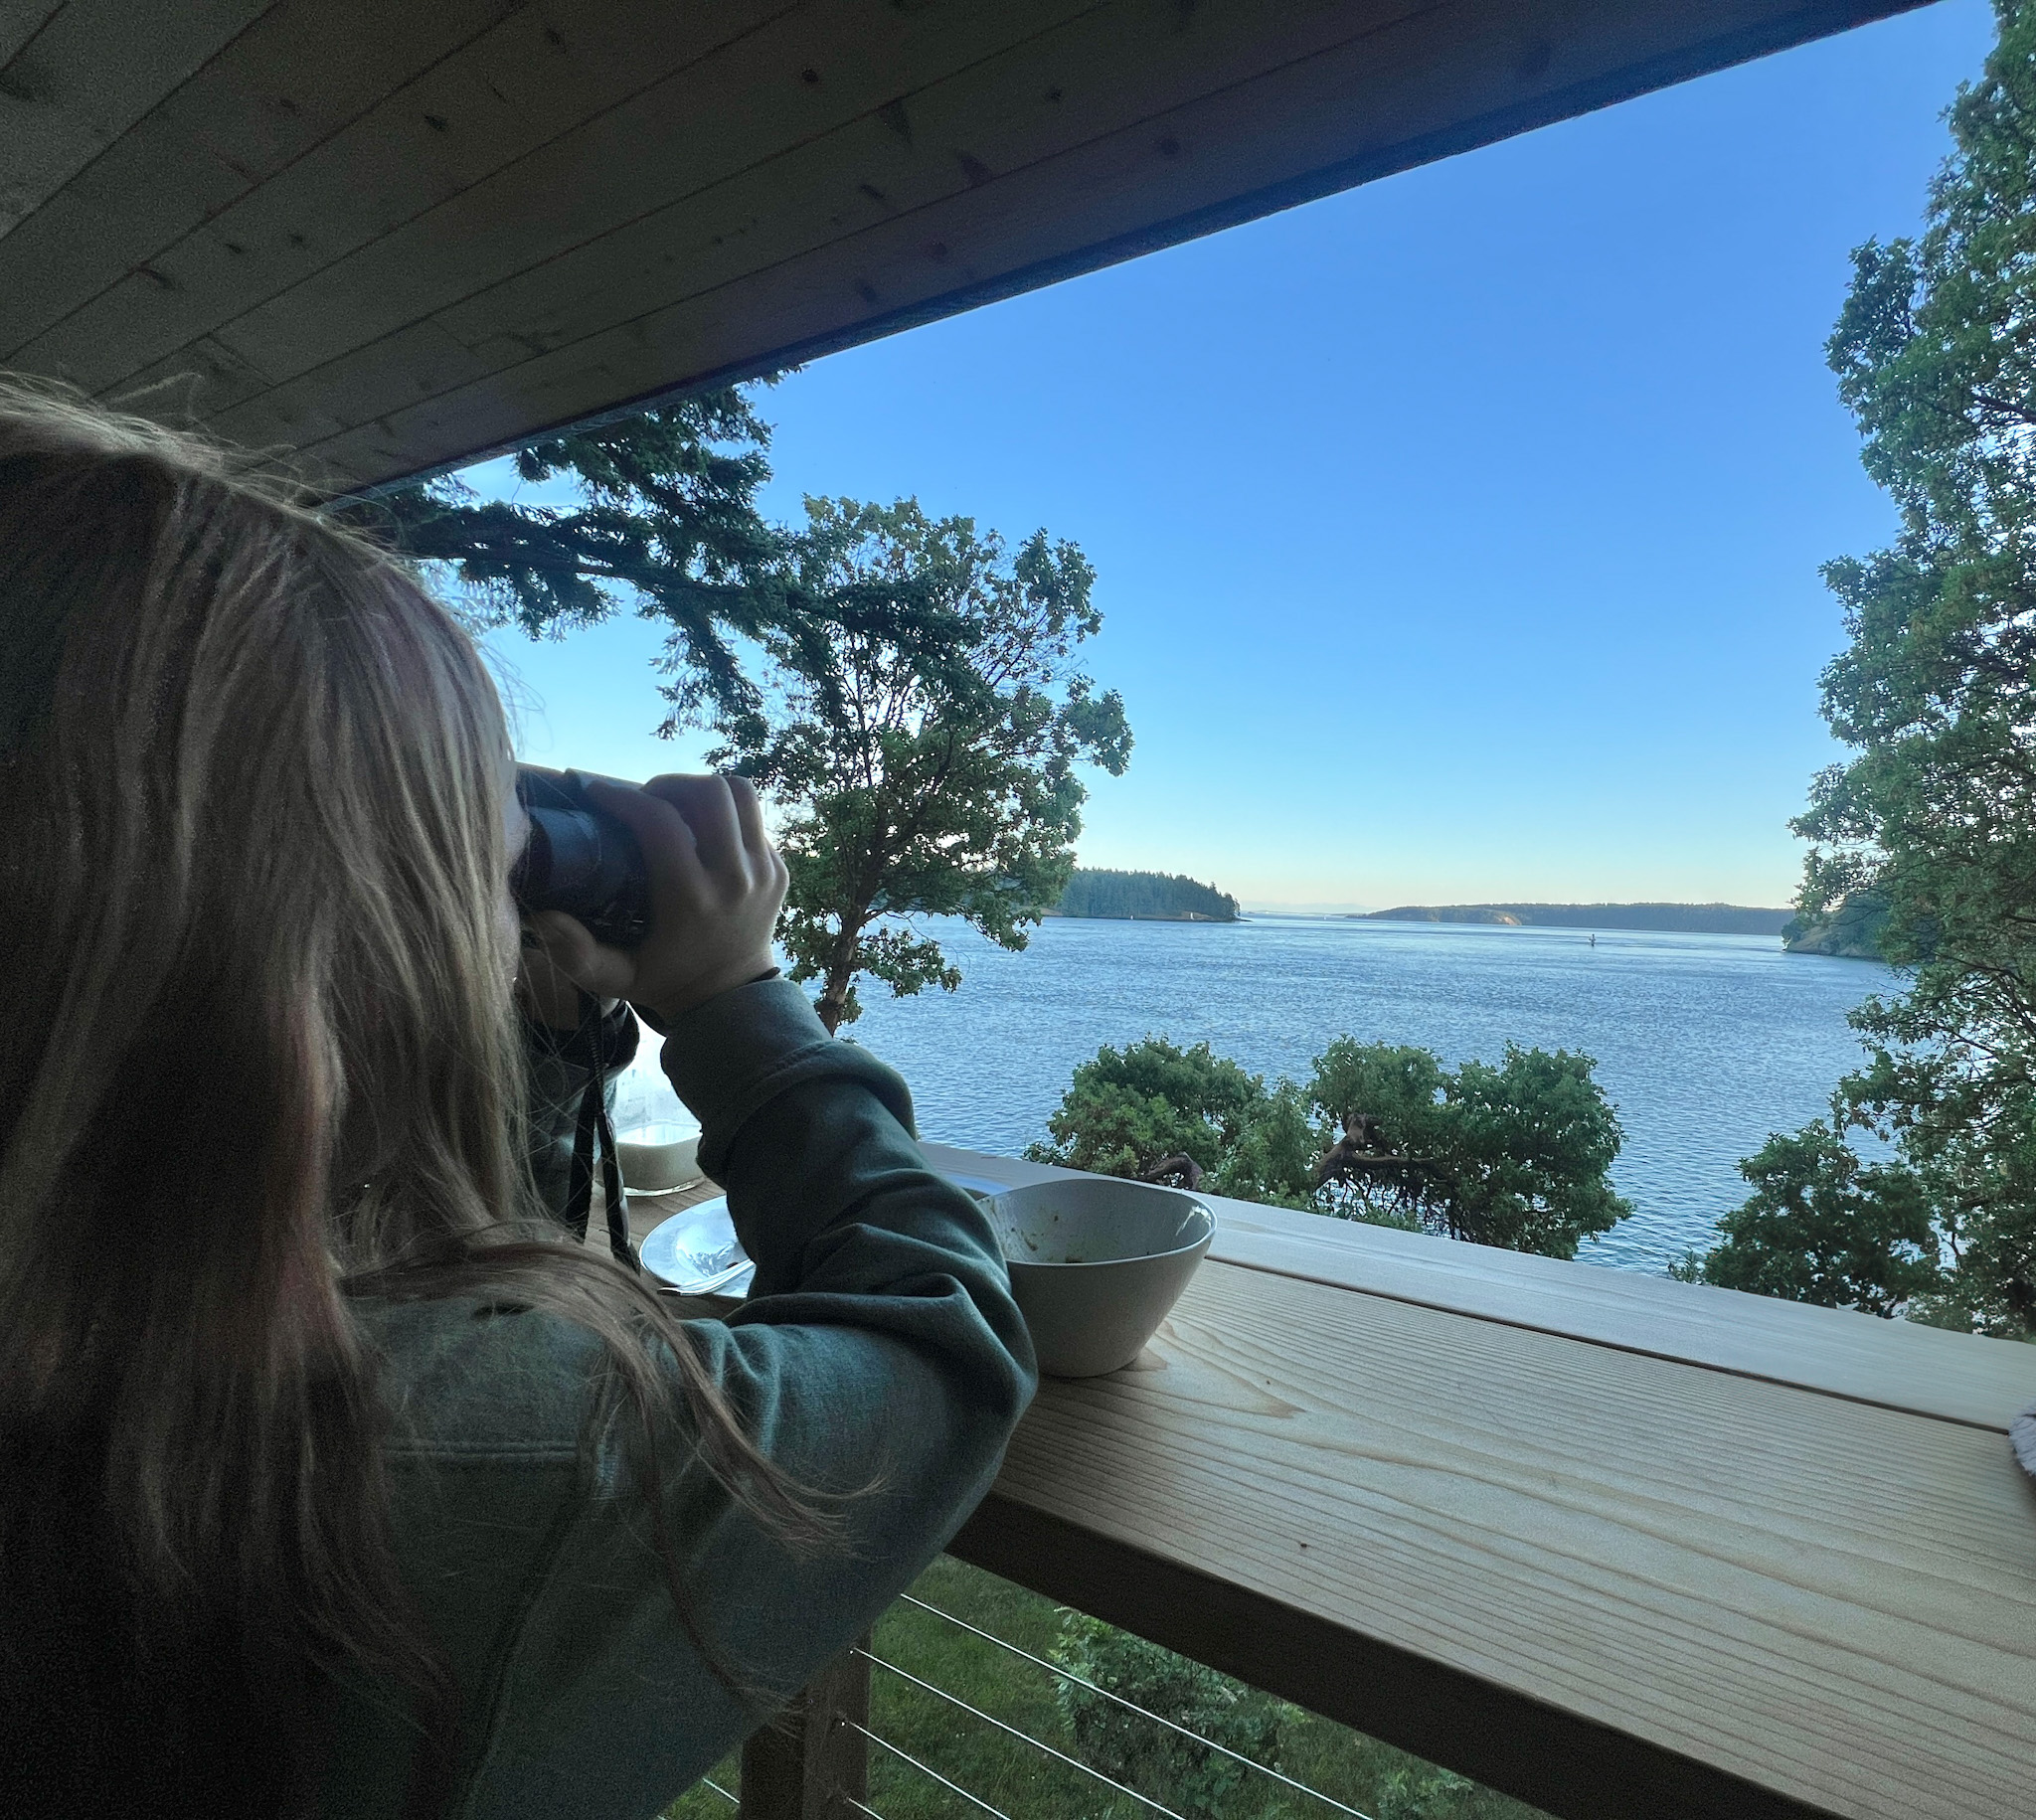
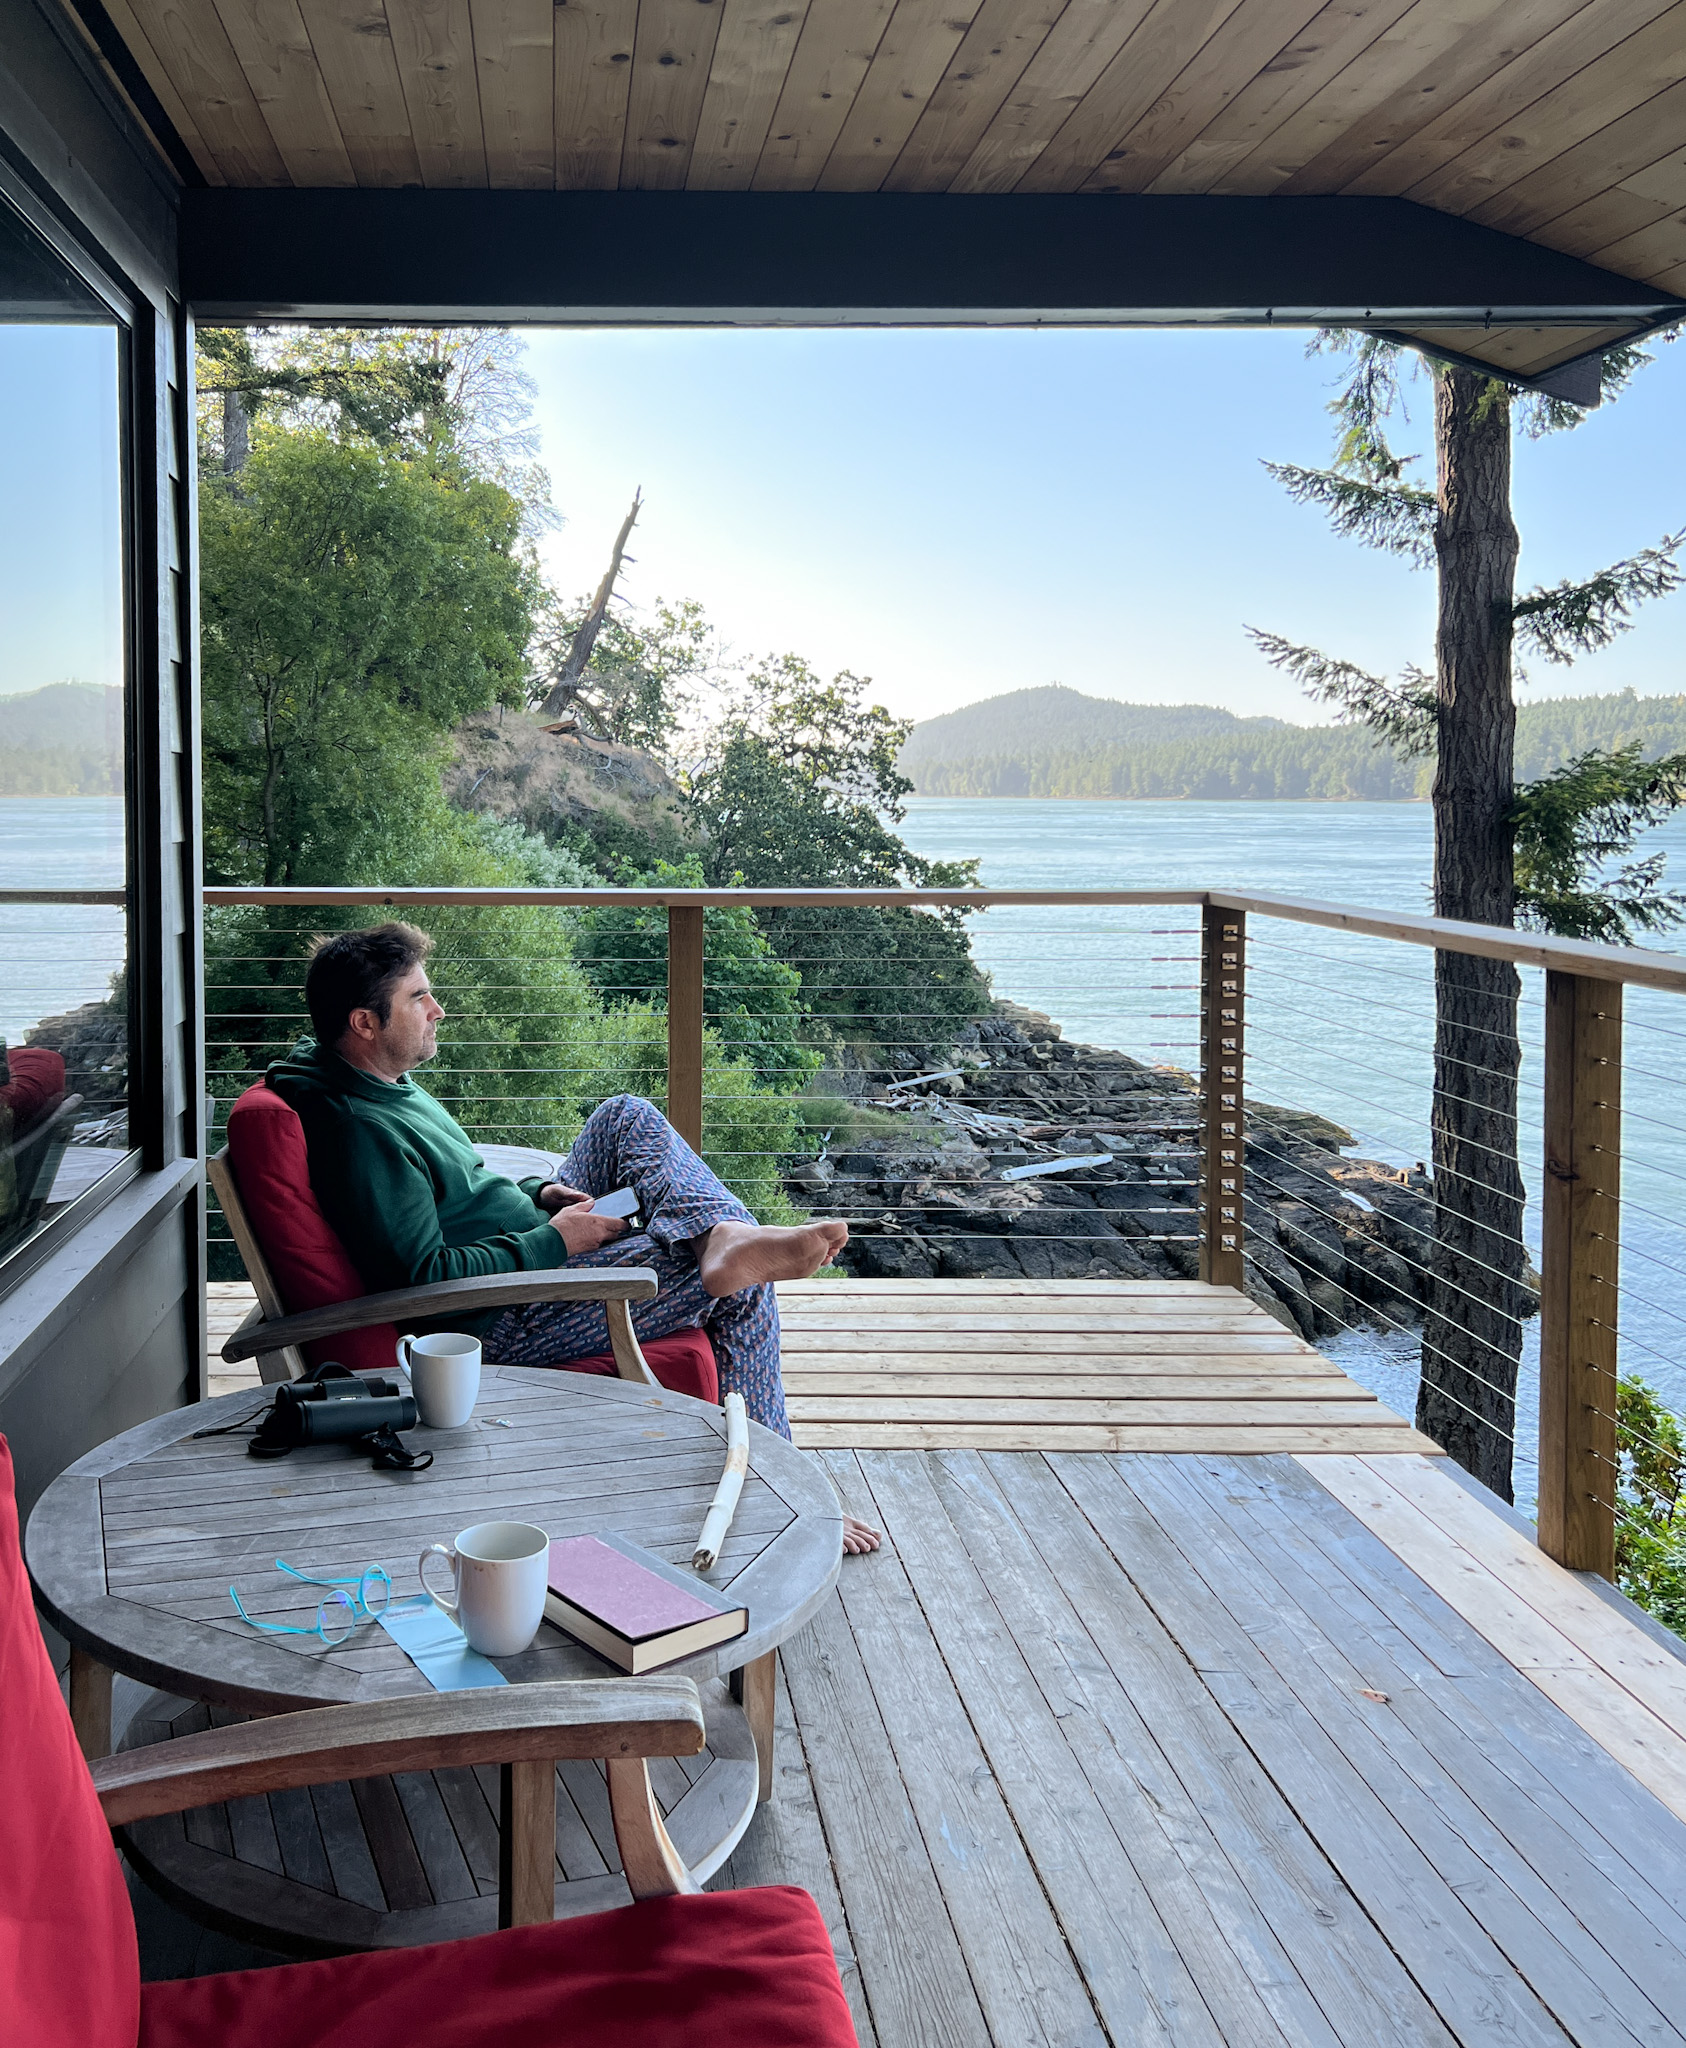
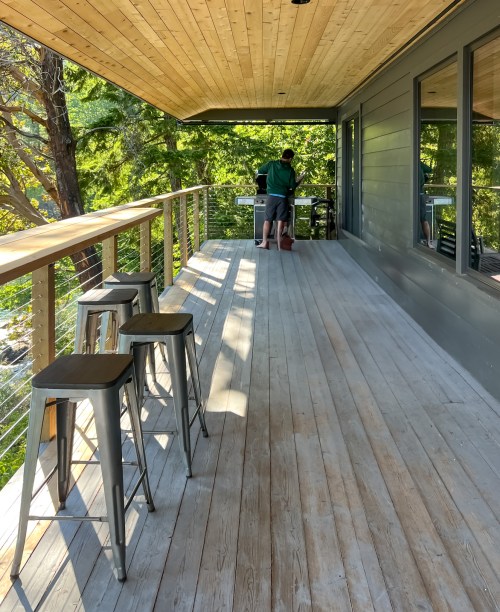
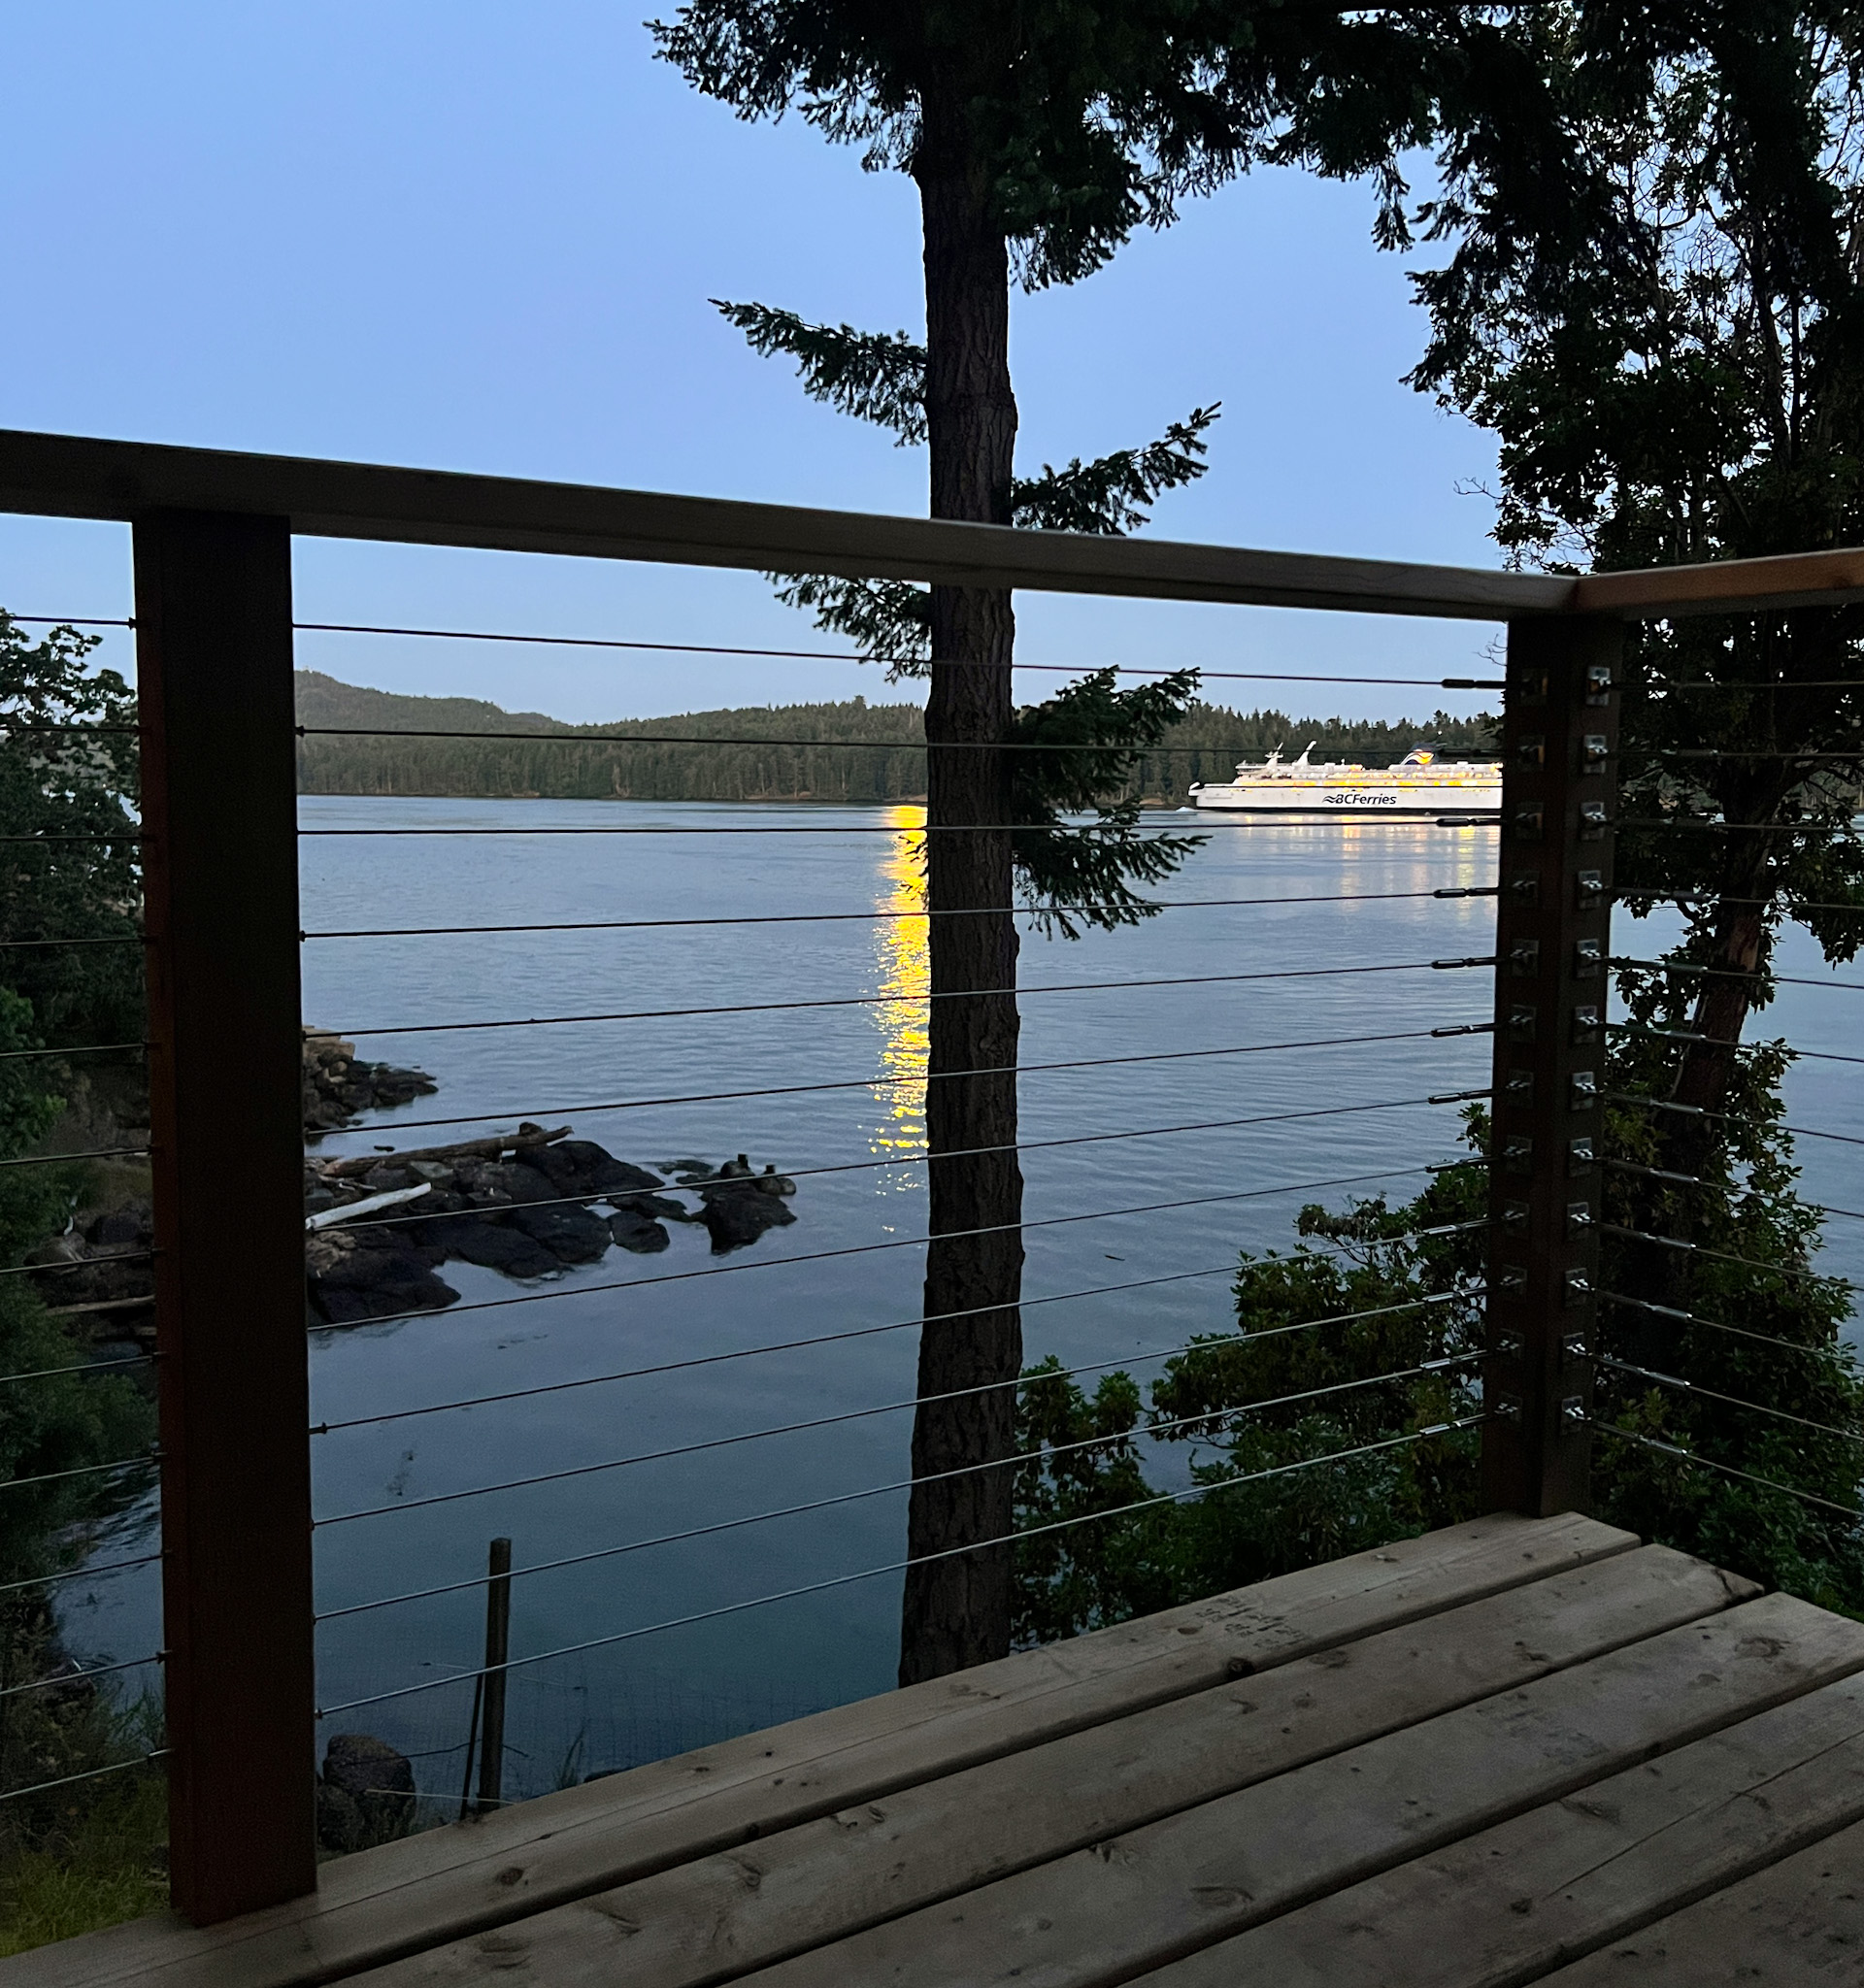
The main event is the view to the south to Active Pass and all the way to the Olympic National Park 70 miles to the south. We spent many hours enjoying the view of wildlife and boats from the covered porch.
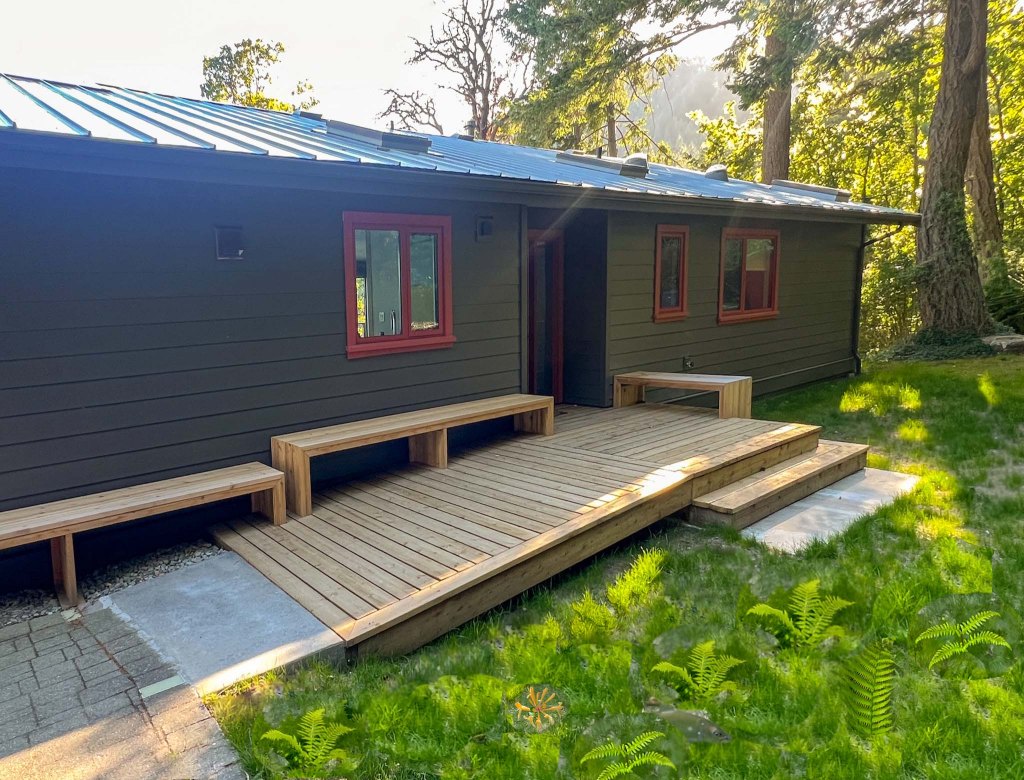
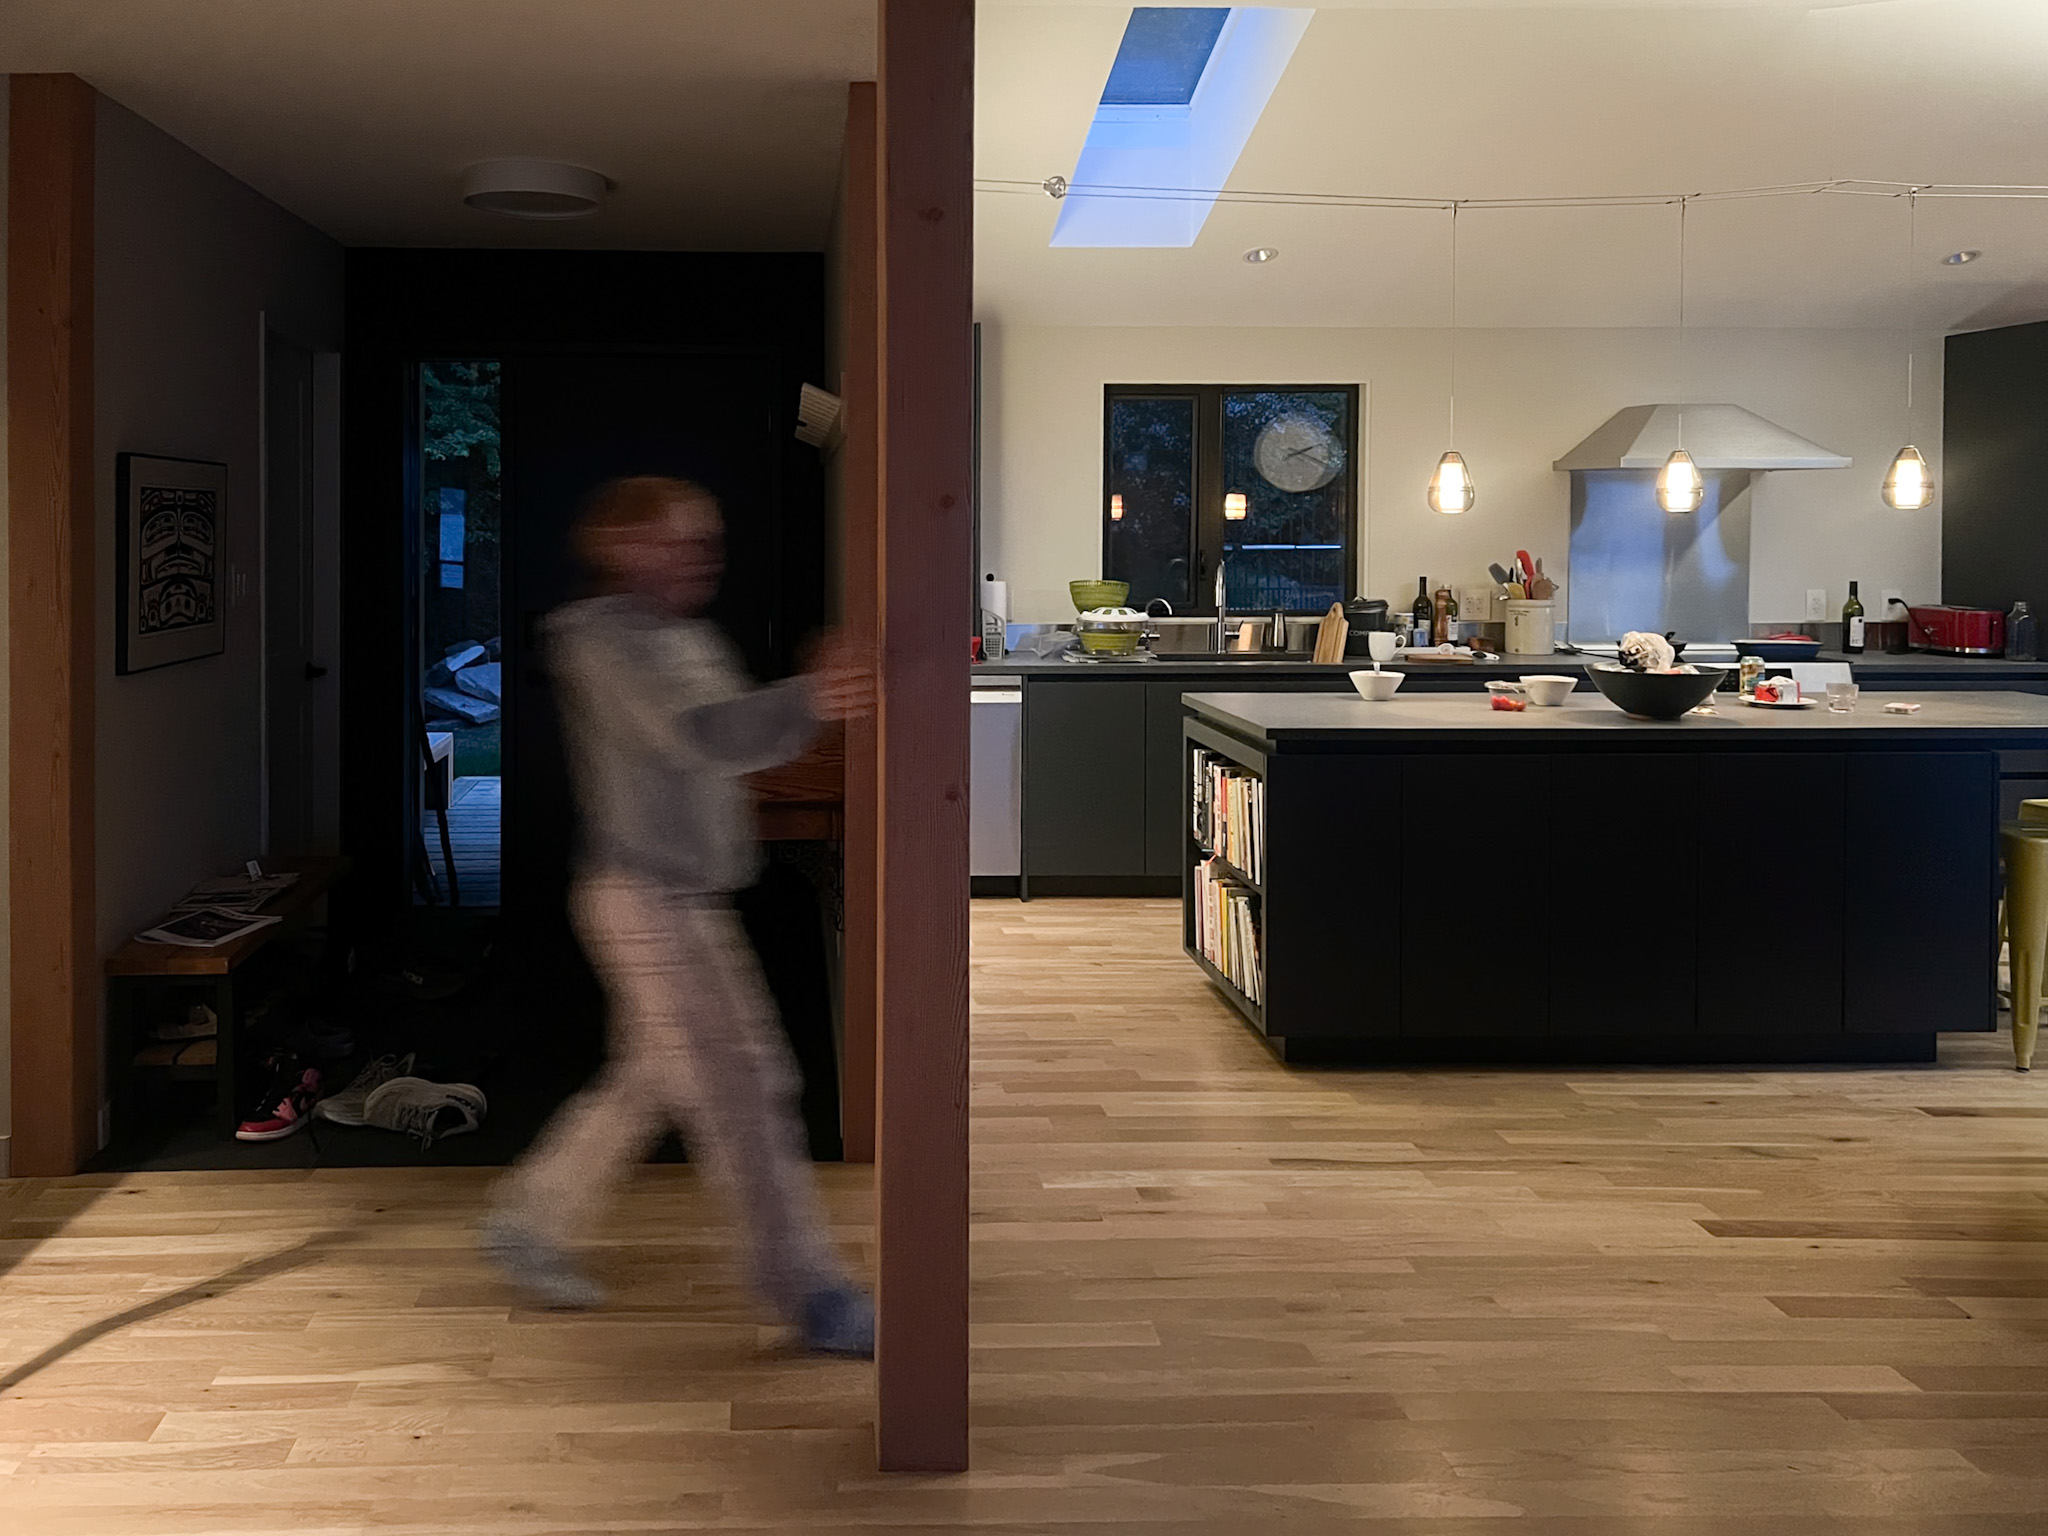
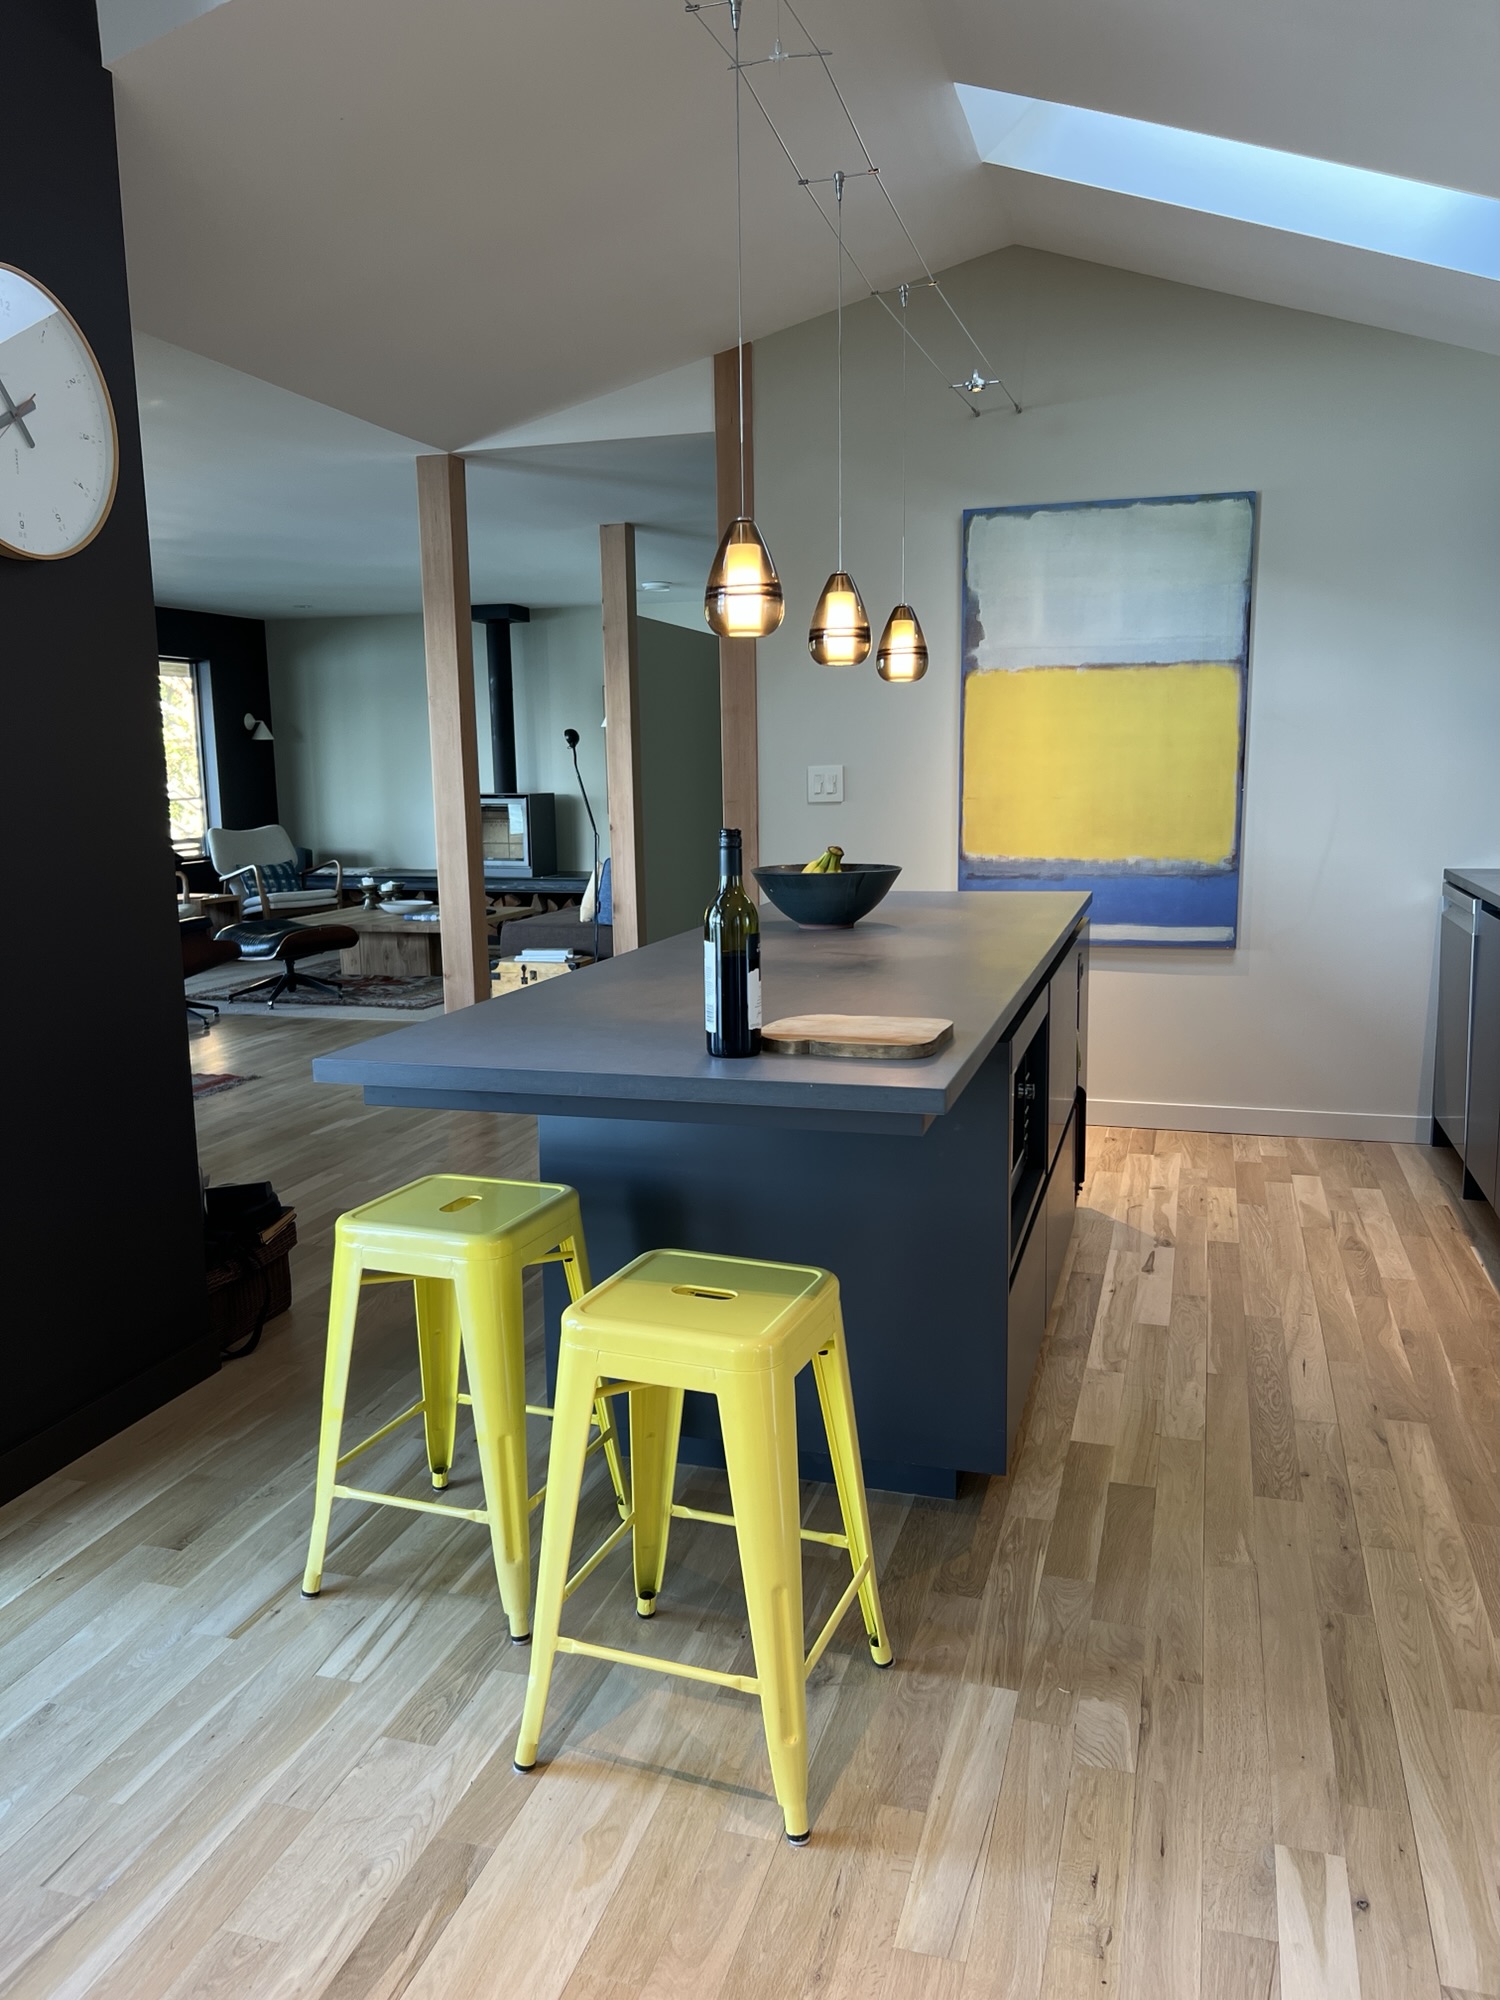
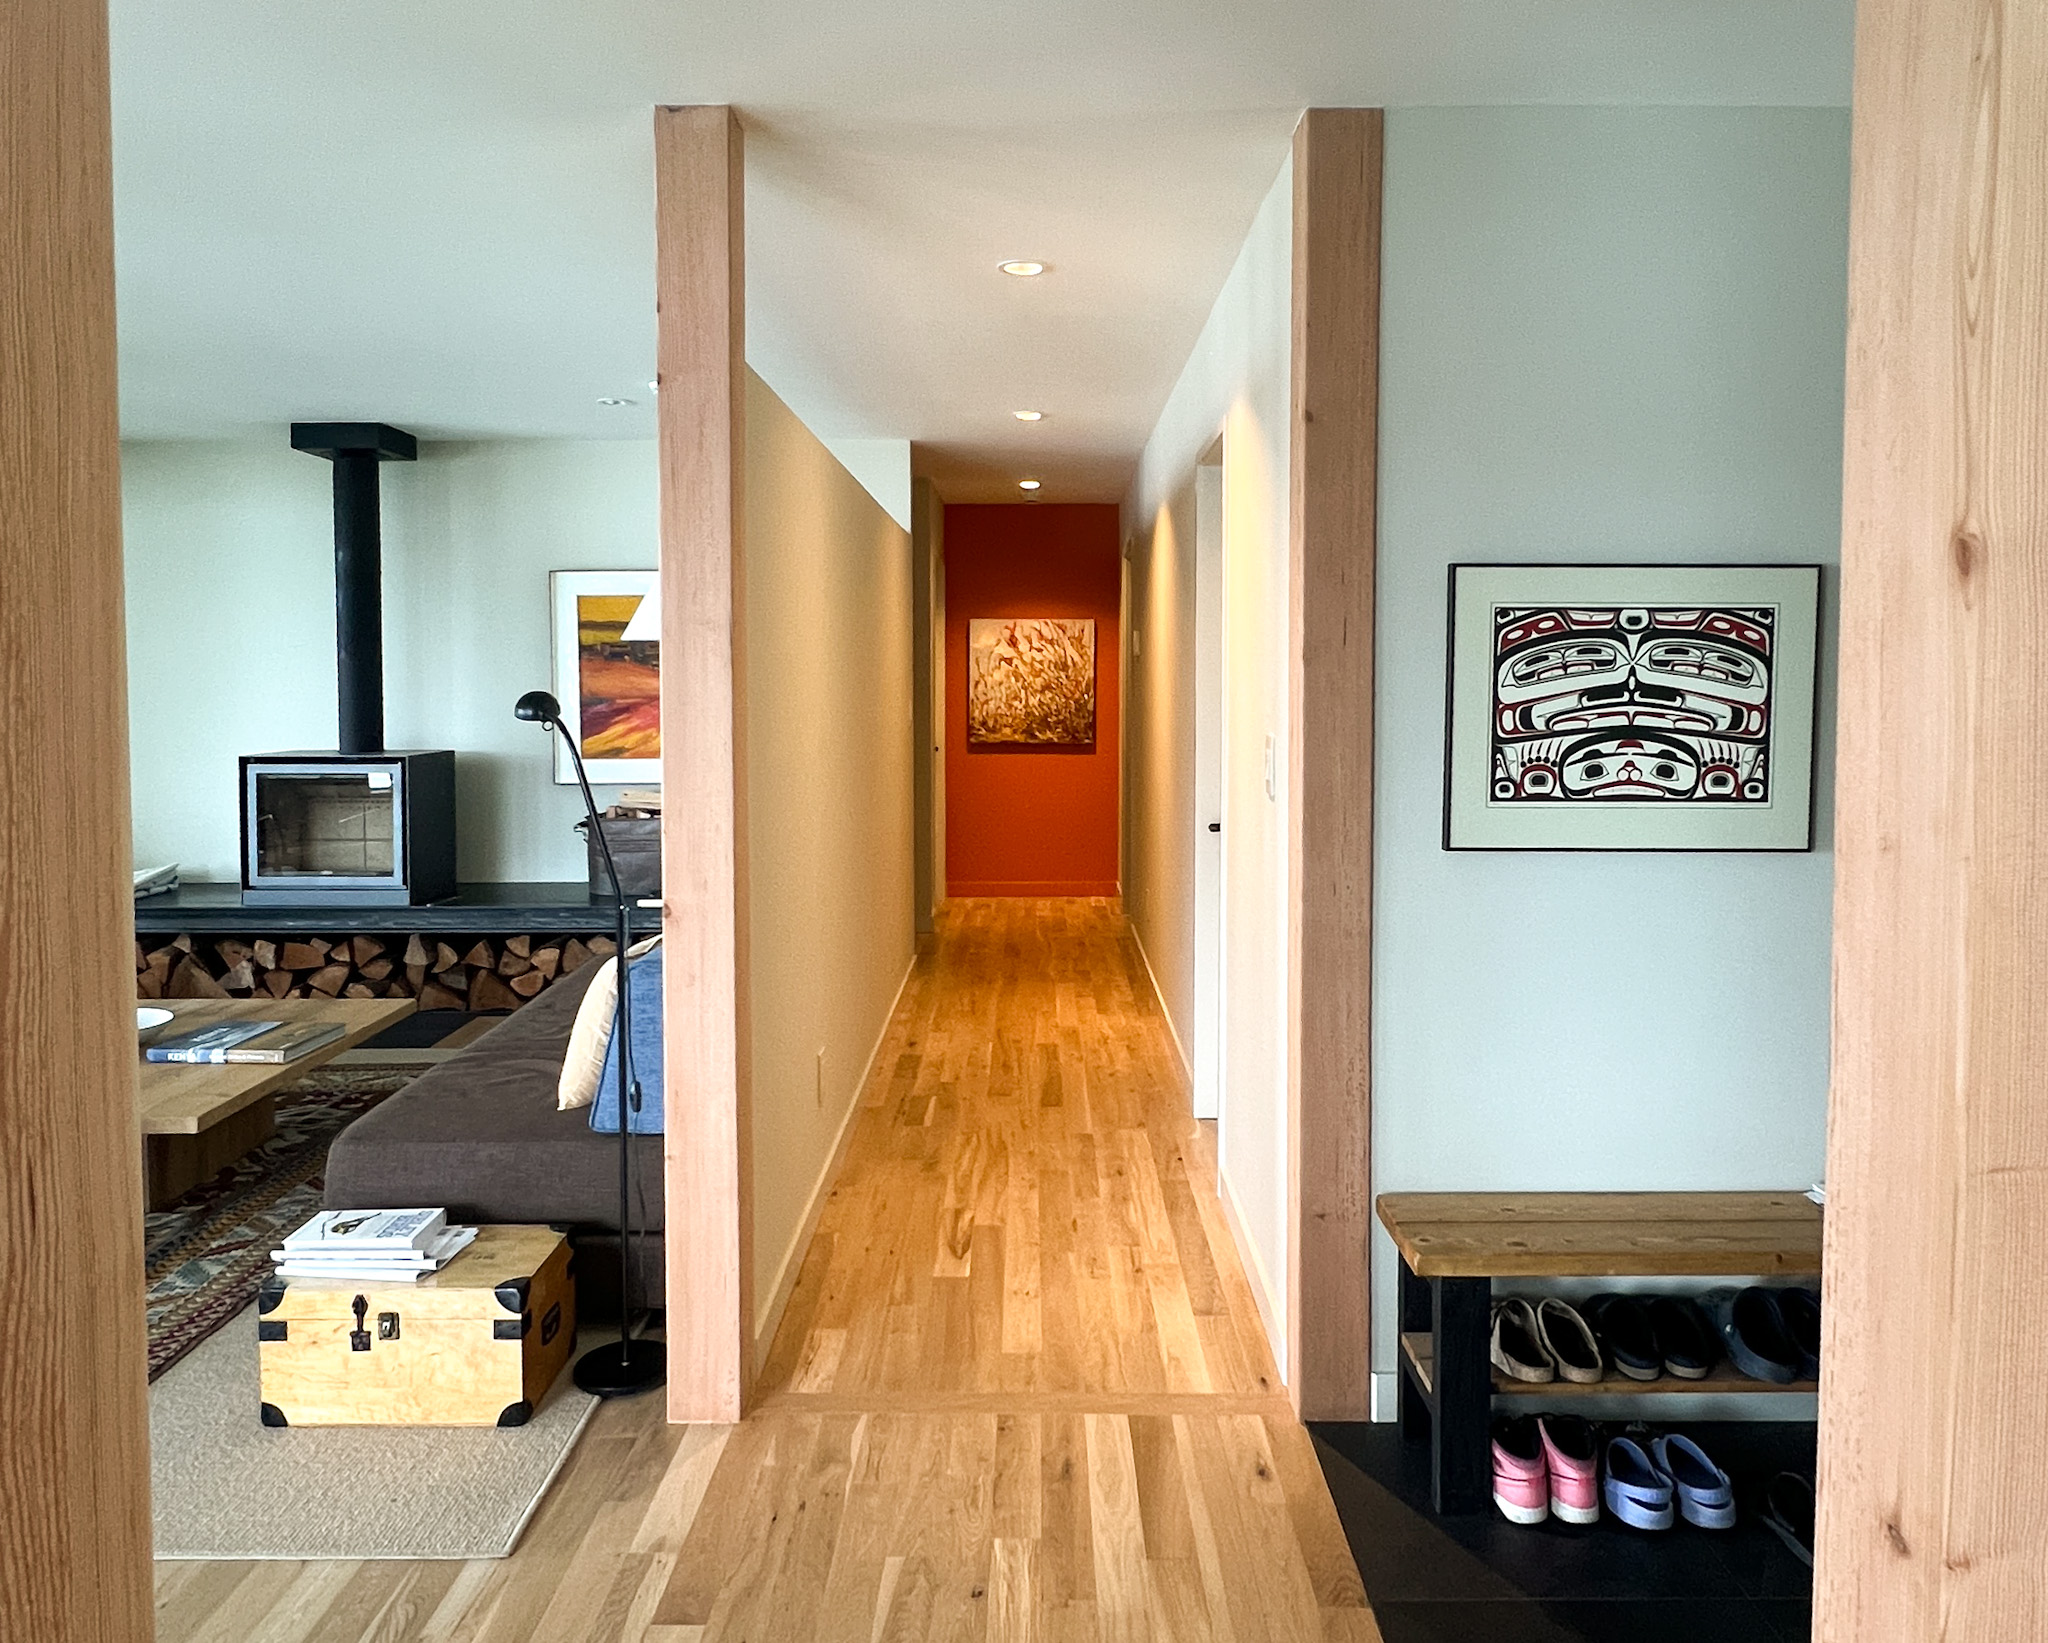
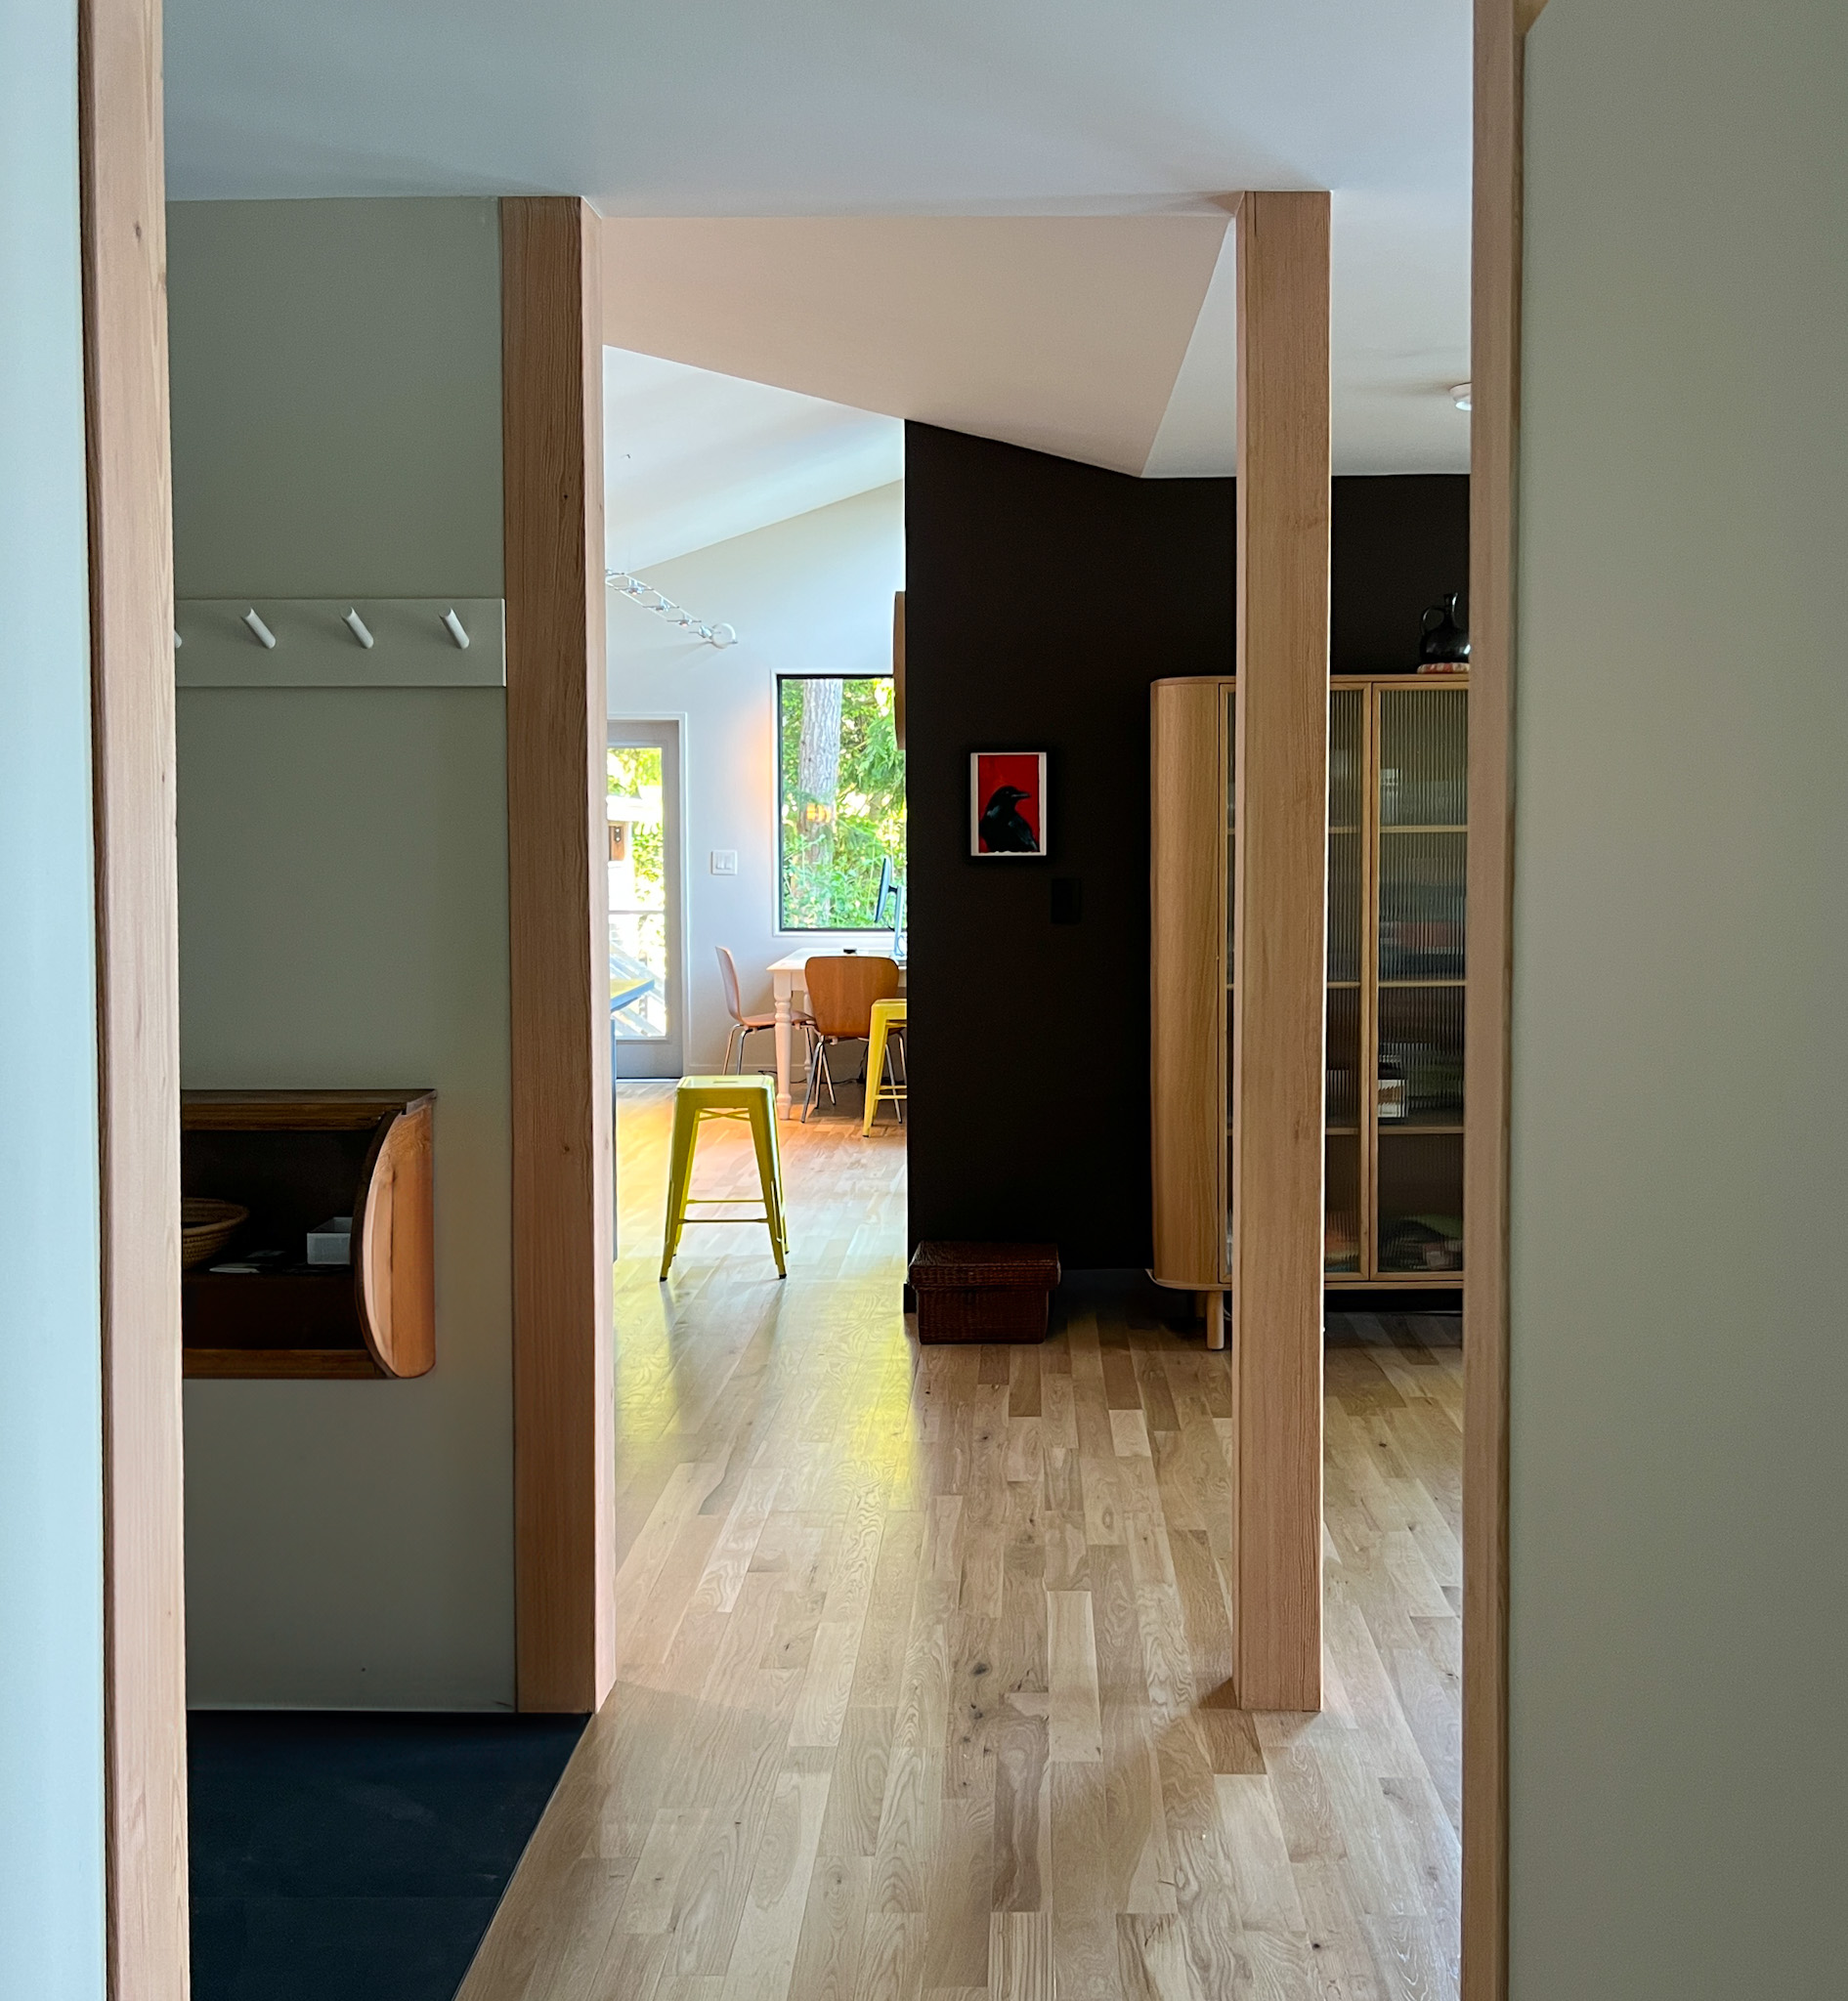
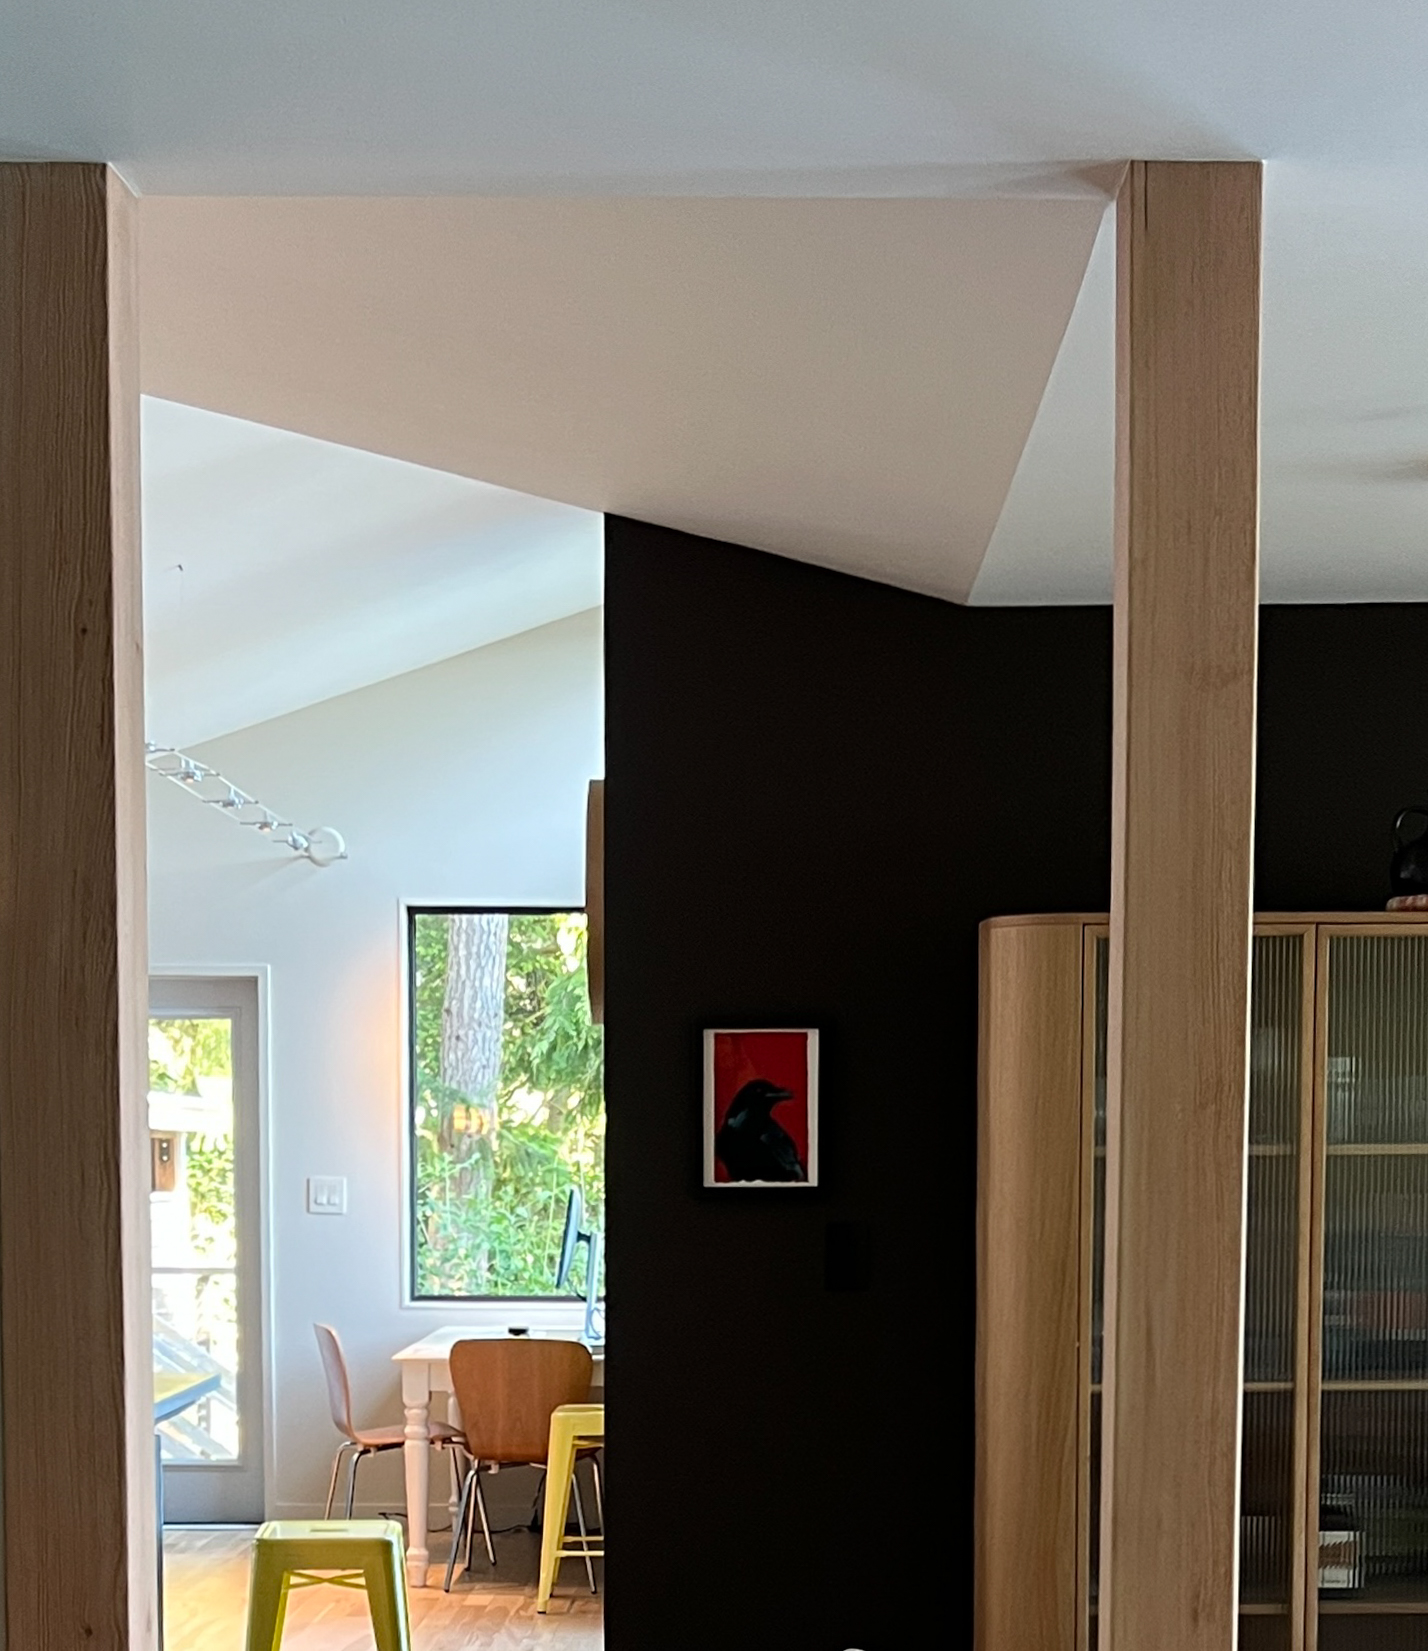
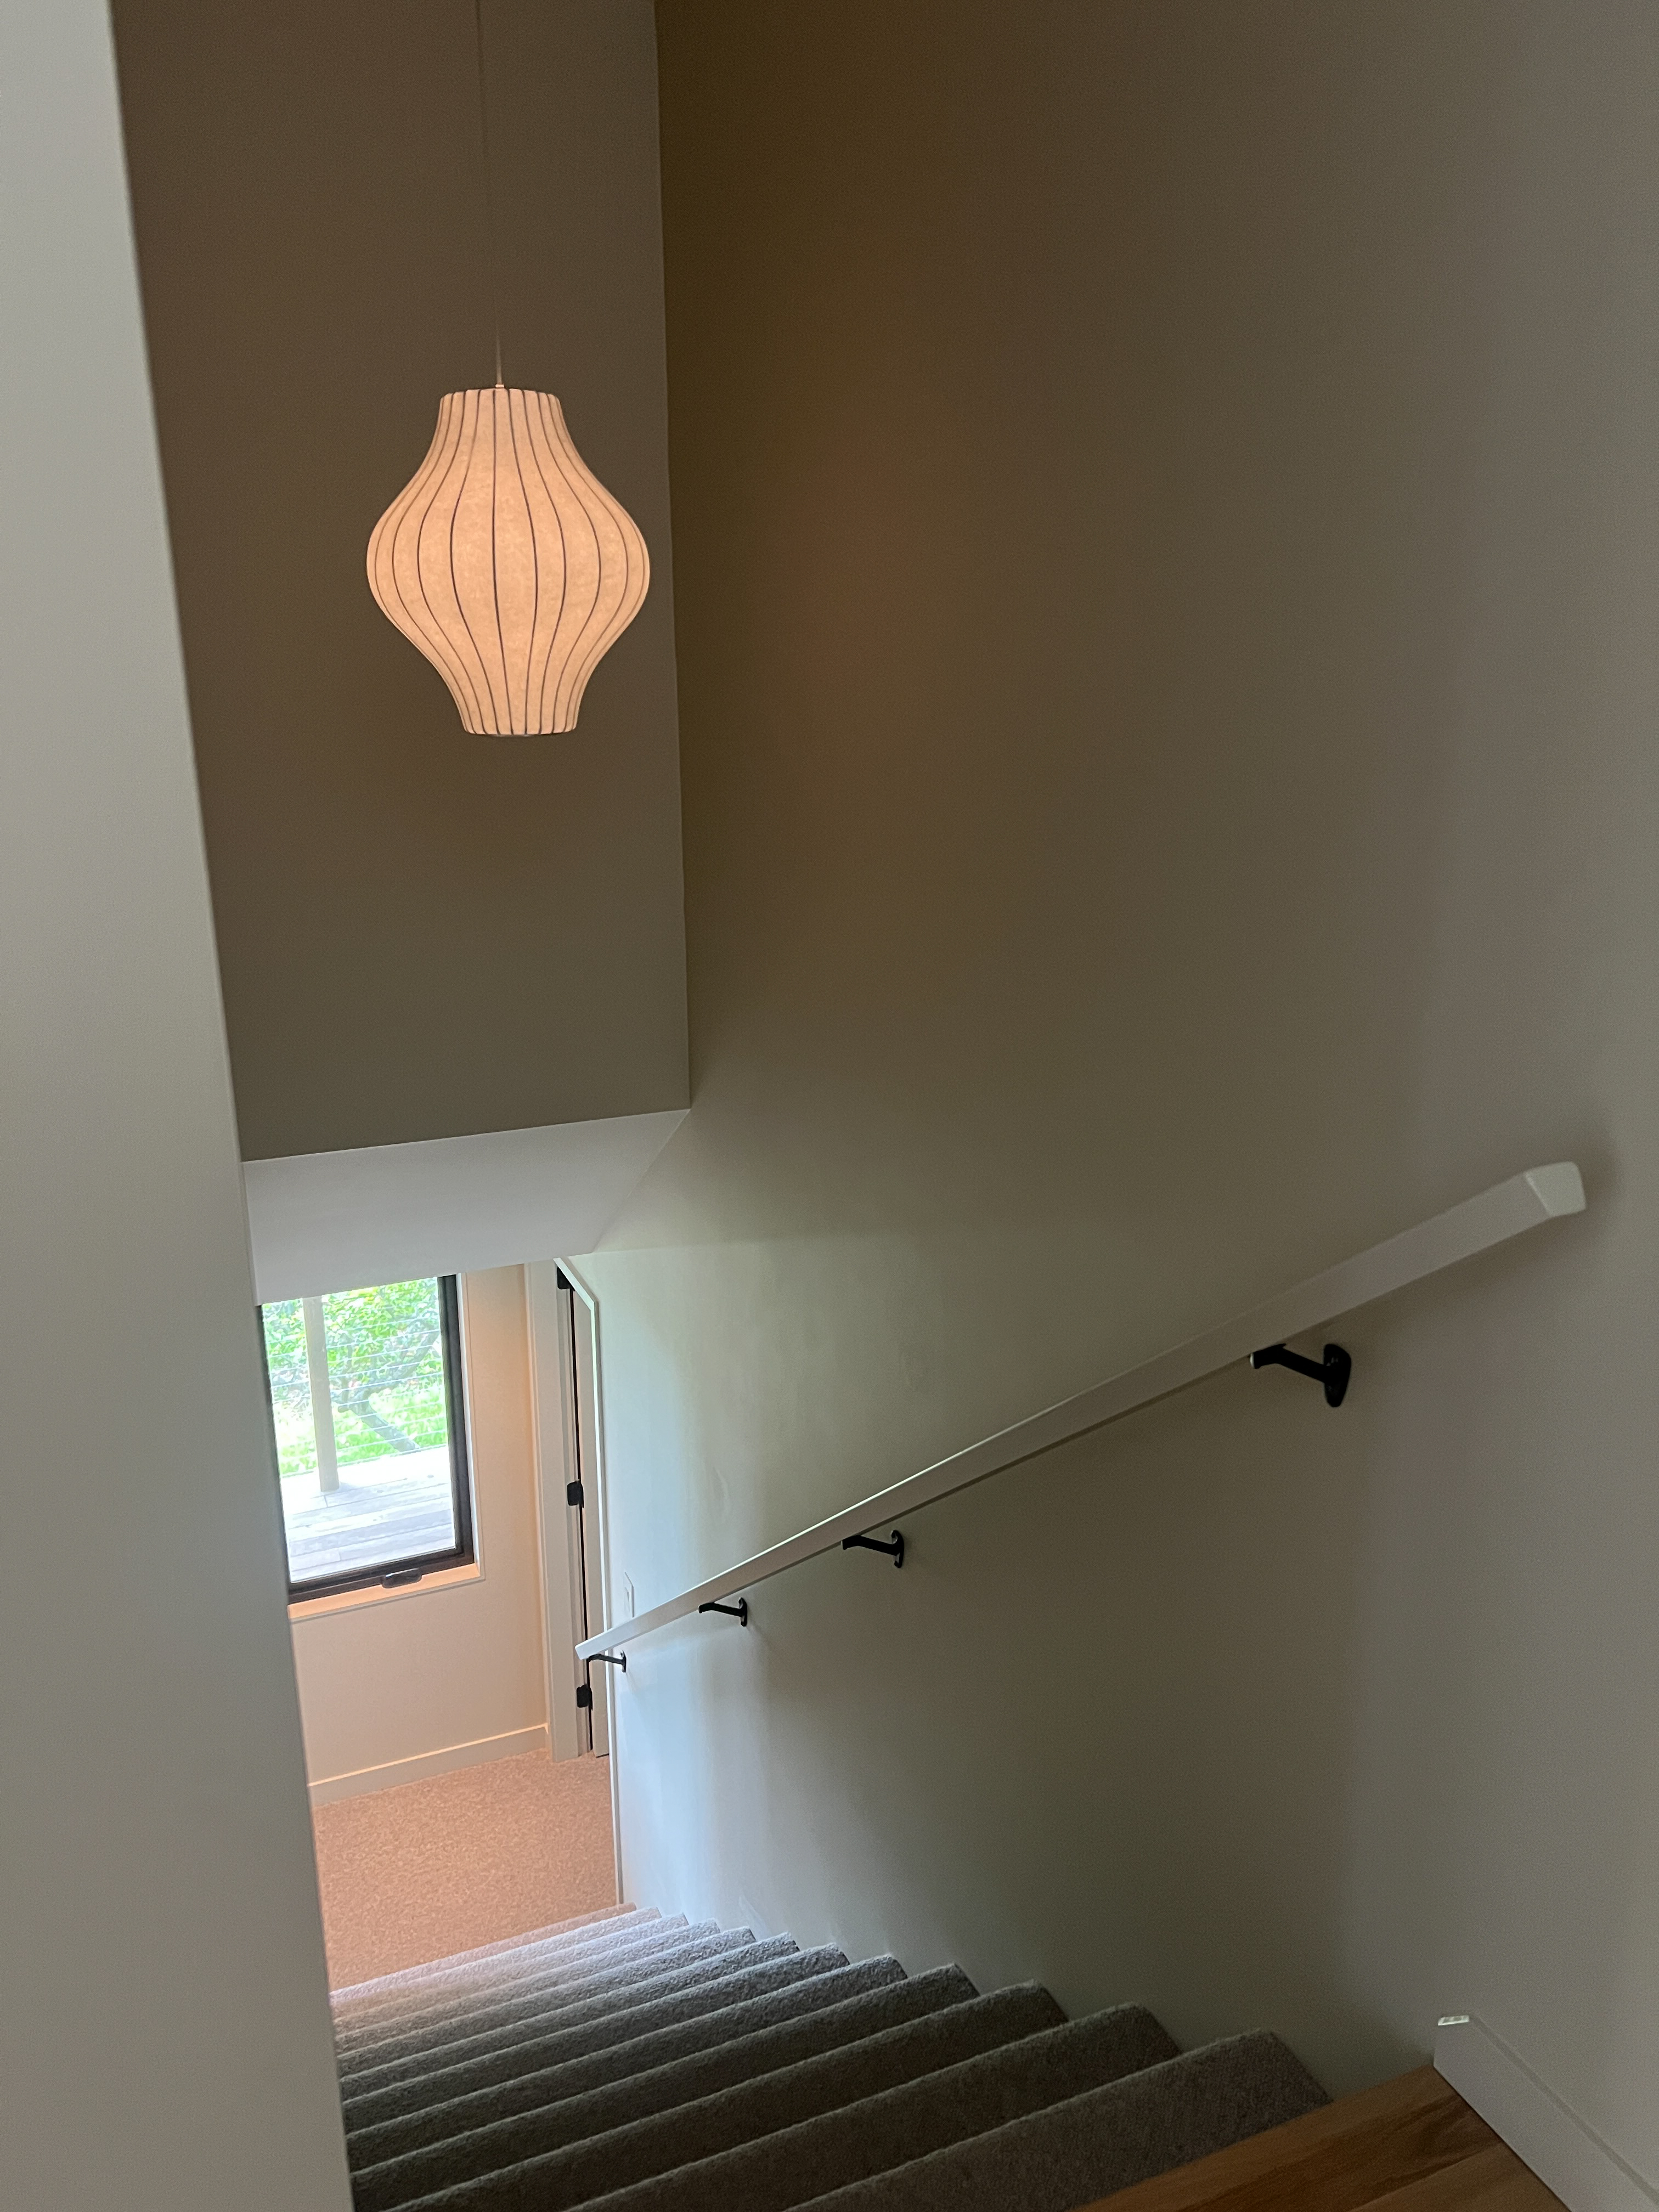
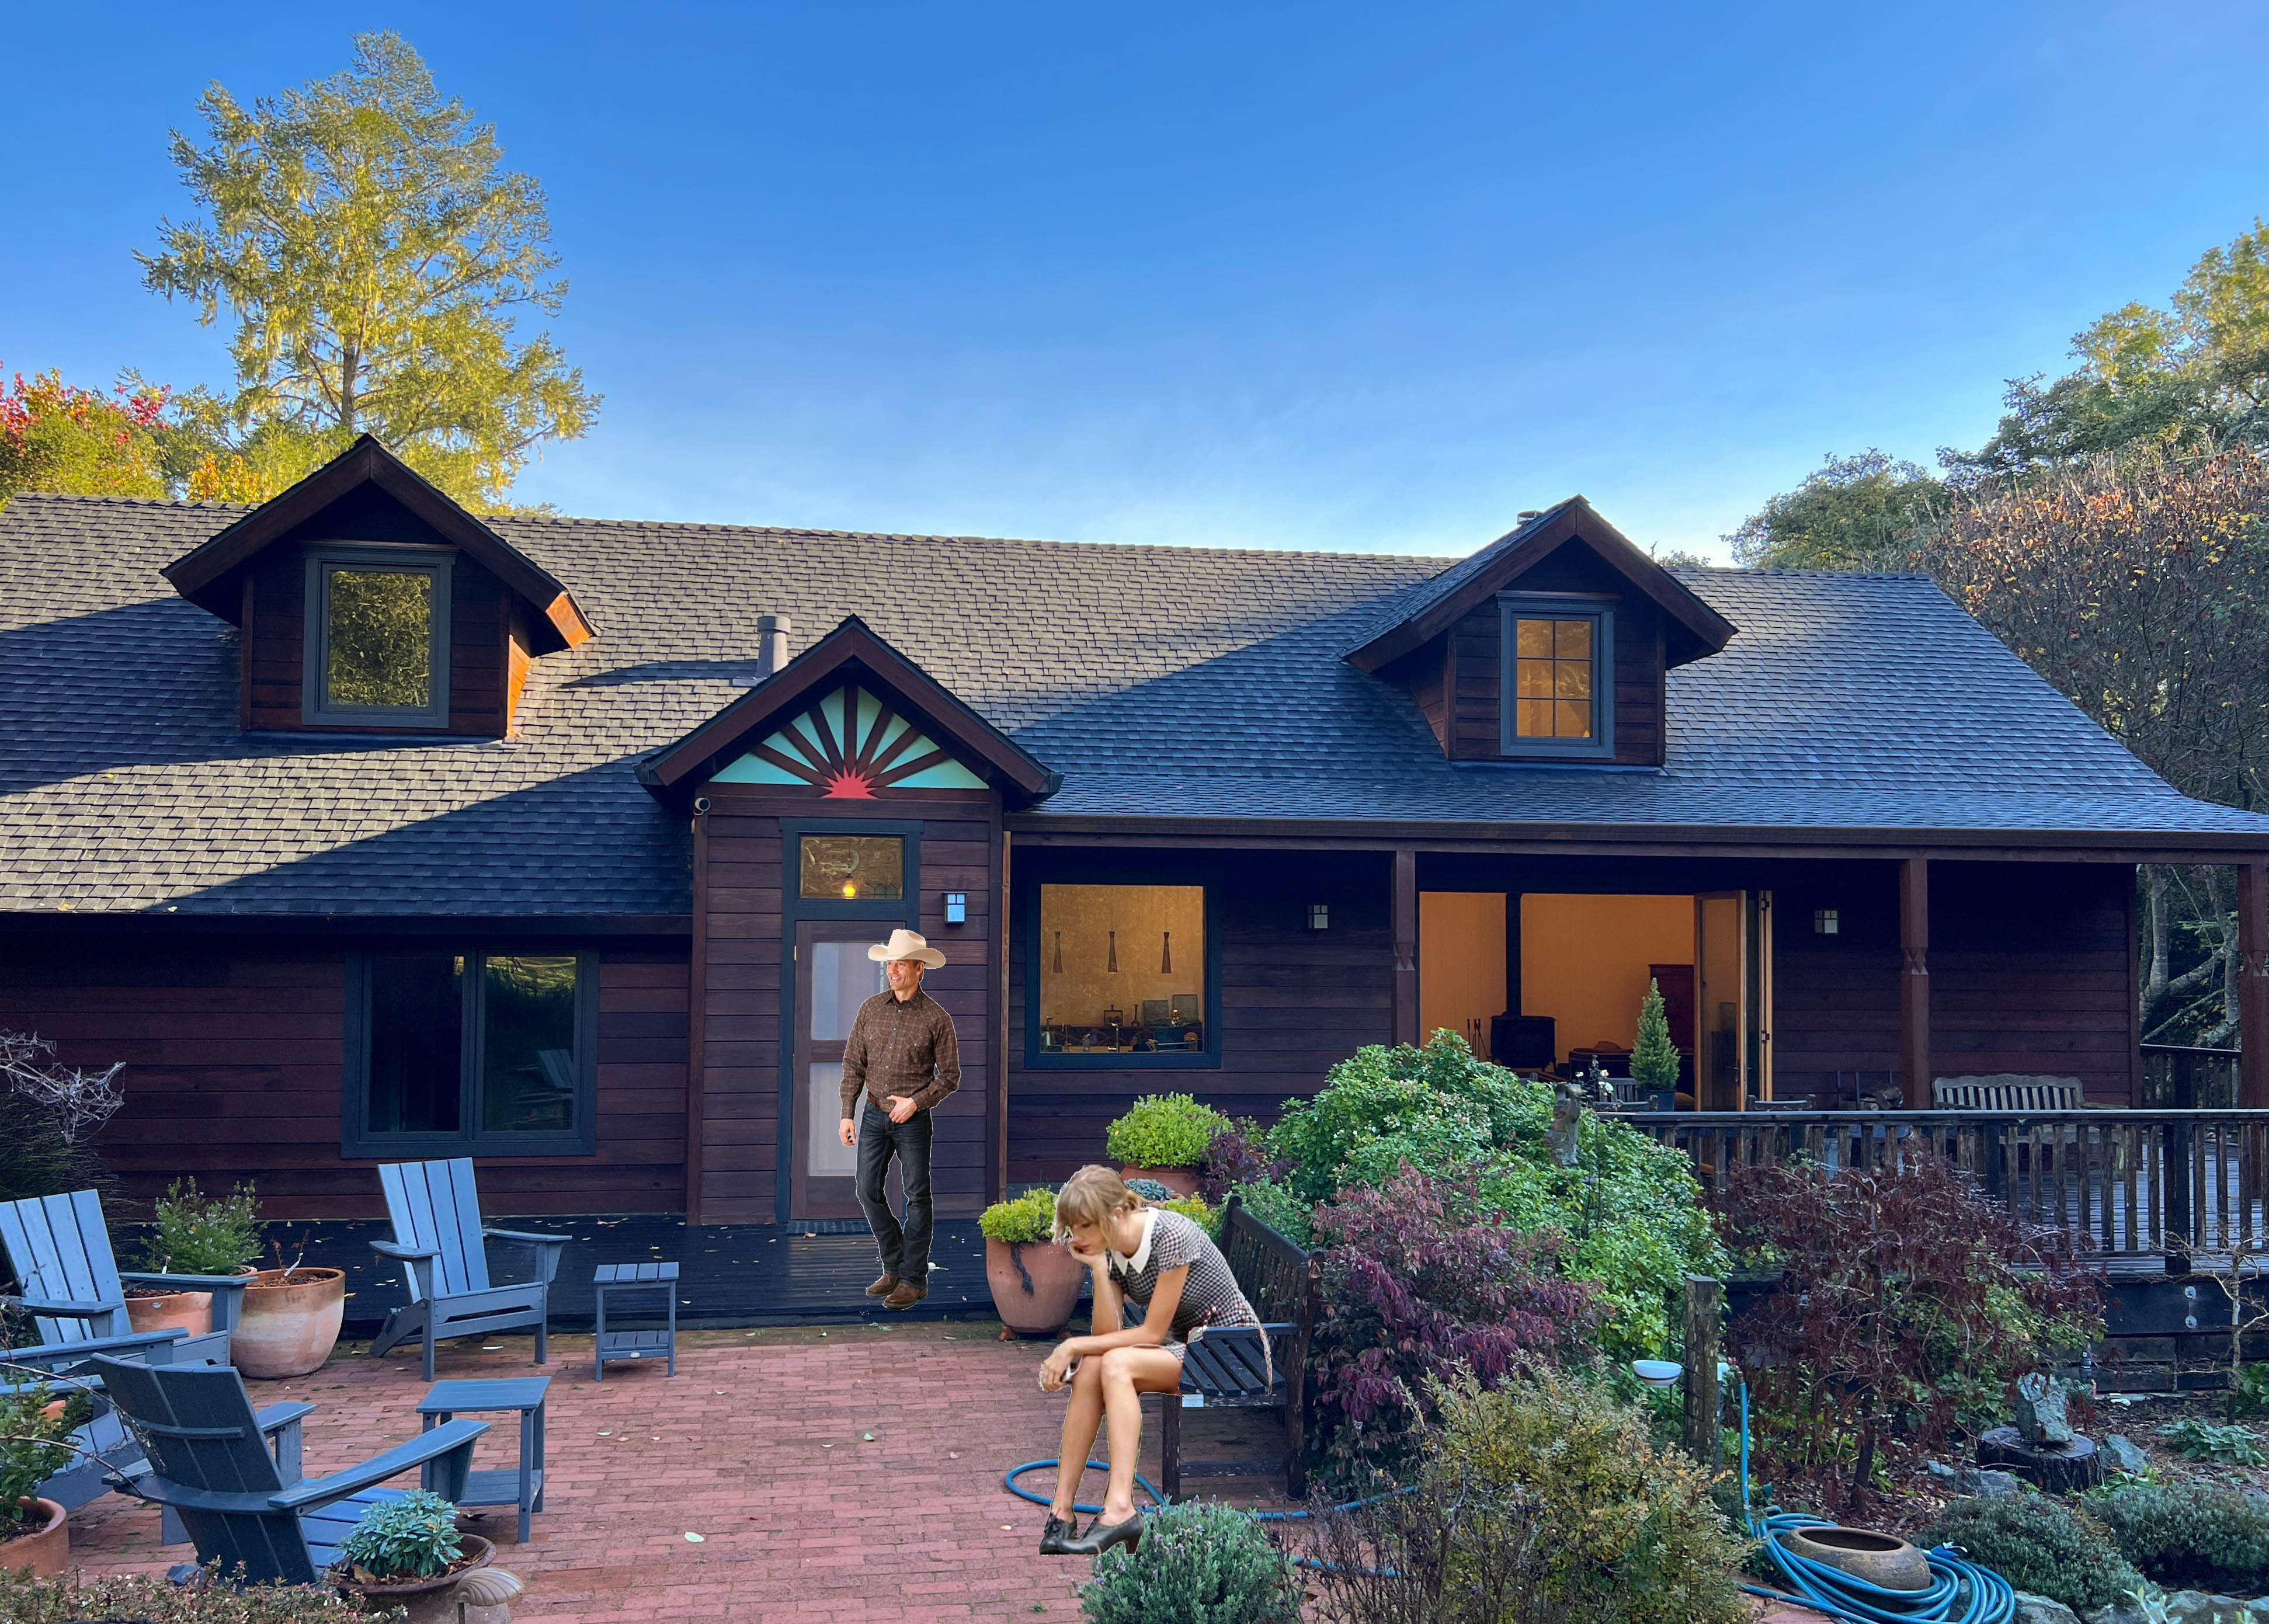
View of the house from the water. we simplified the roofline and deckView from the gate – Red windows and trim on this side to give it some personality from the road. New cedar entry porch with benches was a big improvement for easy access for all. (Old one had uneven stone steps down from driveway then back up several steps to the porch.) (I & AI added the ferns to the photo in the foreground, and strangely also a fish amongst the ferns) enjoying the viewBC Ferry Salish Heron with Mayne Island, Prevost Island, Pender Island, and The Olympics beyondEnjoying the viewLong south side covered porch. We eliminated the non structural posts that went to the roof and did not miss them despite my concerns that it might look odd without some posts. Enjoying the fir postkitchen transition to living and dining room – vaulted ceiling to flat ceiling. This was a tricky structural bit for the builder because he had to modify the existing trusses and I am thankful that the owners saw the value in making the transition what it should be rather than the easiest way. Kitchen counters are Paperstone – made from recycled paper and both warm to the touch and acoustically dampening. Livingroom – My favorite detail is the steel beam supporting the wood stove shelflooking downtown the bedroom hallway – we made it more private but kept a slot at the top of the wall to let light through. Aimable recessed light at the end illuminates a painting. Looking past entry toward kitchen – ceiling transition and four fir posts creating an elegant transitionmoonlight and ferryInterior window detail – painted wood jamb on all 4 sides. Another view of the window detailRelocated stairs to the lower level. (Old ones were in the prime real estate between kitchen and dining room.)Owner jsut sent me an updated photo of the kitchen with the tiled backsplash finished. Looks great!
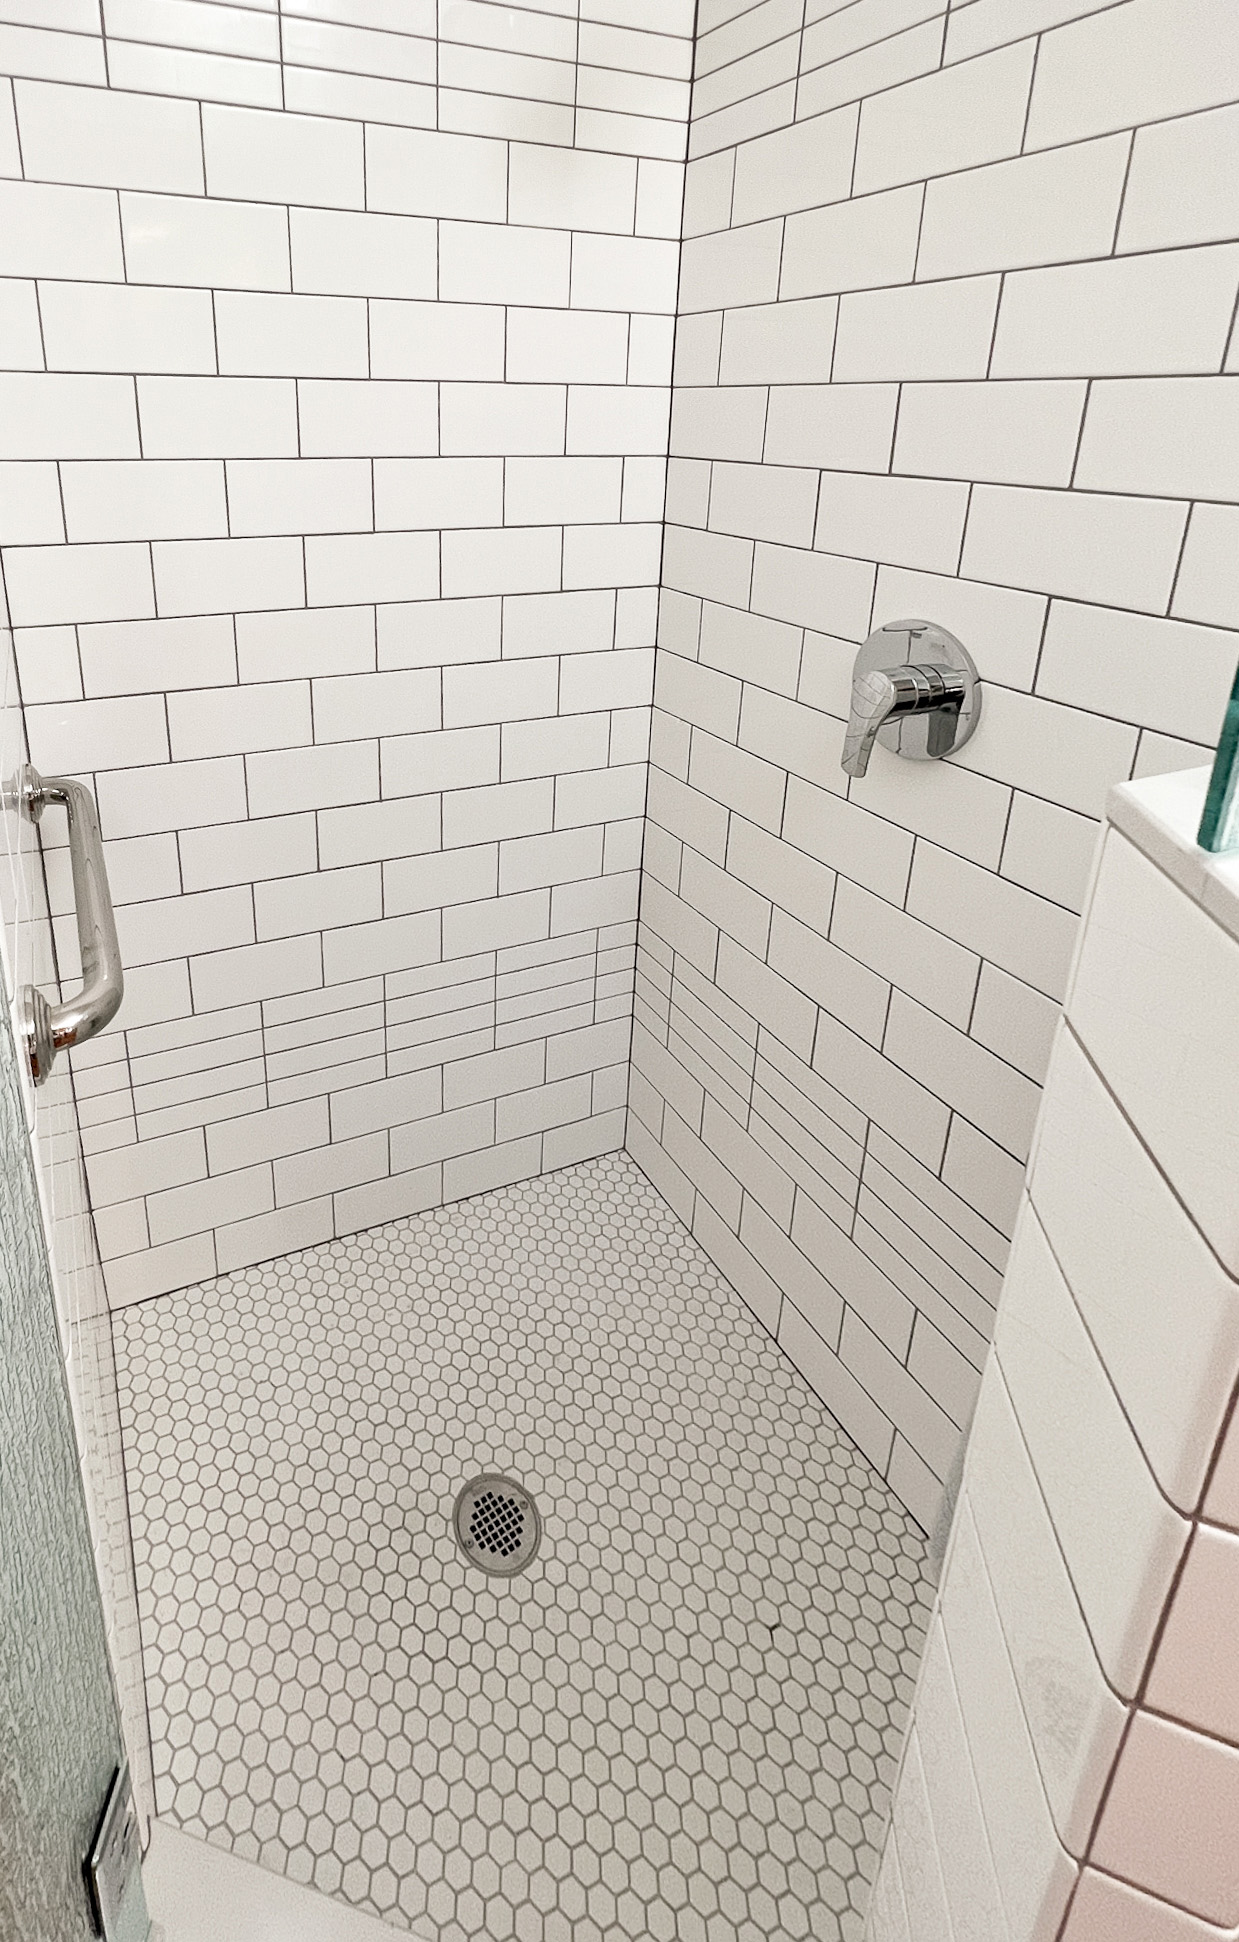
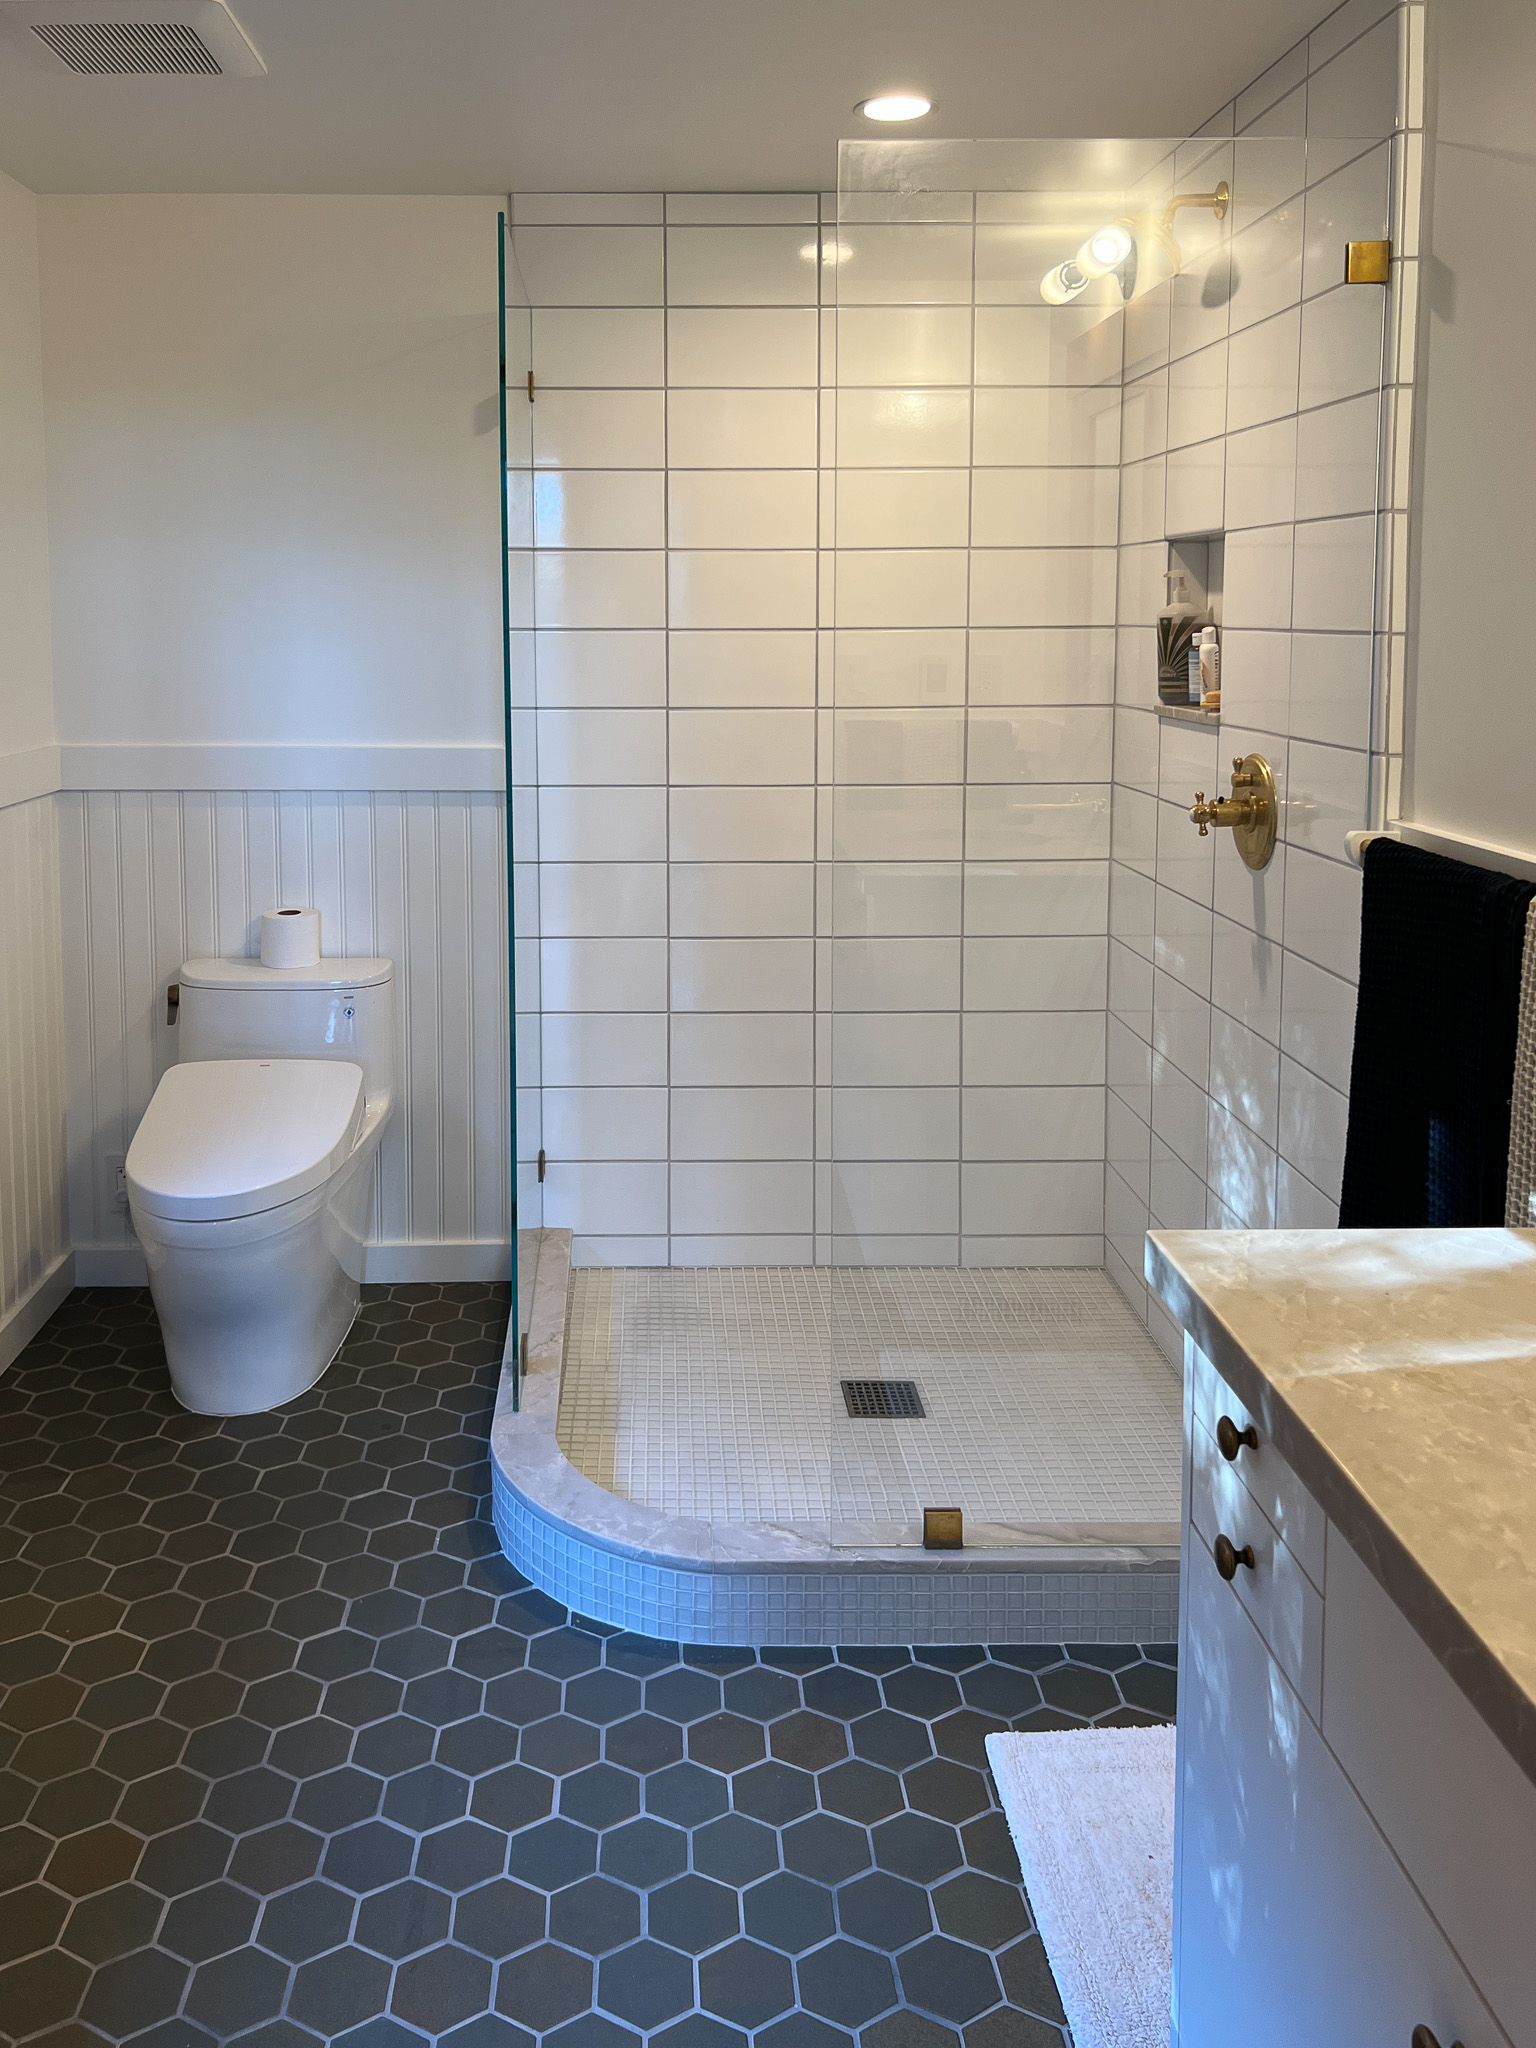
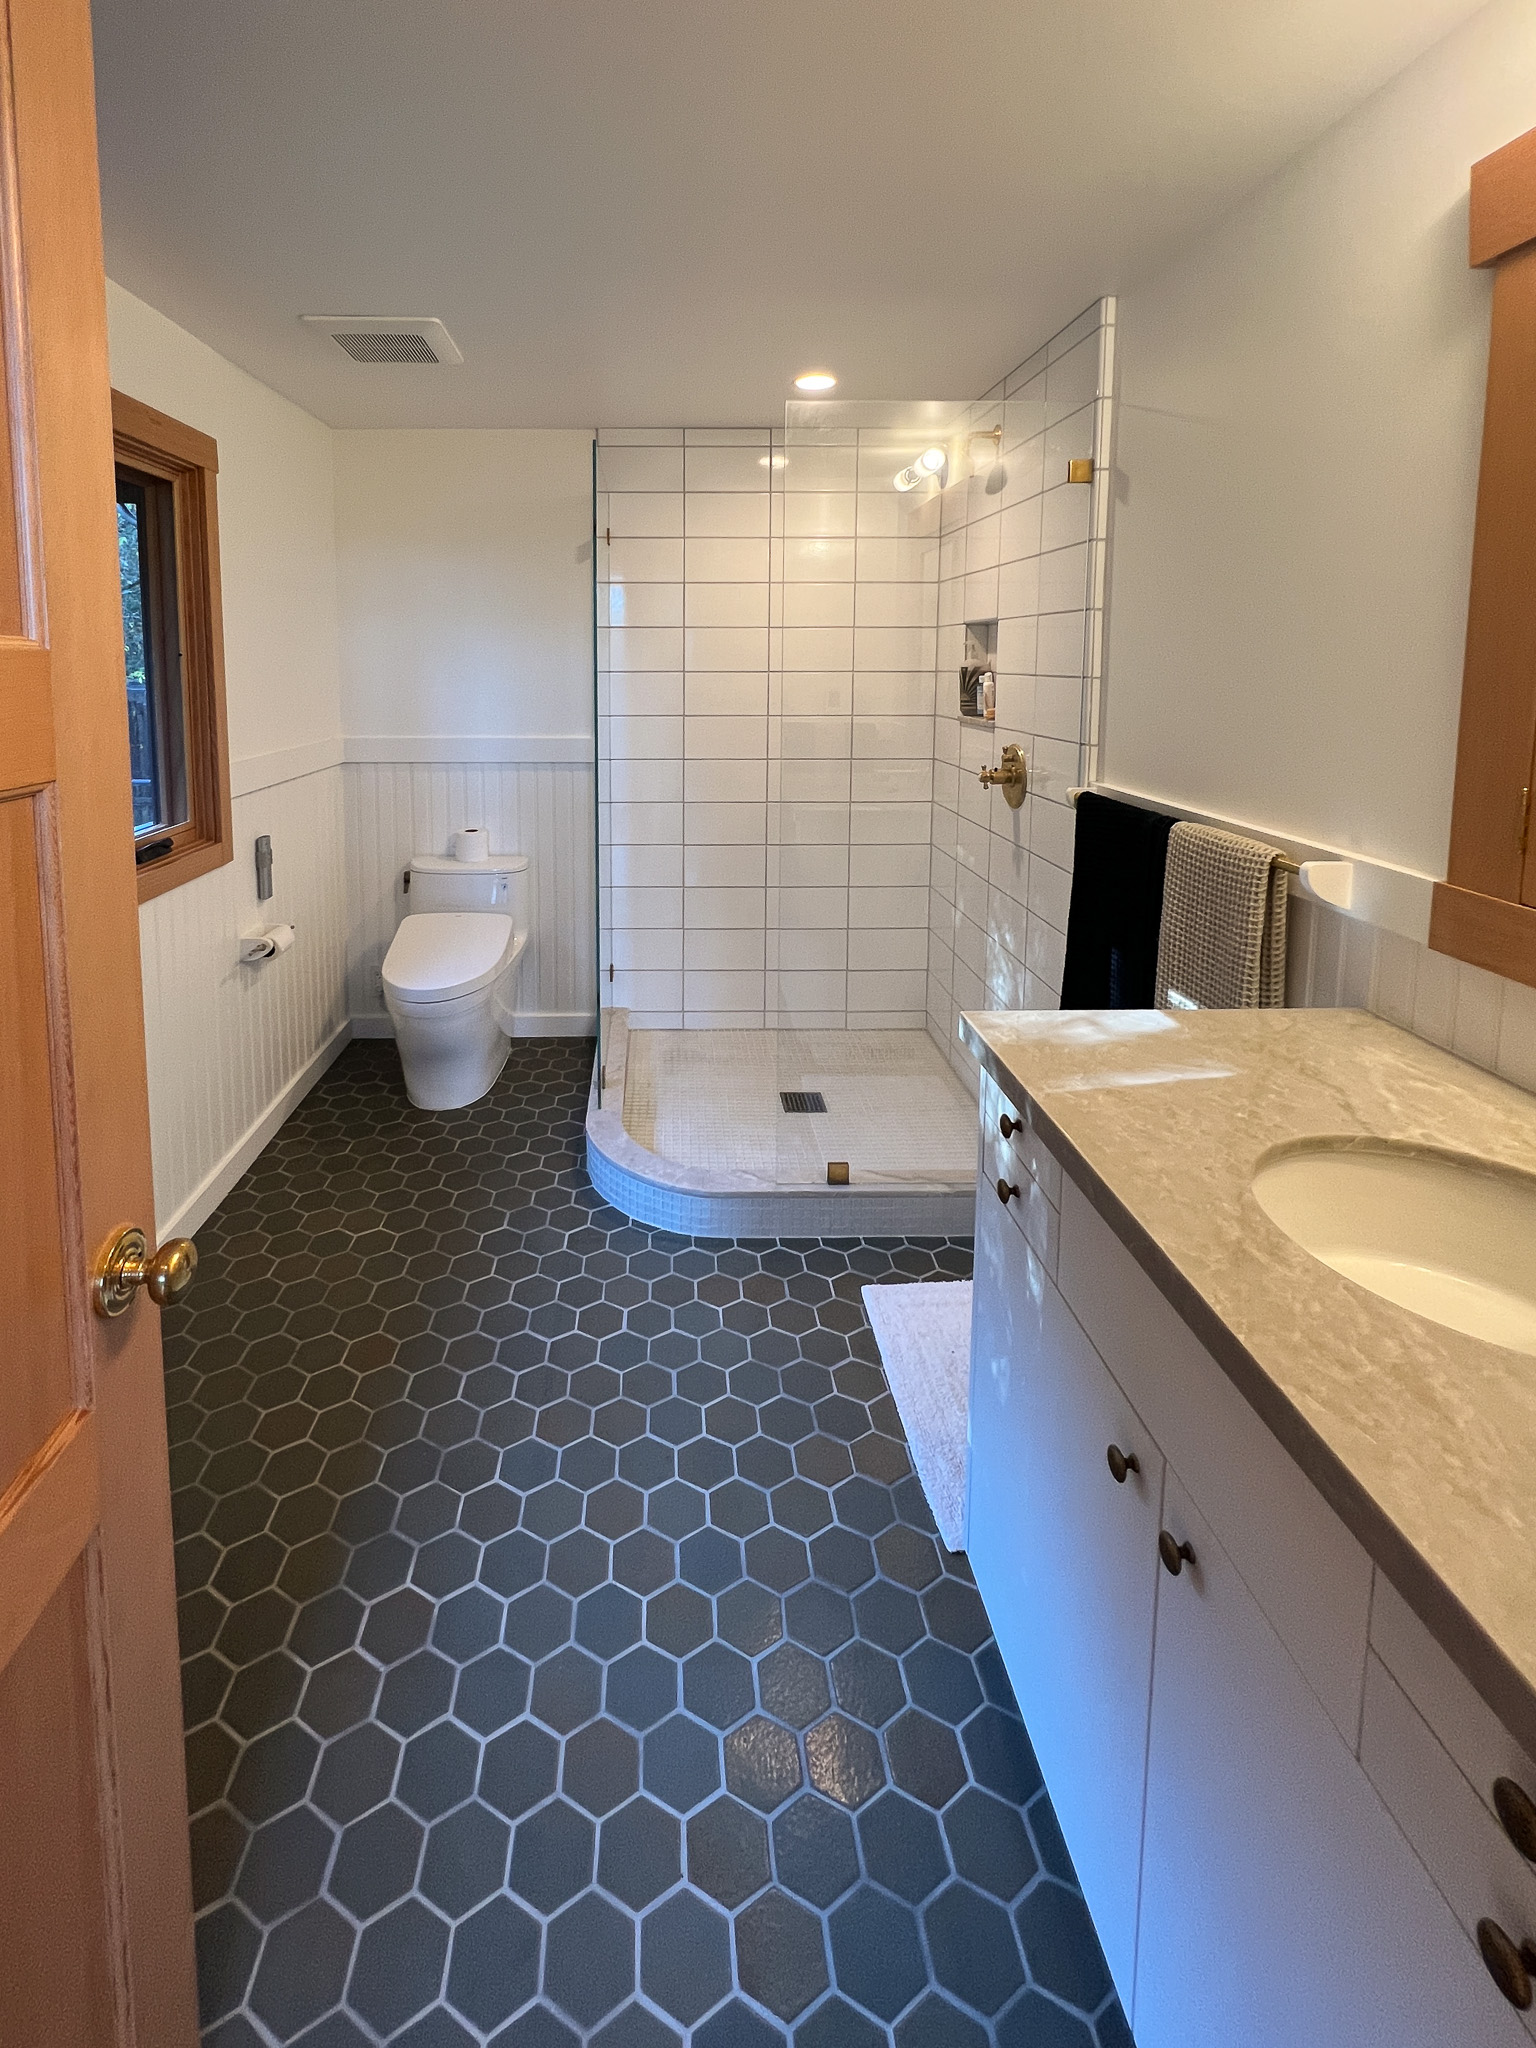
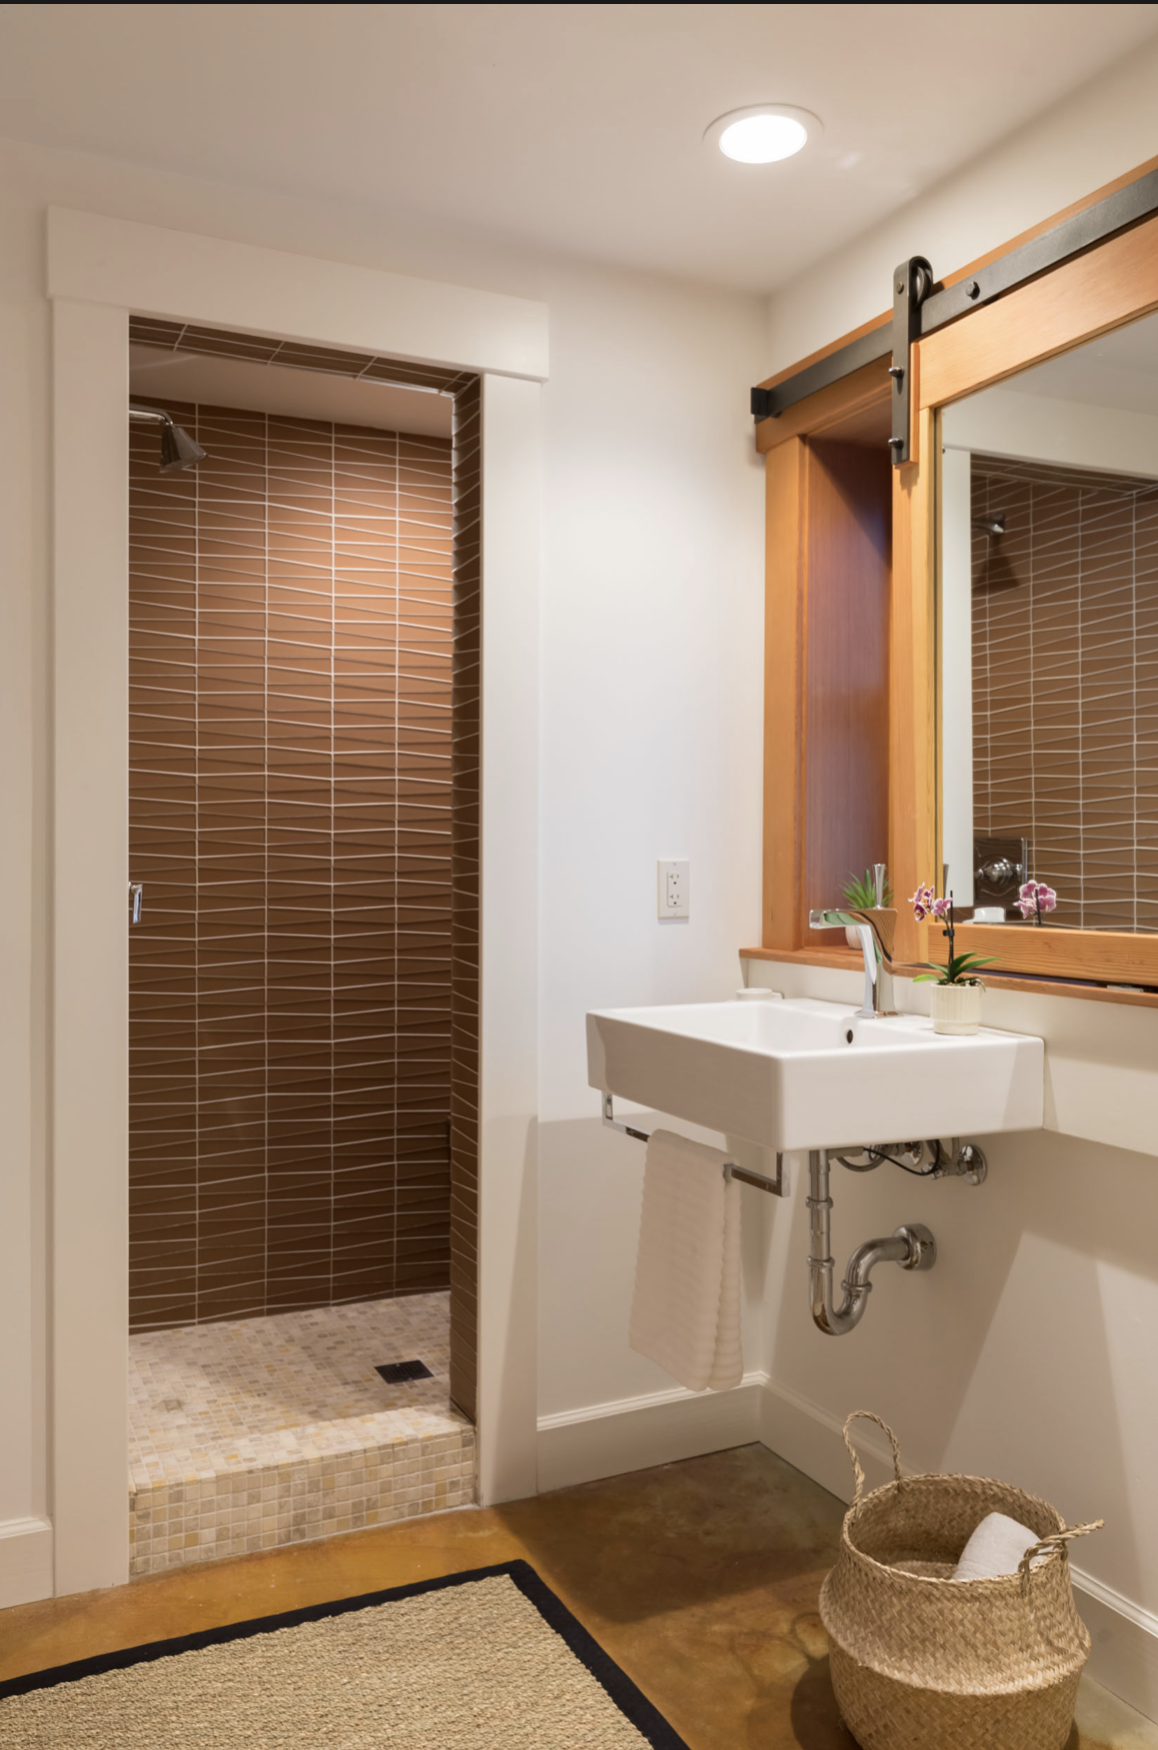
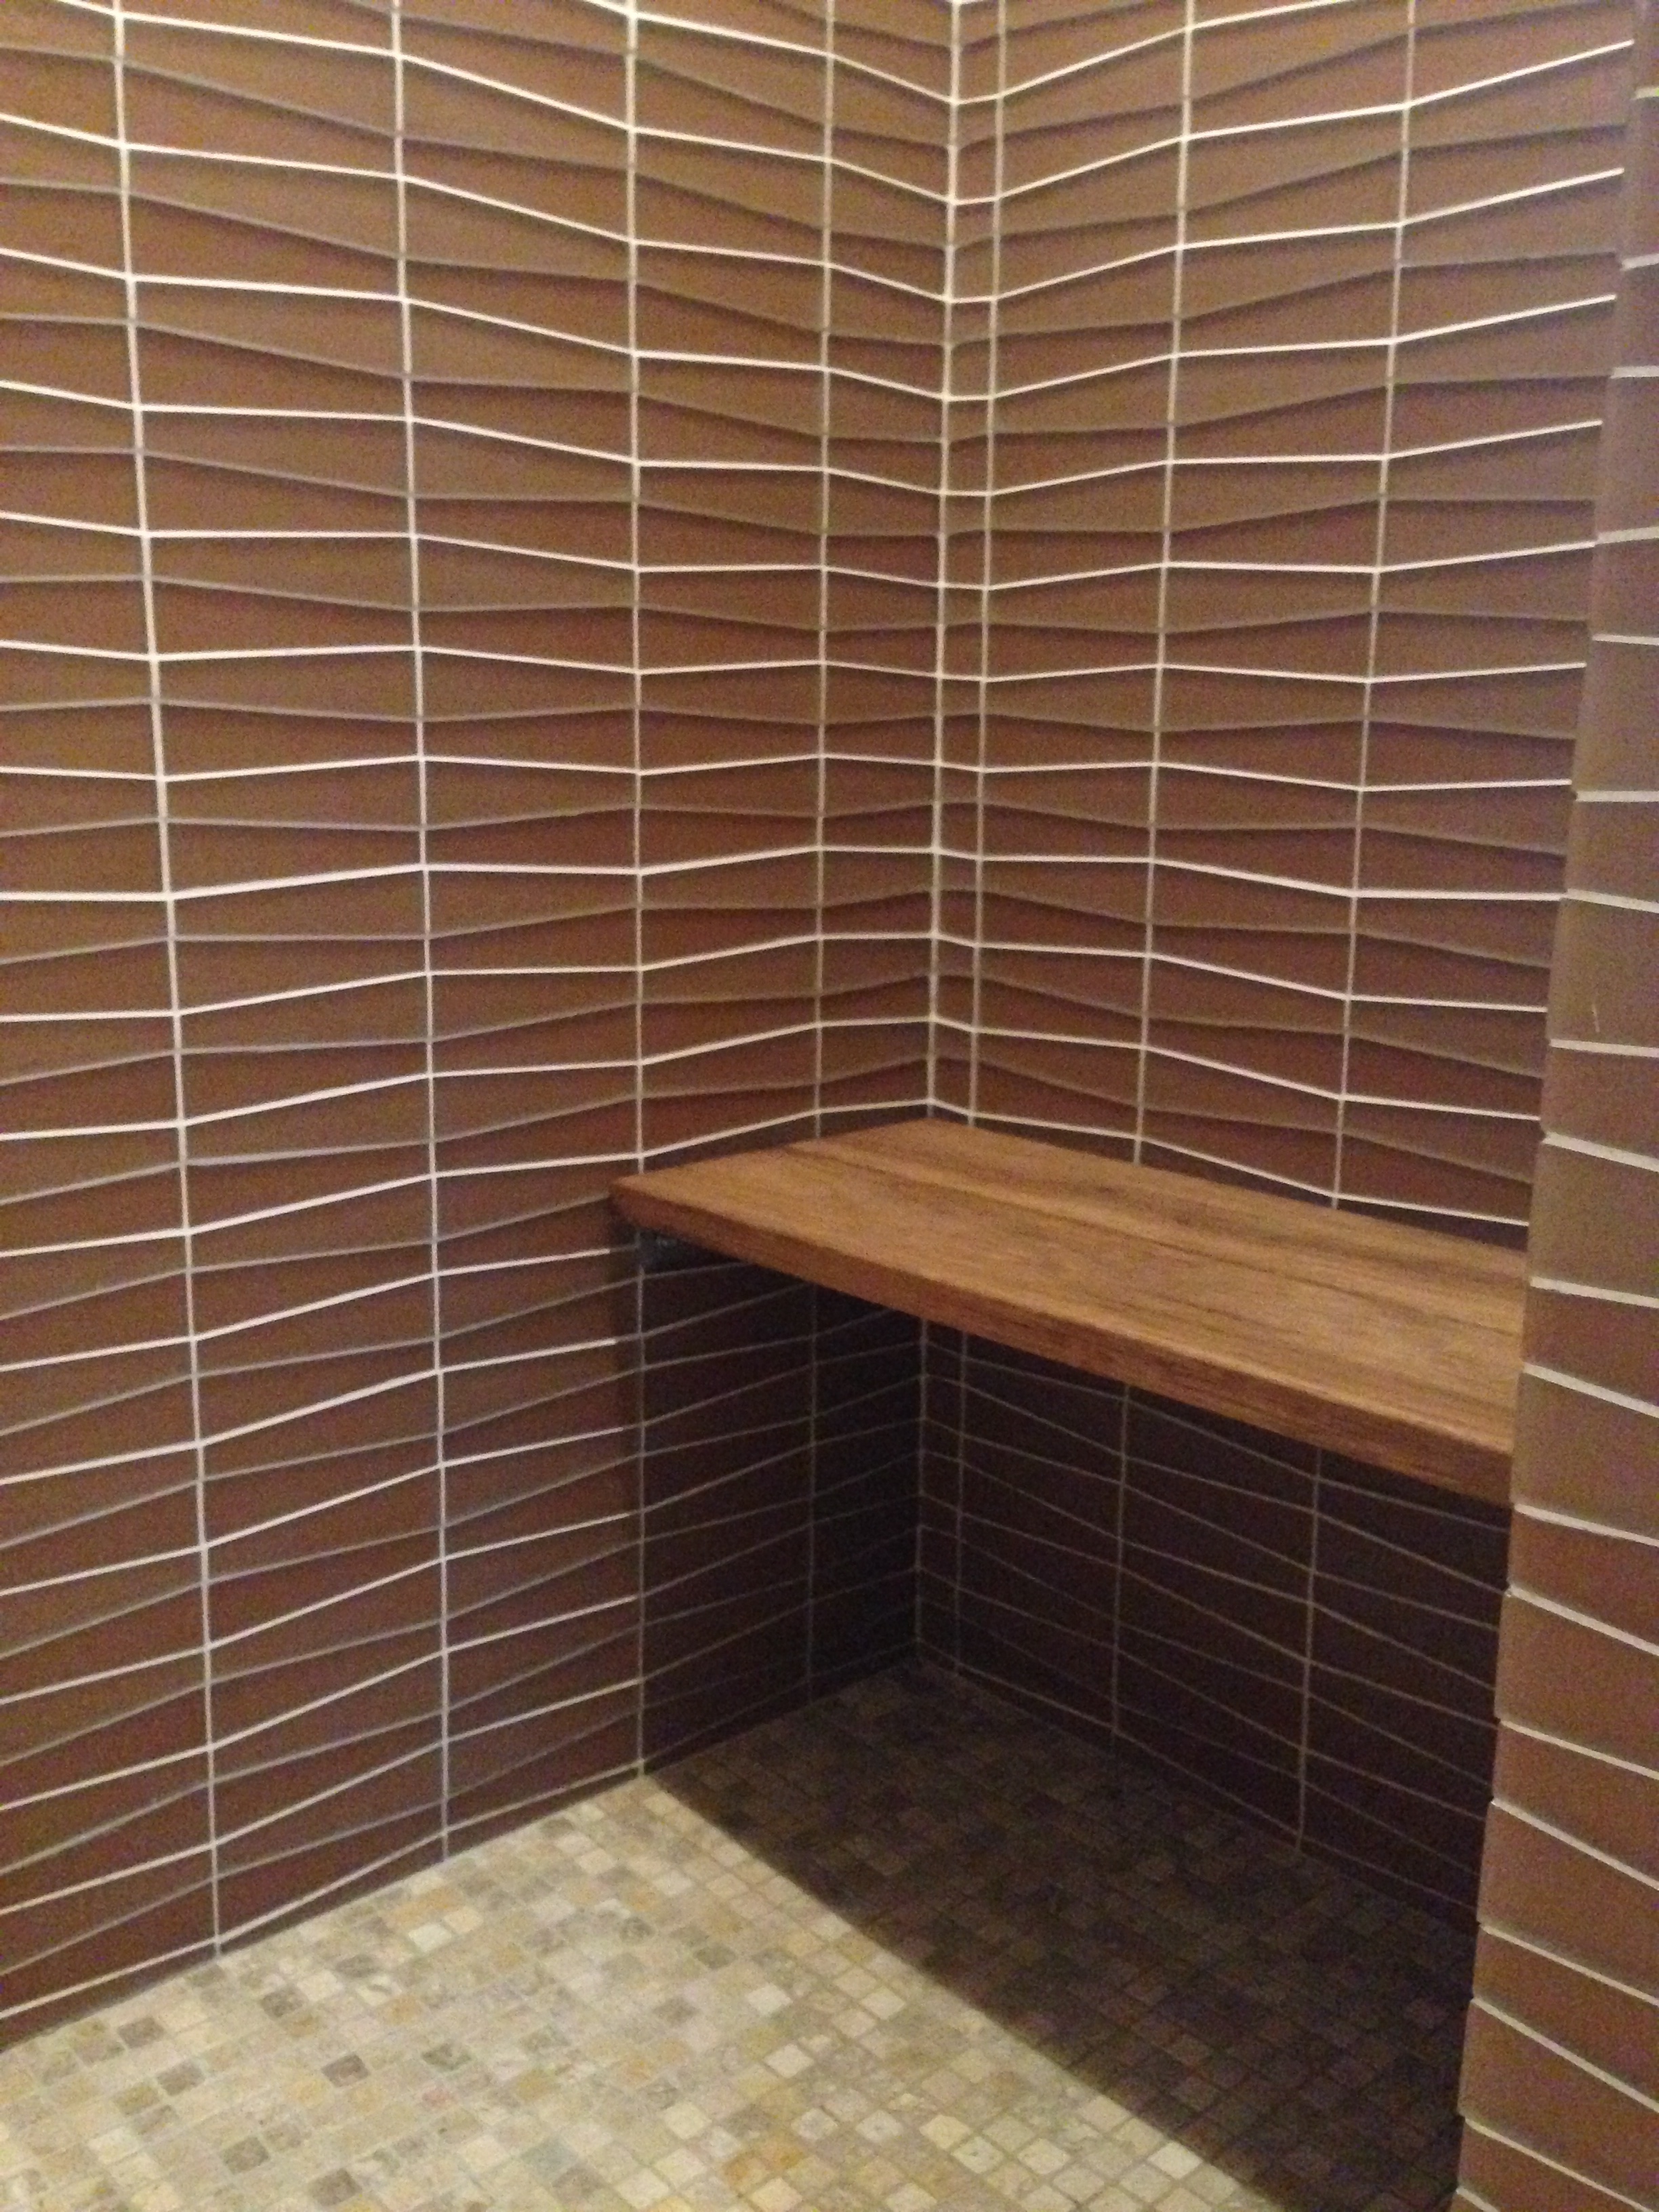
I enjoyed adding a bit more pattern to simple white tiled tub and shower walls. This was a recent tiny house bathroom in North Berkeley. Work was accomplished by Steve Coleman Builders and Sarah Young Tile.
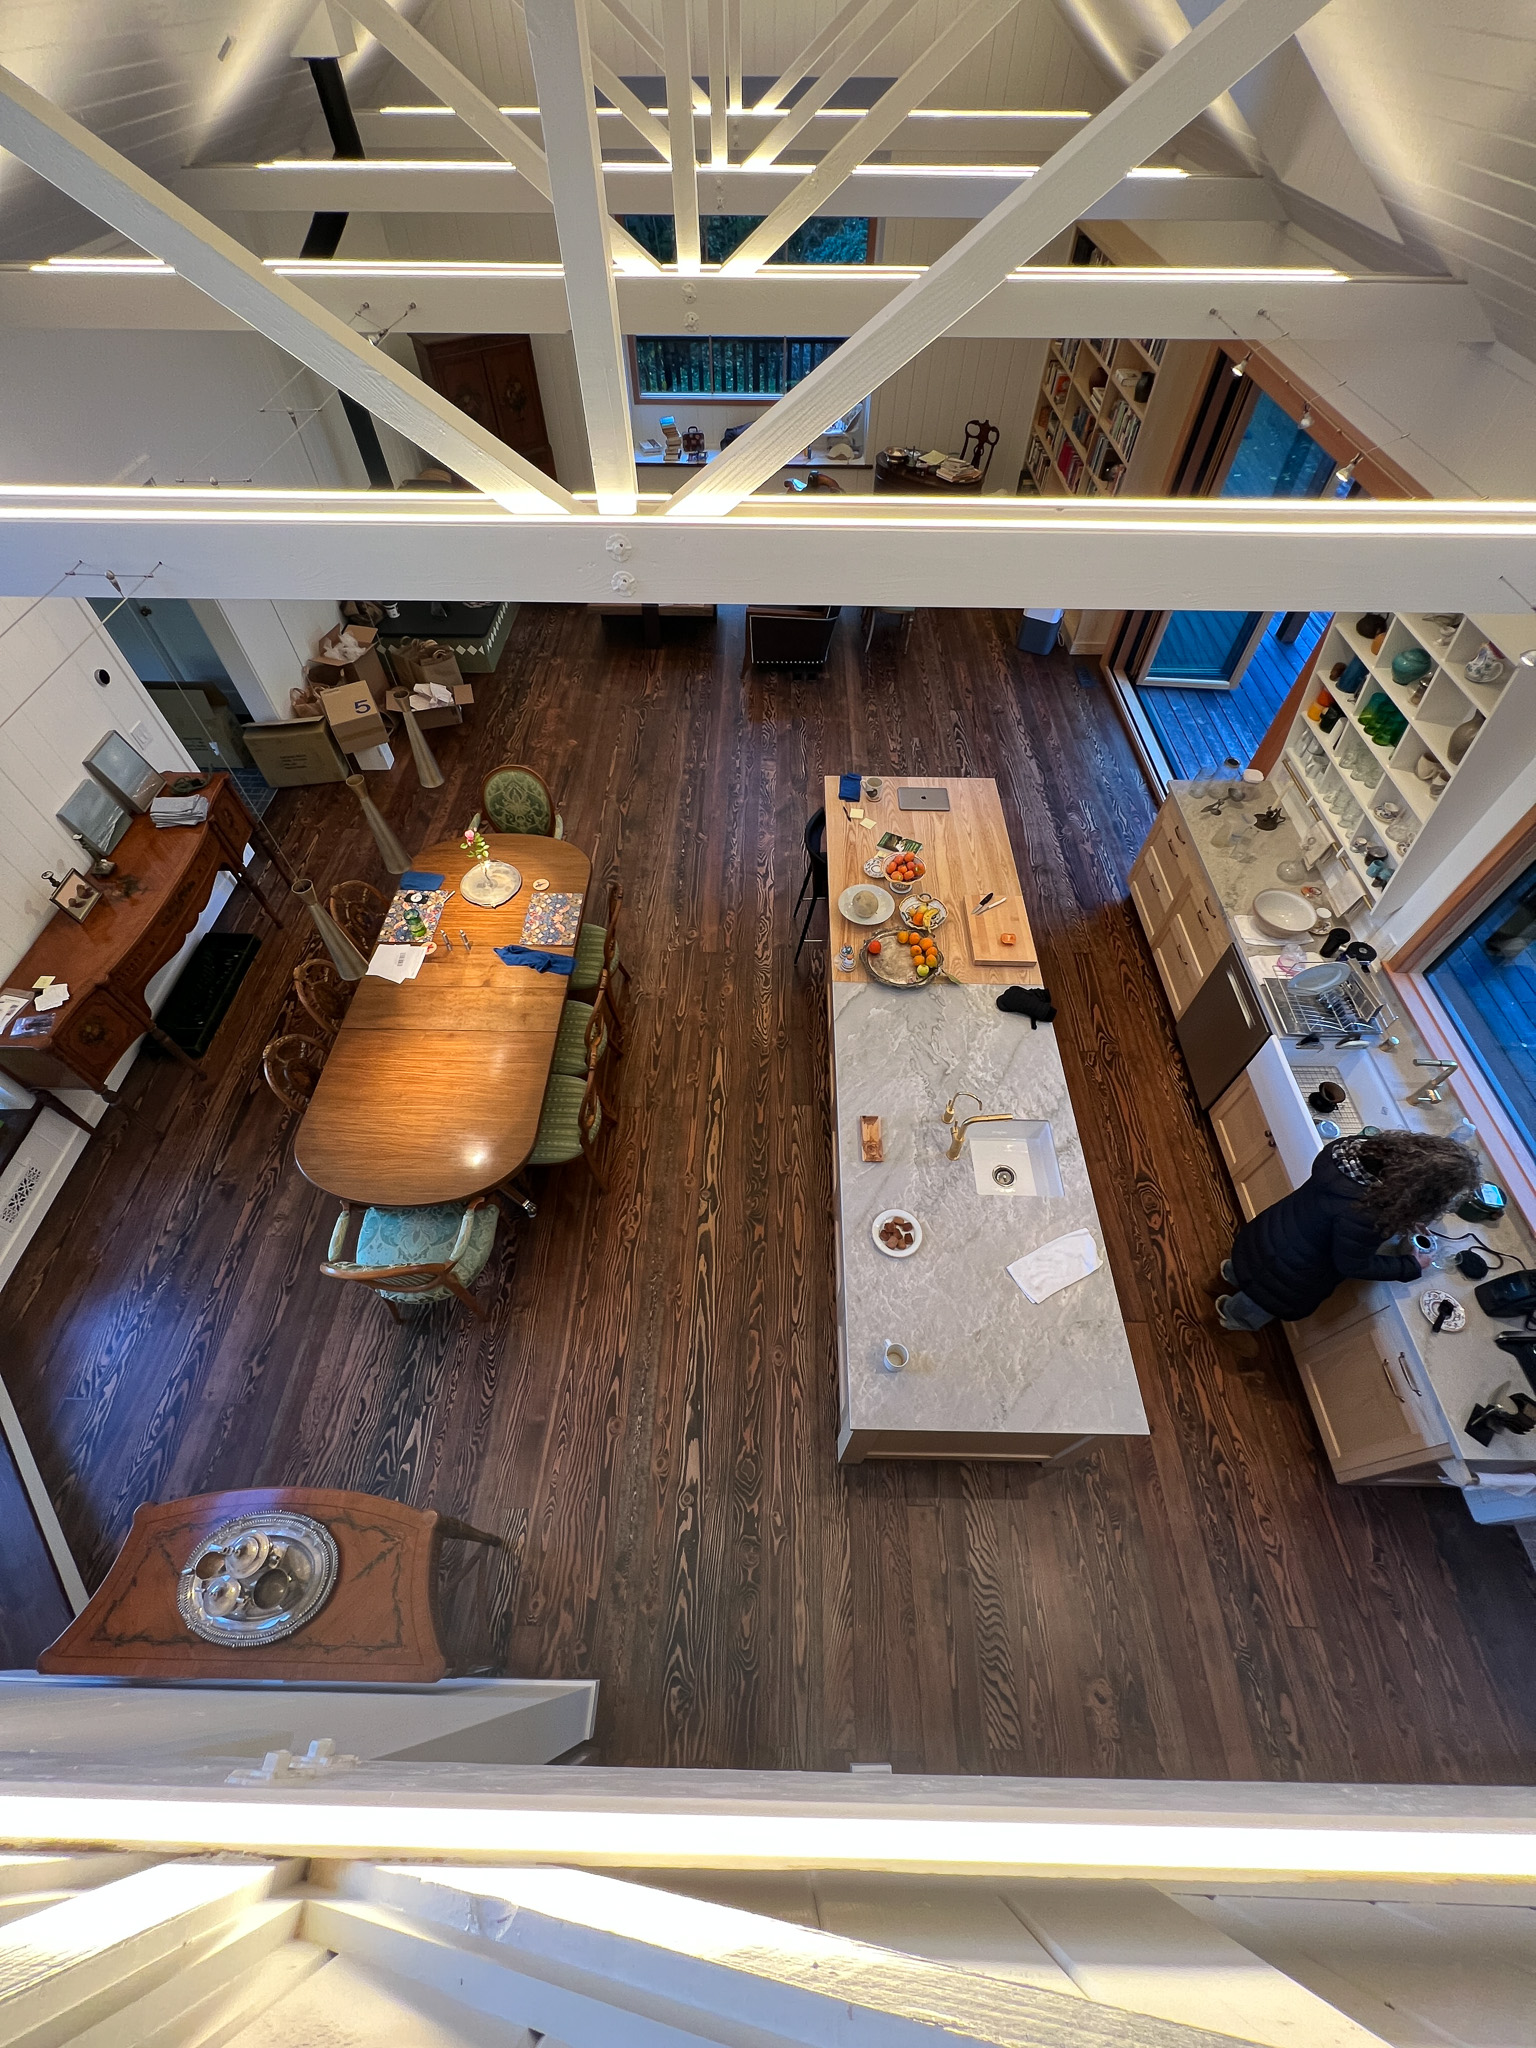
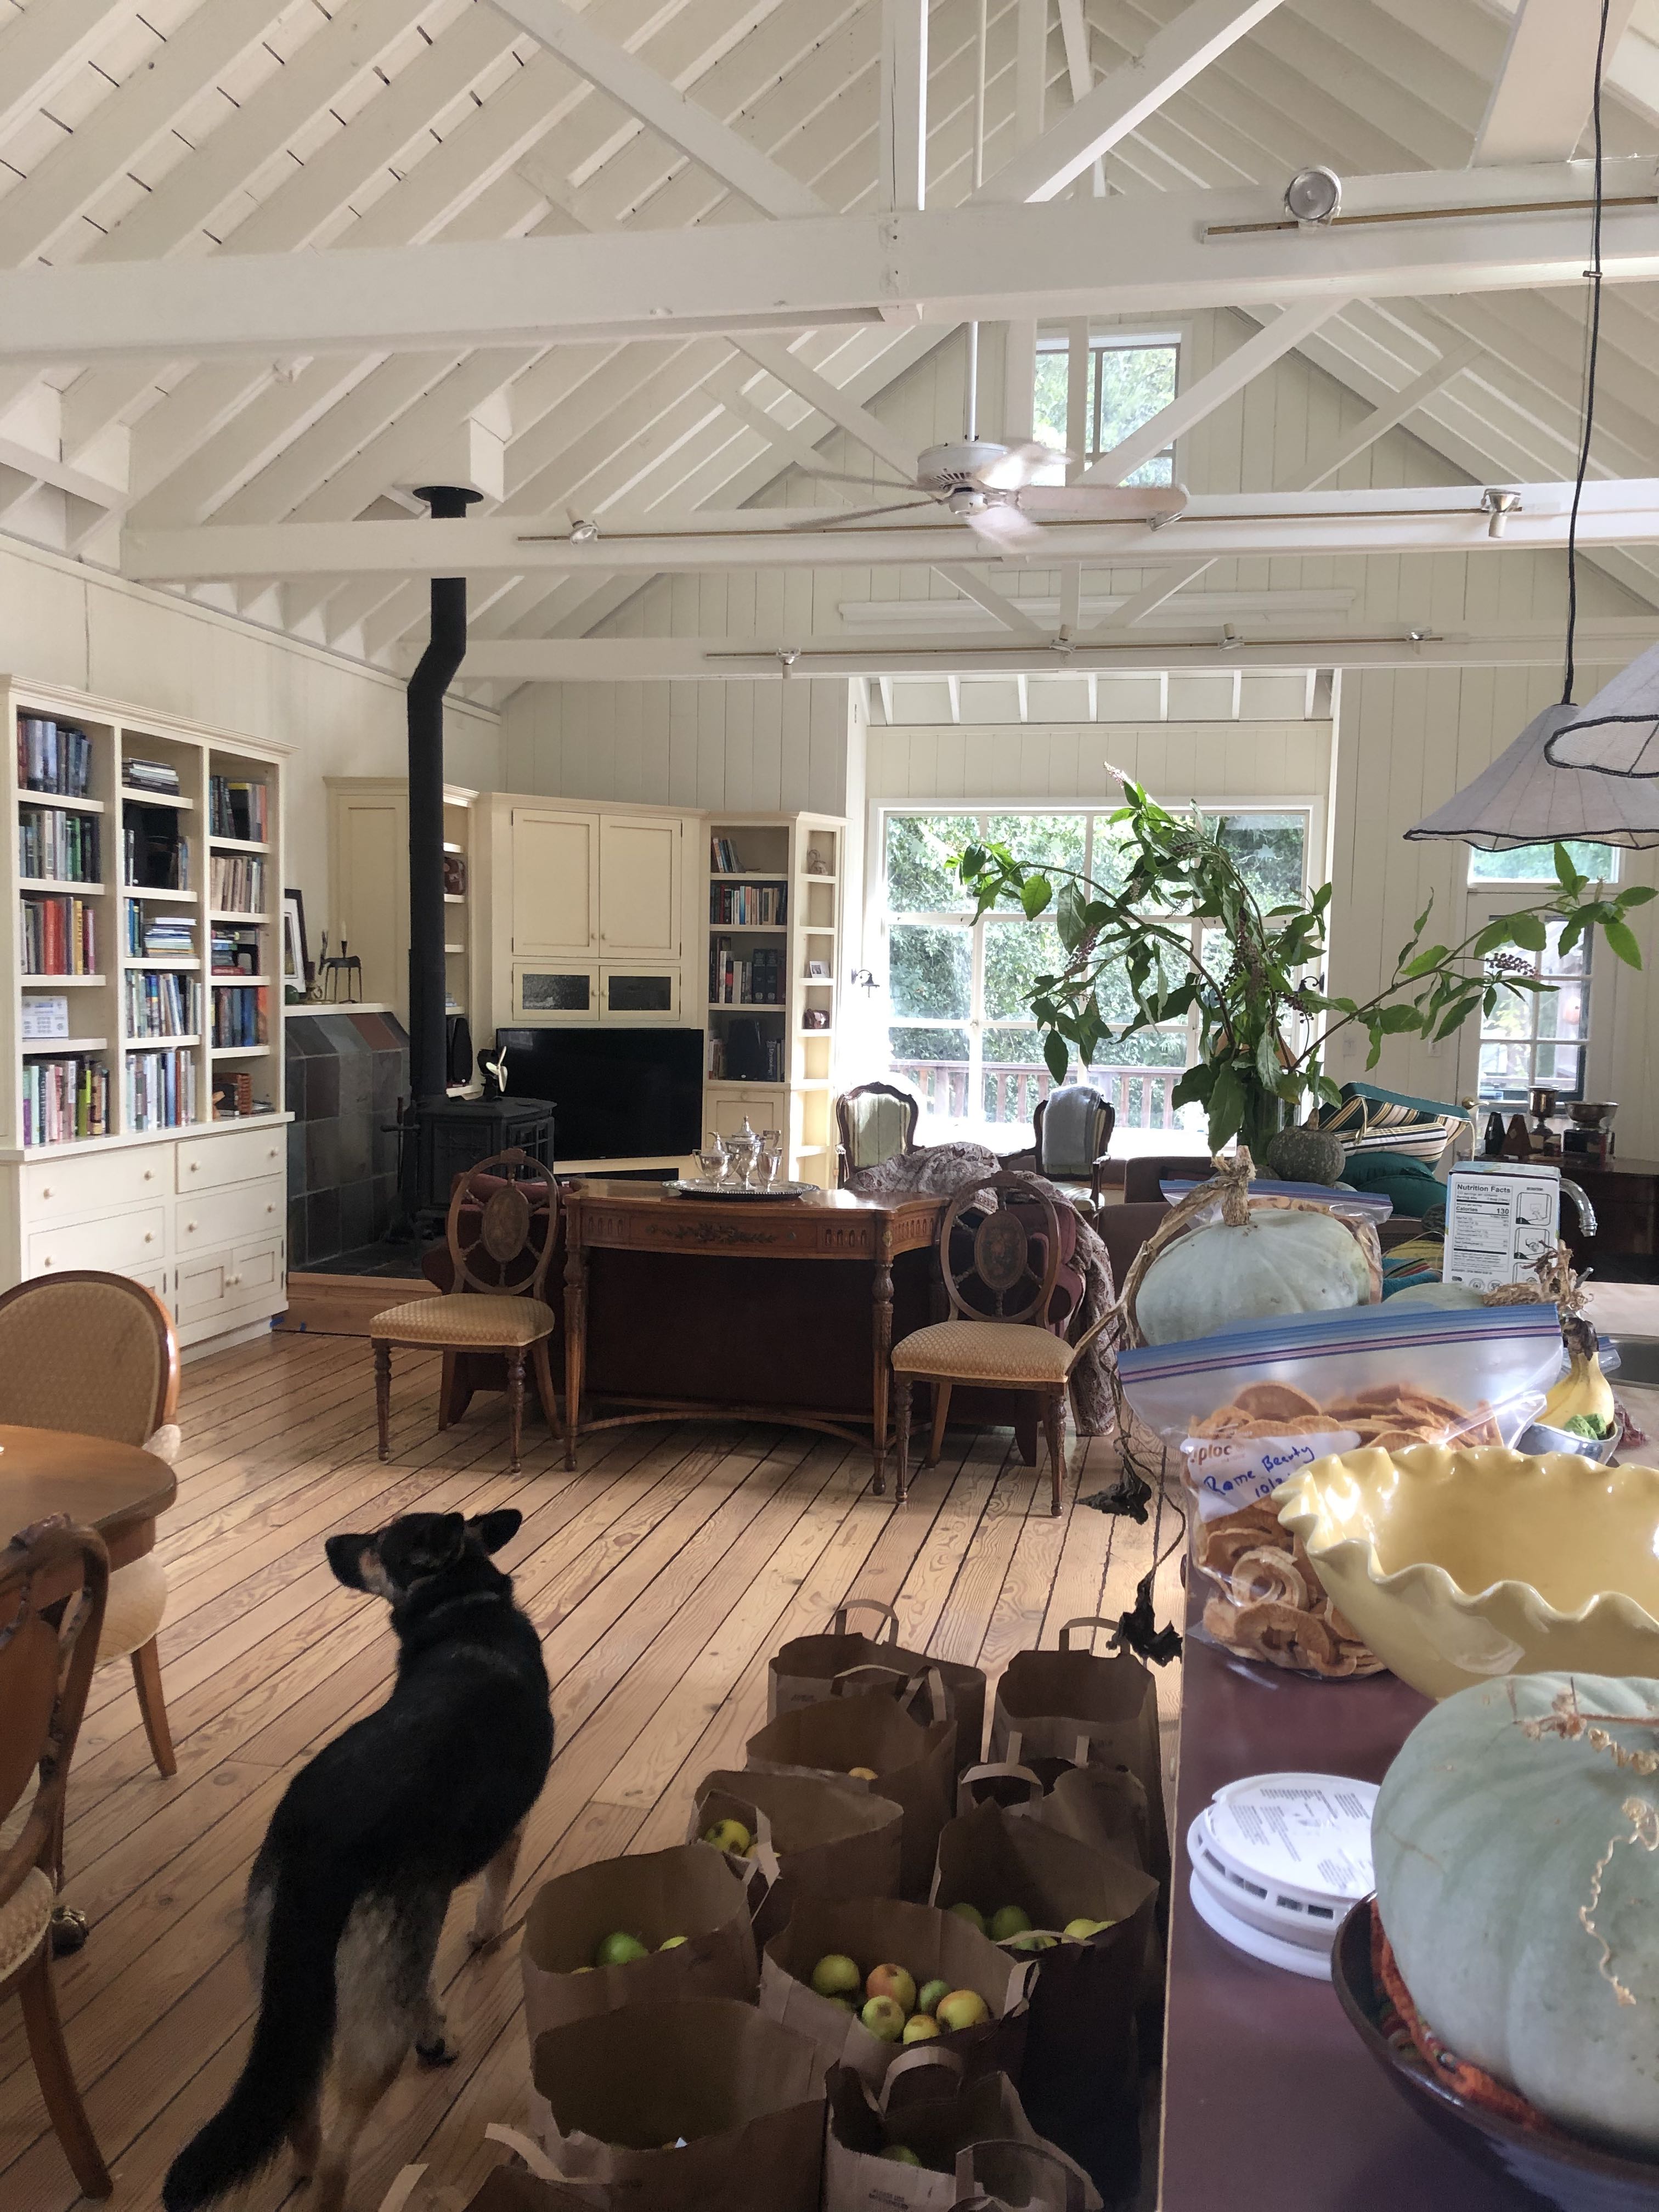
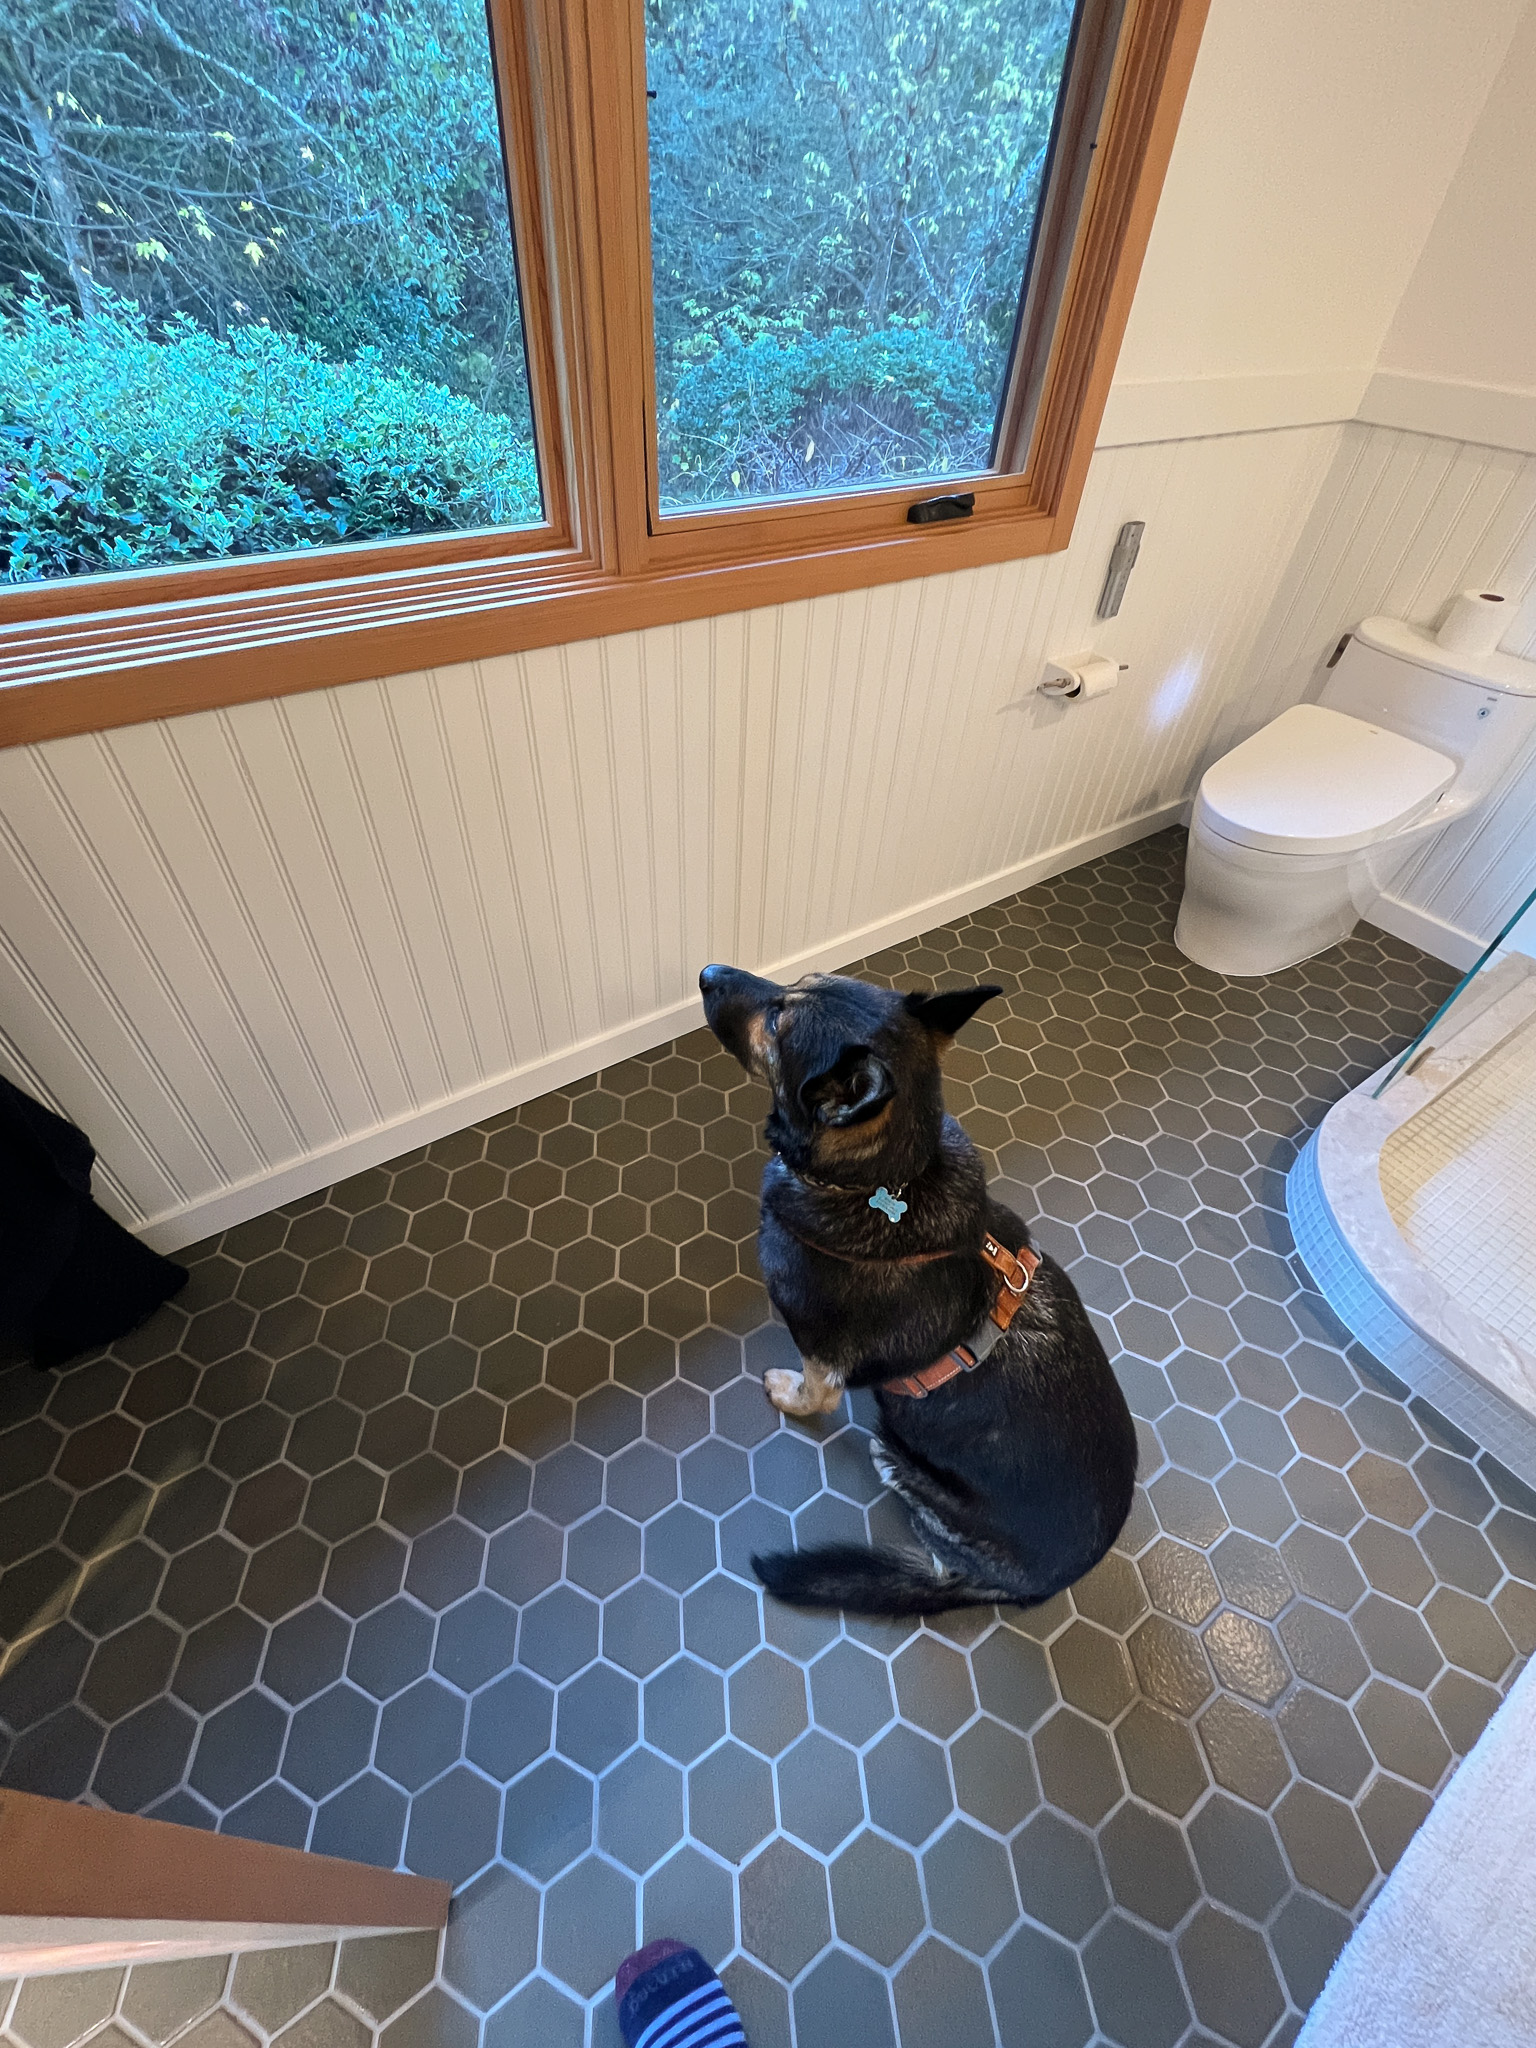
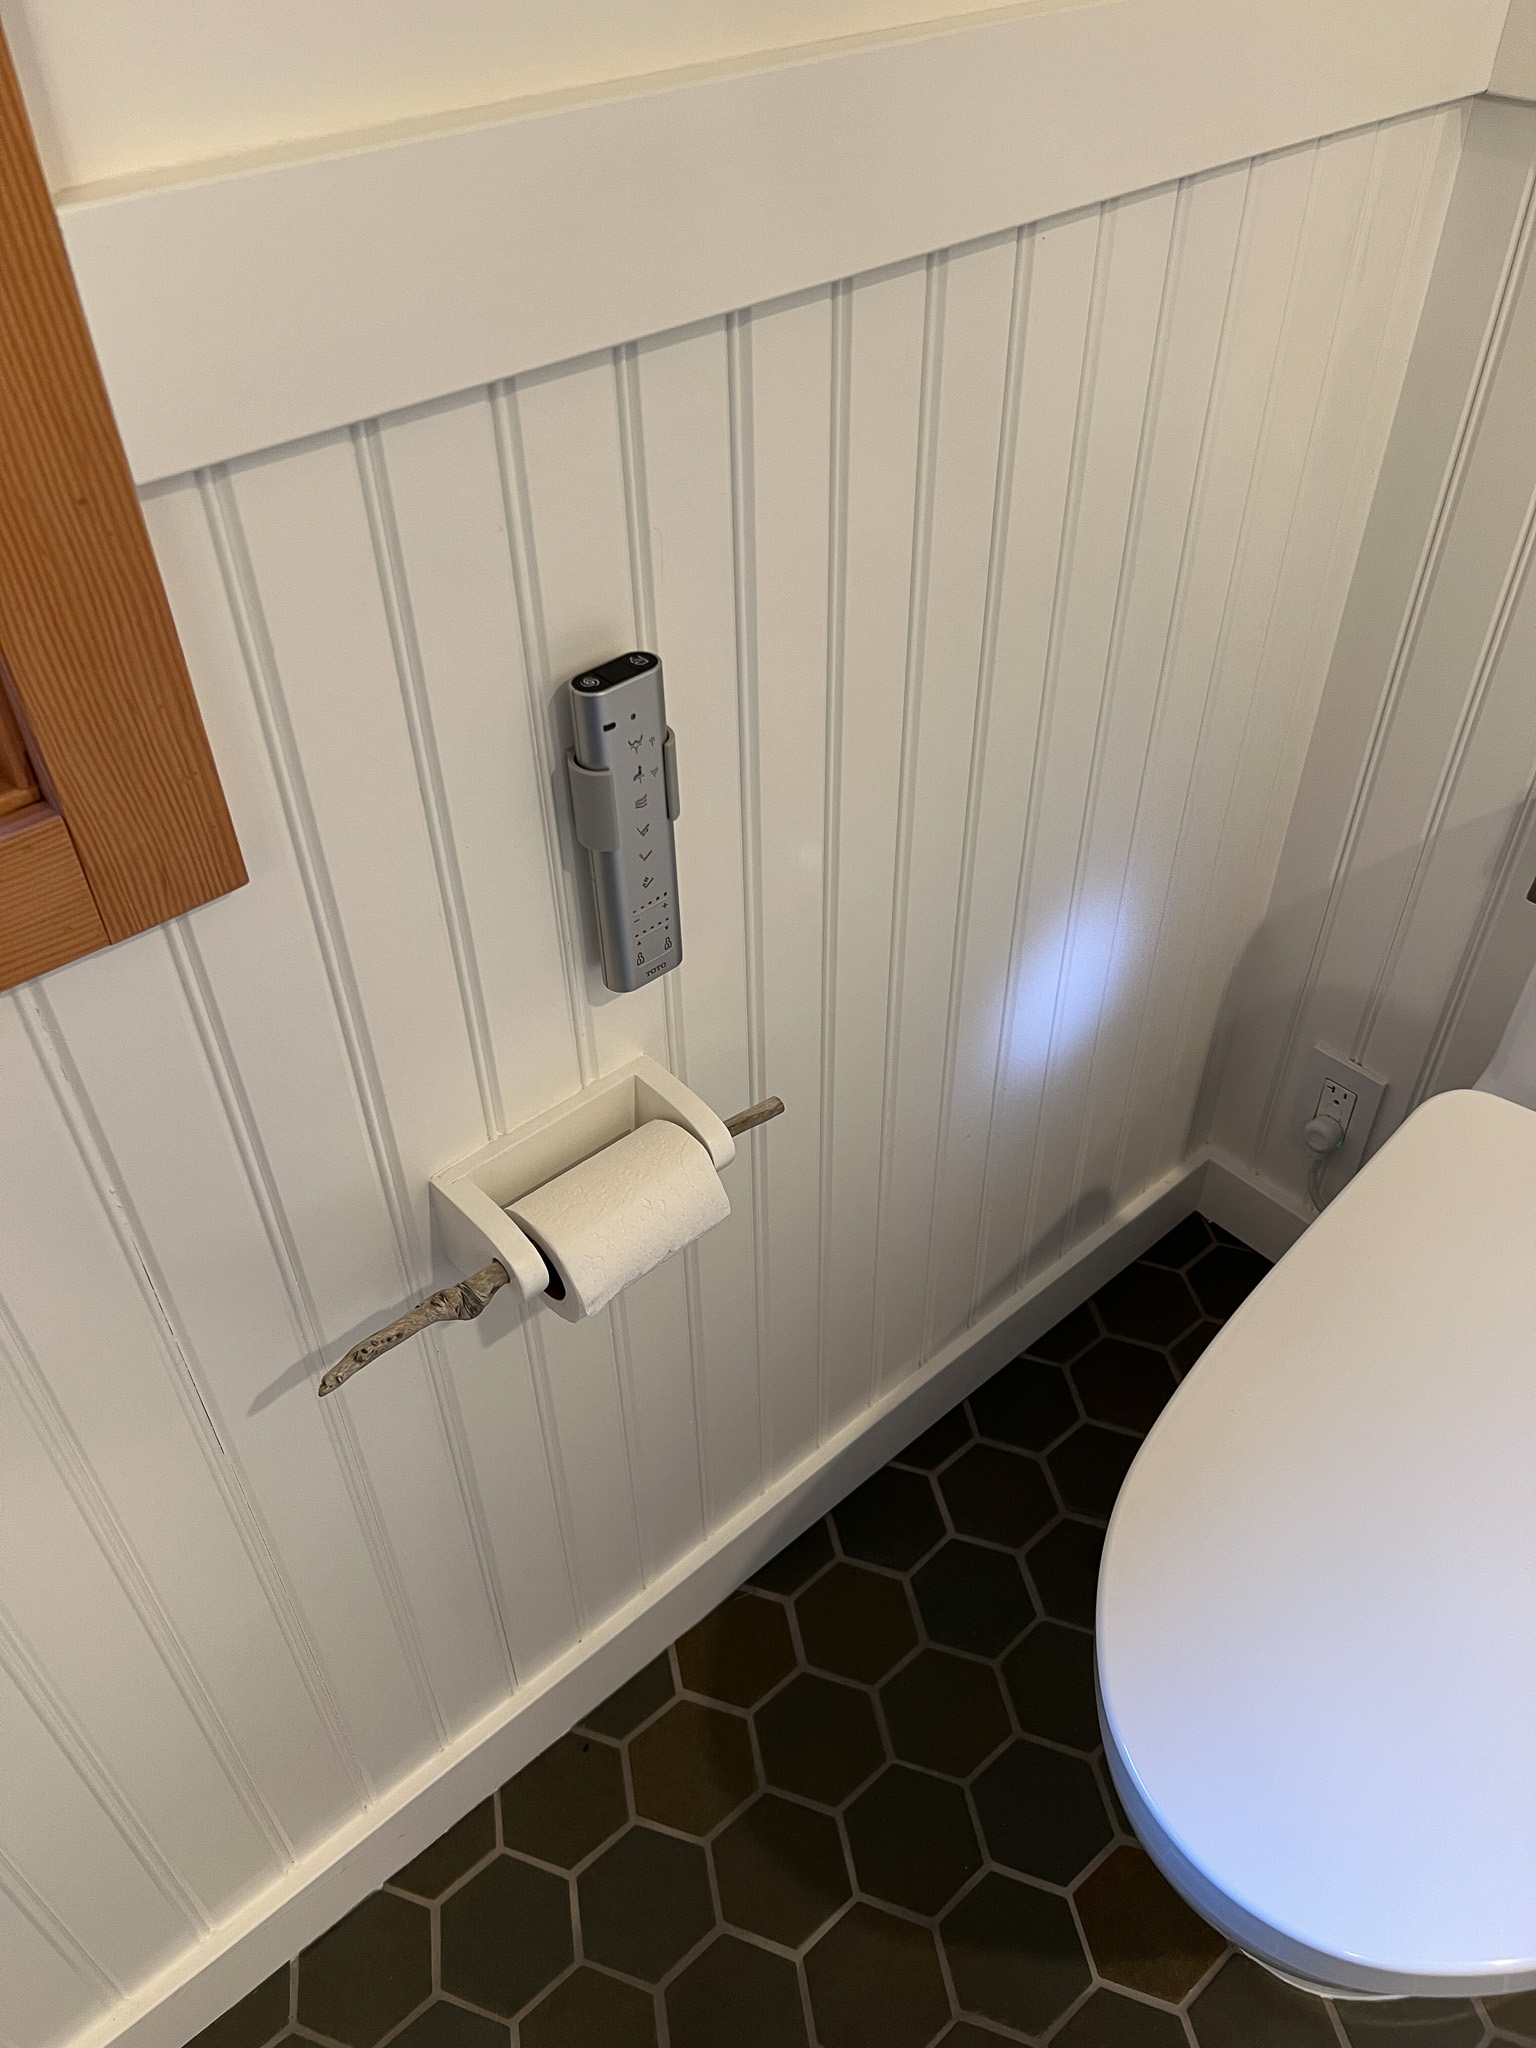
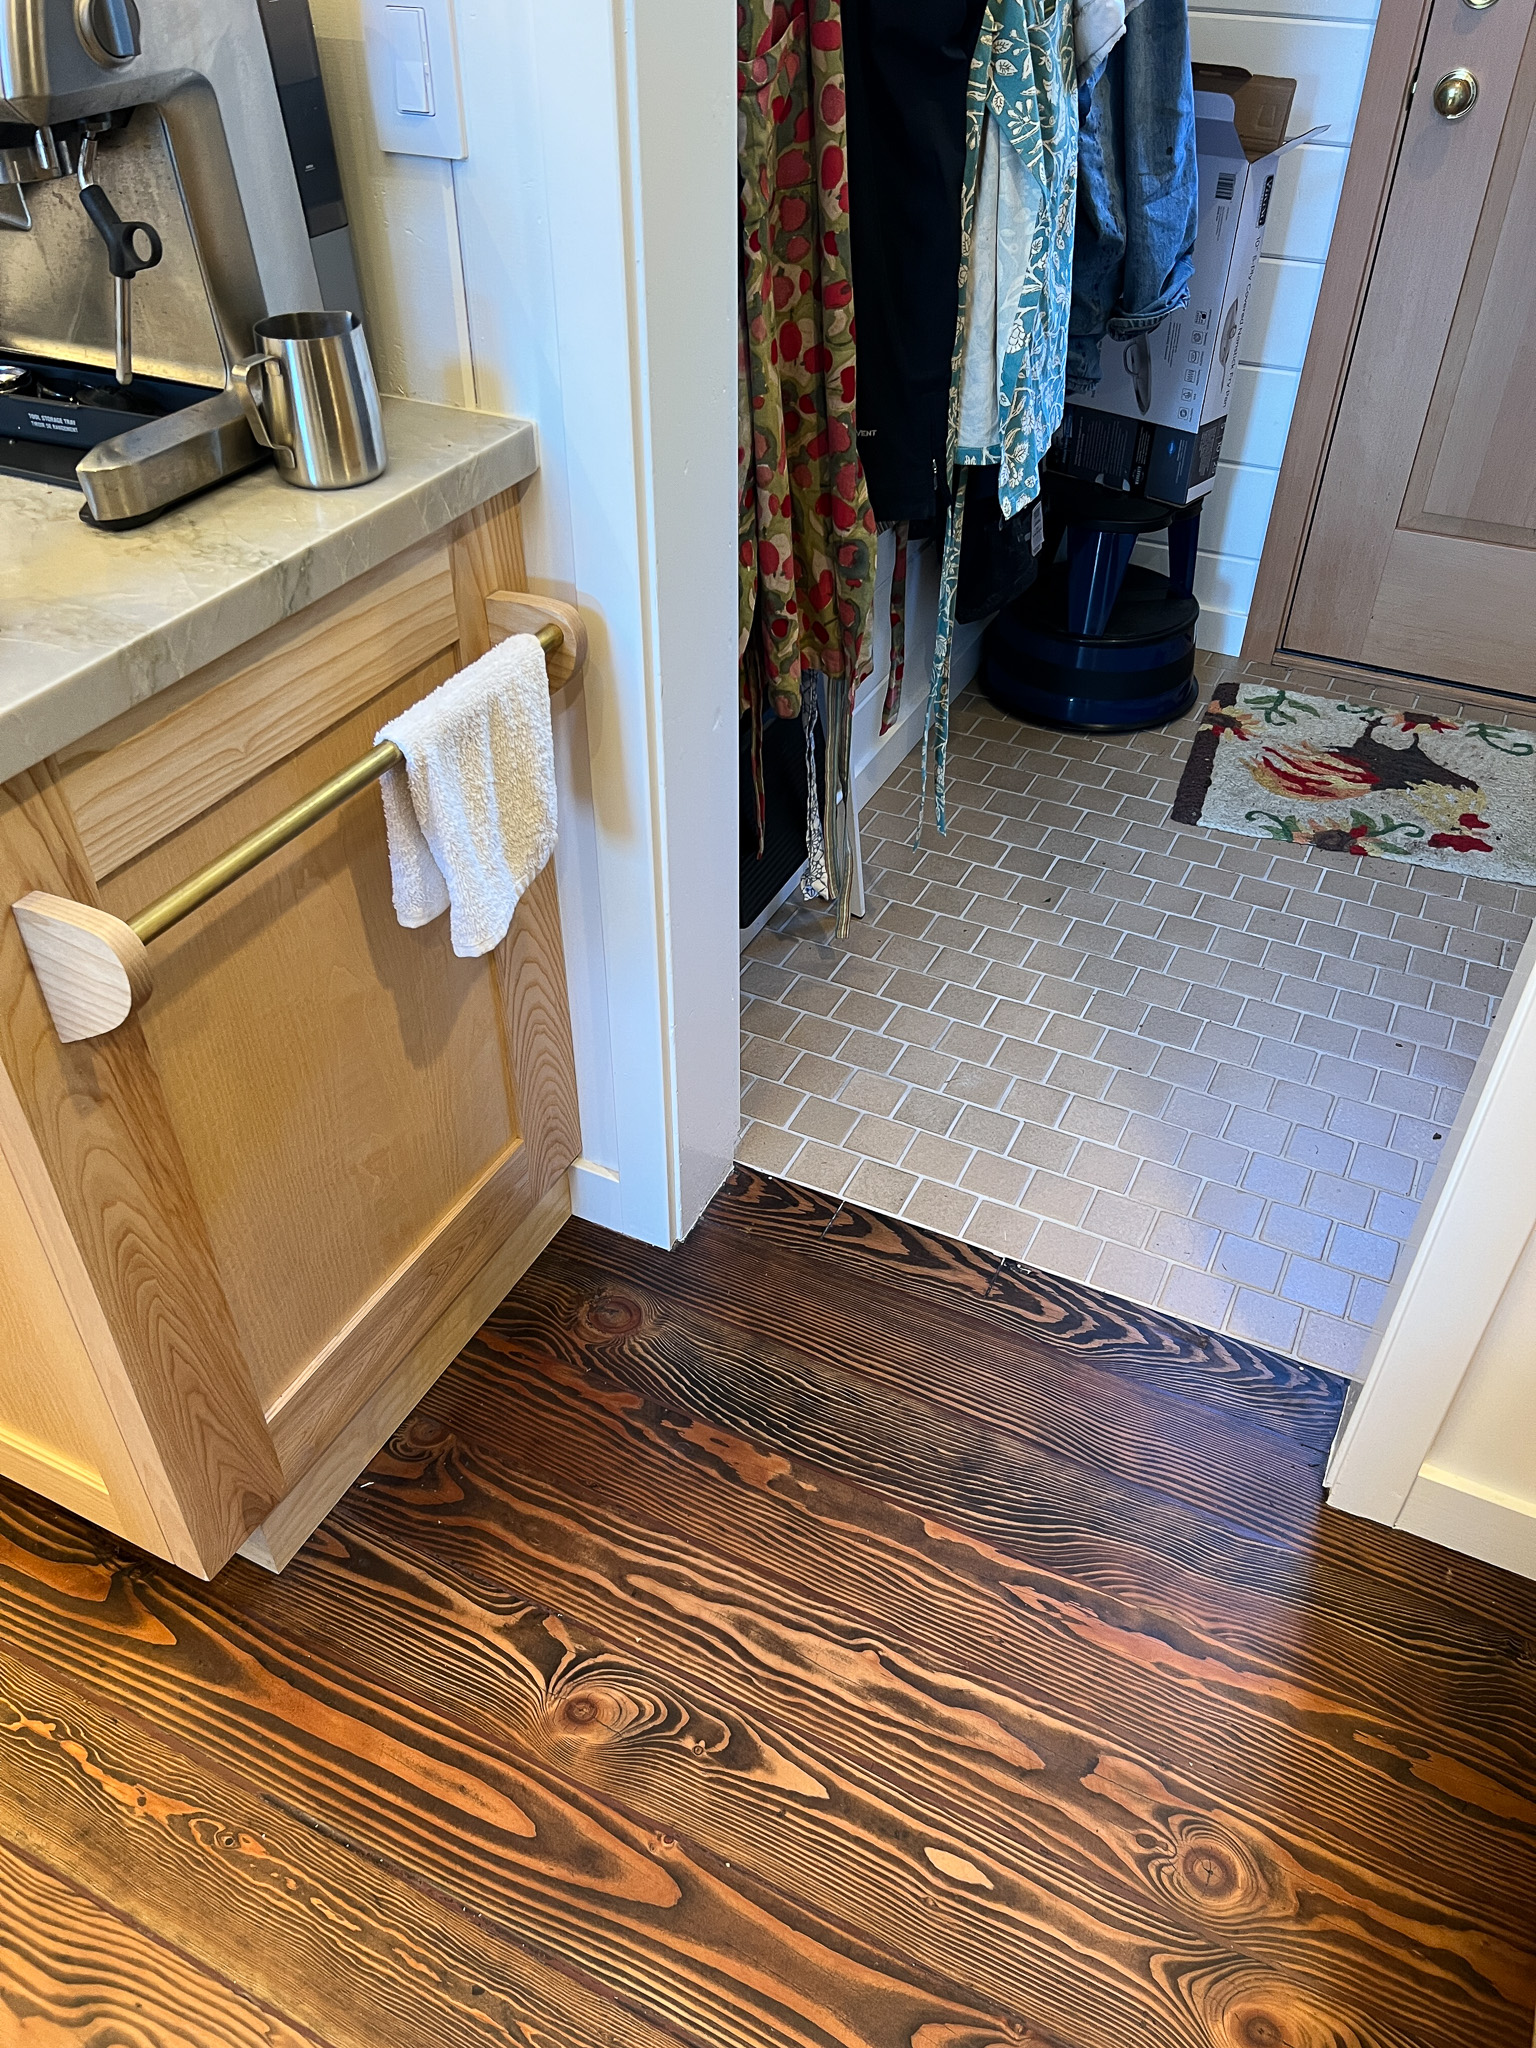
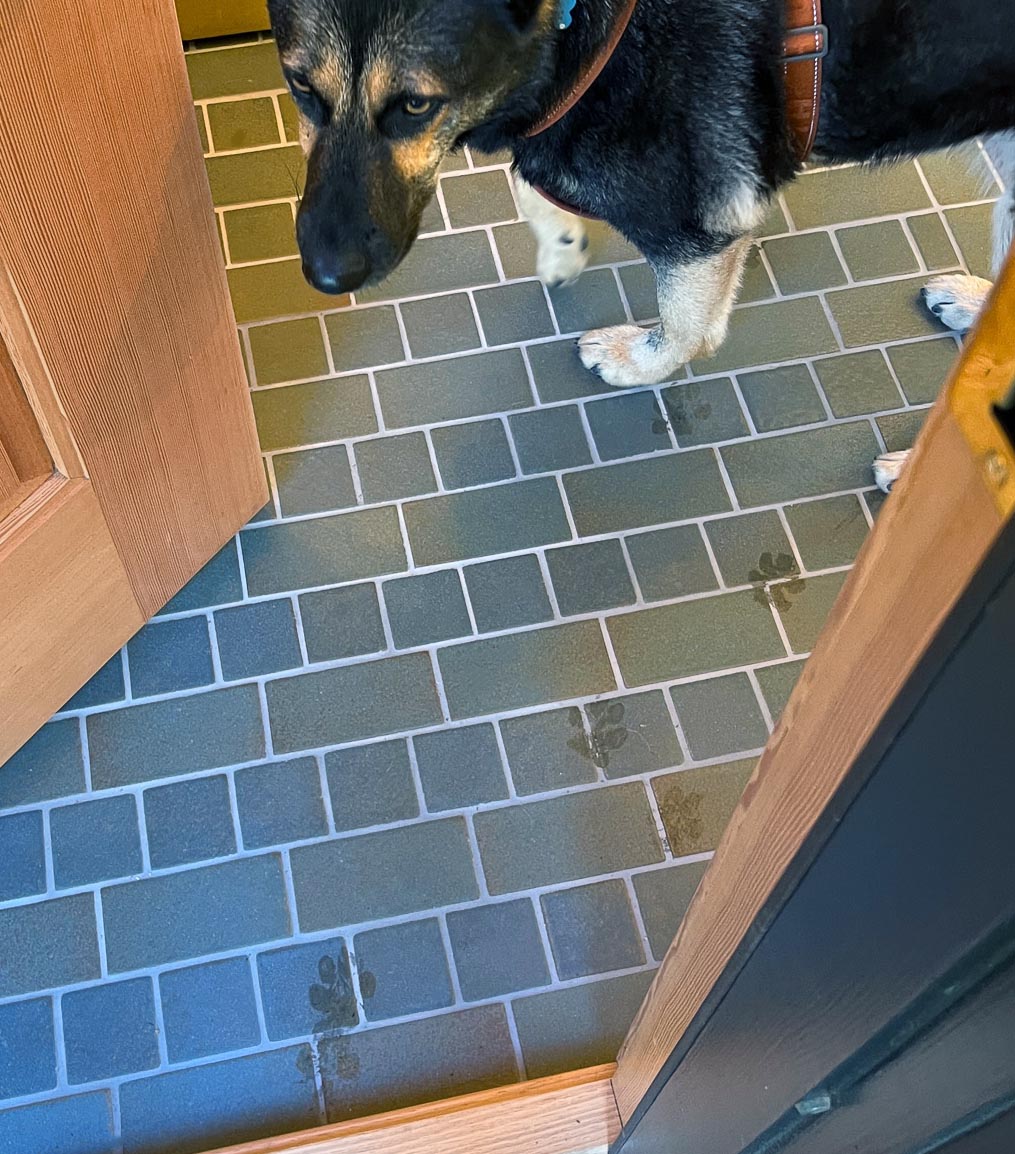
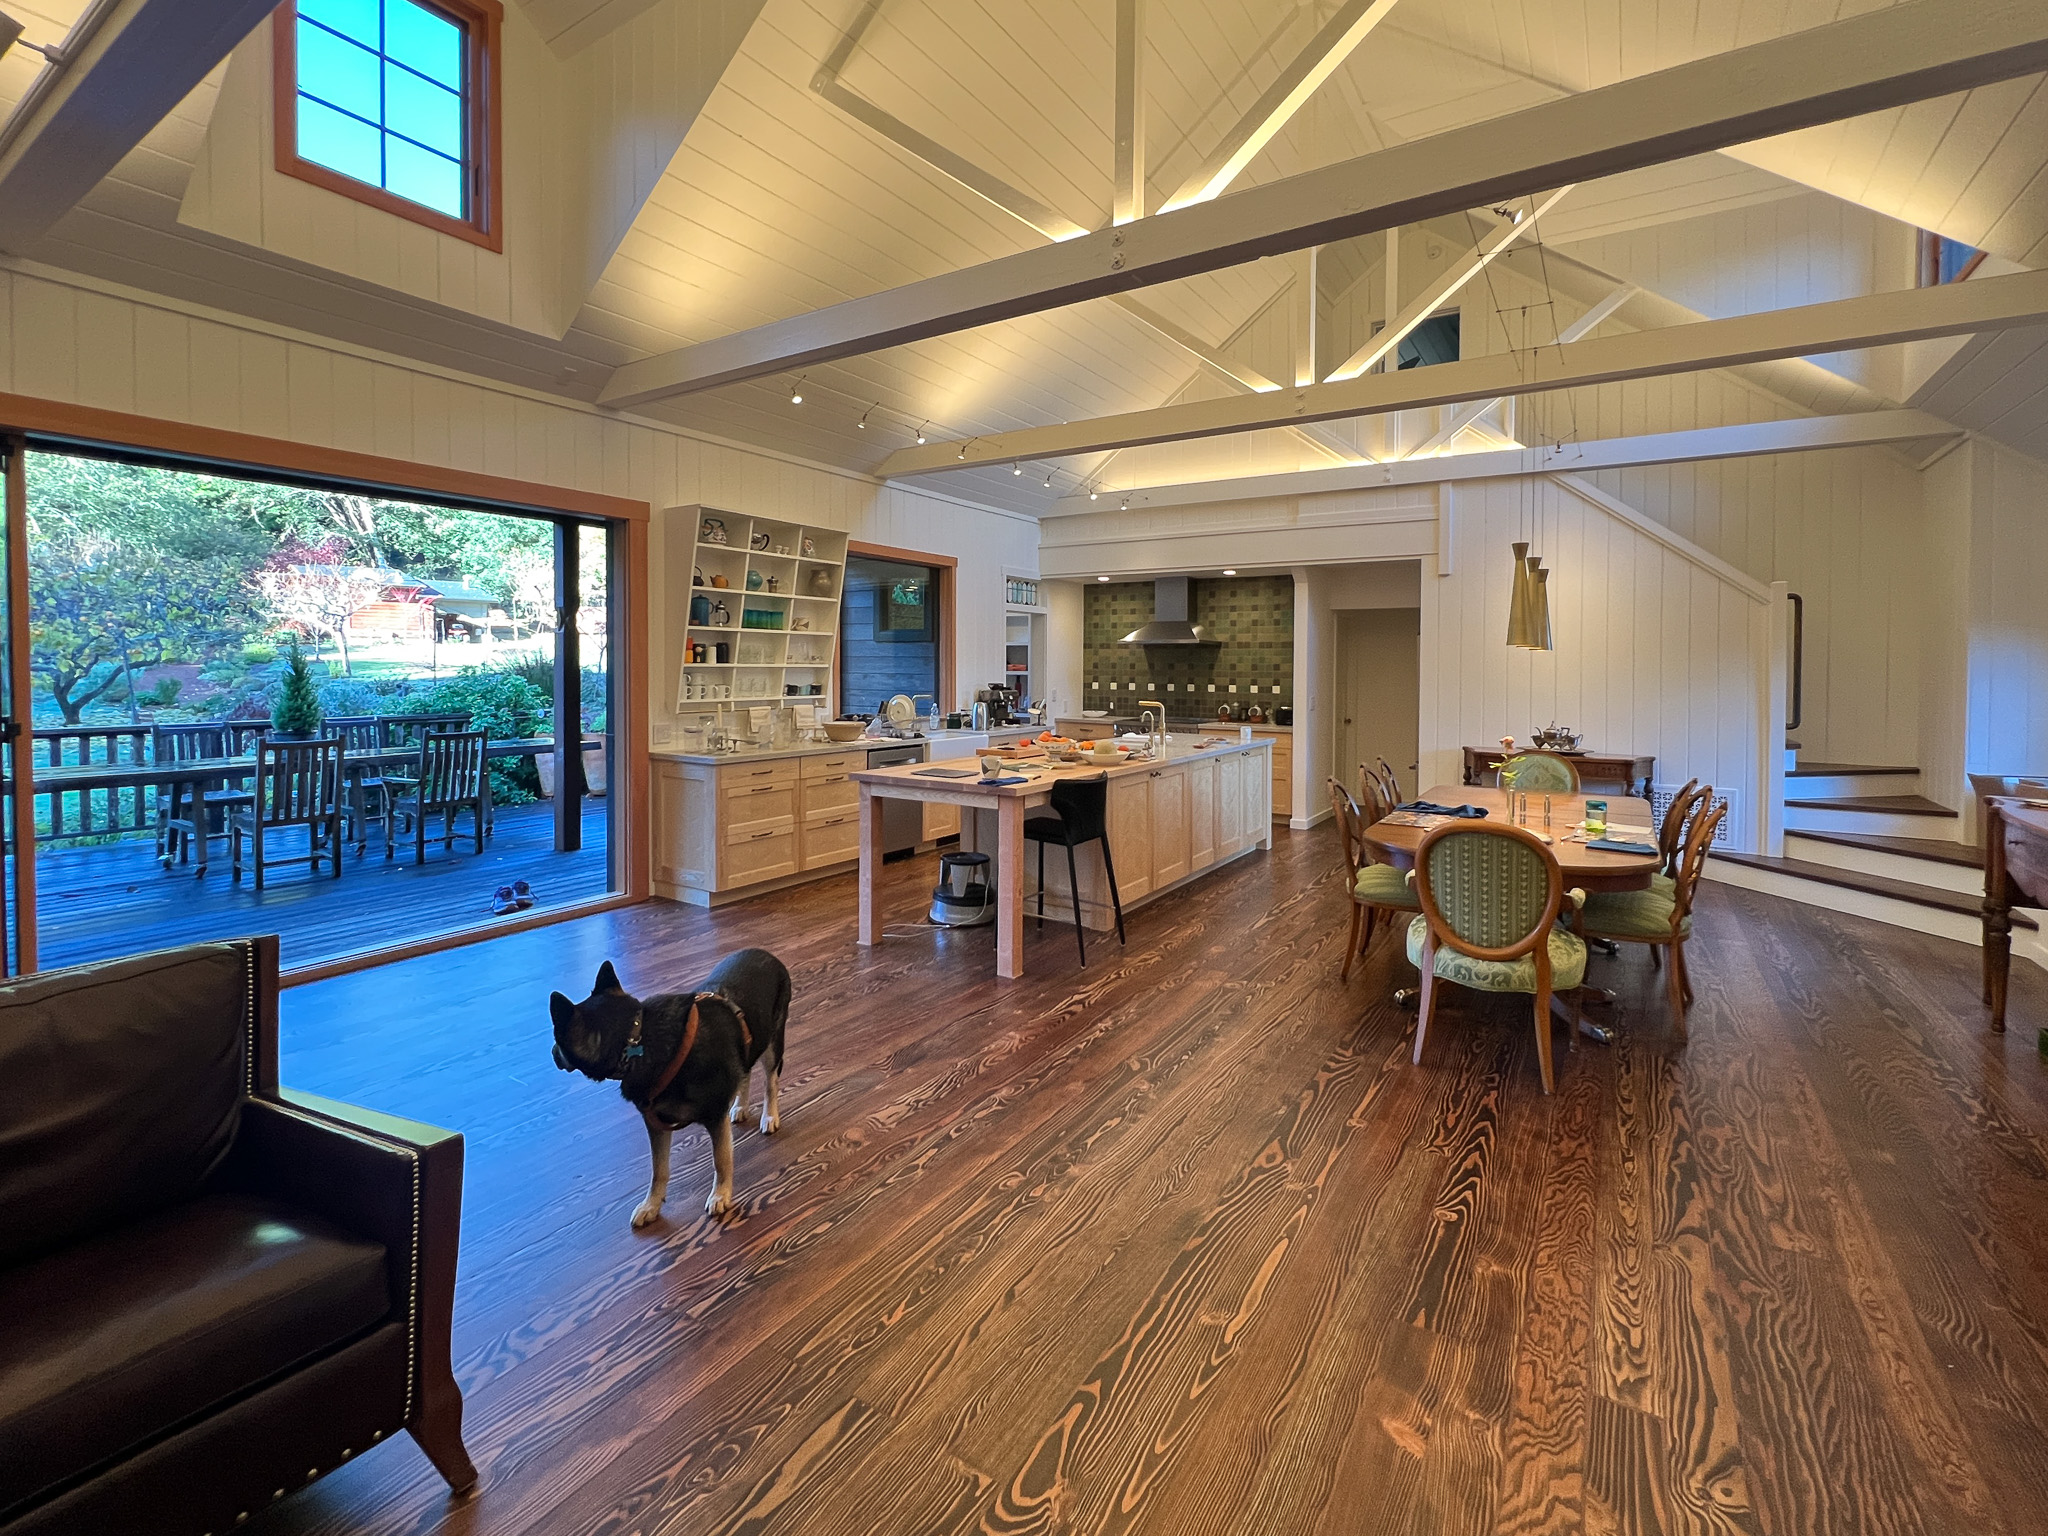
Looking down on the big room – I love the flooring – It is existing, structural tongue and groove fir subfloor, but it was lighter and kind of pickled with dark marine grade caulk/ filler between the boards. We thought of putting new flooring on top, but the boards were so nice and long, which is unusual these days. Once we put on the dark stain the super nice figured grain popped and we loved it. The indirect LED strip lighting atop the collar ties also worked out well. The electrician did a great job and knew to stop the lights a bit shy of the ends to minimize bright spots. (This photo accentuates the bright spots) Before shot of the flooring/ structural subfloor with younger Èowyn.I had a goal to be very particular about the clips for the shower glass. So often the clips are not given much thought and they ruin the simple clean look. (First I tried to talk the builder into no clips at the bottom, recessing the glass into the curb, but they were not game to try this detail. The green floor tile is Arto and the shower floor and walls is Fireclay.Èowyn likes the big window looking into the woodsI was proud of this built-in brass towel bar. (Kind of wish the electrical devices were more orderly/ aligned and in a real photo shoot Id probably not have a used towel. Oh well)High tech- low tech – this is the bidet/ heated toilet seat controller and also the handmade wood toilet paper holder with a found gnarled stick. Another custom brass towel bar – this one with ash. You can also see the cool grain in the floor and the mudroom floor tile by Arto. I thought I maybe specified too many pegs in the mudroom, but every single one was being used on the day I was there. Another picture of the green hex Arto tile transitioning to fir flooring. The decorative cold air return cover for the forced air system is in the base of the linen cabinet – painted white to match the cabinet. We had fun with the sun rays over the back door (replacing glass that just caused the mudroom to overheat) and John McBride carved us some more diamond posts for the new covered porch. (Porch is the only addition to the house) This is a photo of the architect’s dog tracking water into the clients recently finished house. Also a photo of very nice green (Elder Green by Arto..photo doesn’t do it justice) tile floor in the entry that can take a little water no problem.This is another view of the big room. Big bifold doors connect the space to the garden and orchard to the west. Ample lighting in the room is provided by indirect LEDs shining up and cable lights for task lighting over the kitchen and dining room. You can’t see all the added insulation in the roof and air sealing and new windows and doors to keep the space warm in the rainy season.Here you can see the ash diamond posts at the end of island that match the redwood ones outside and also the tiled backsplash..somewhat random but also a pattern.A view of the mudroom – pendant by Metrolighting and painted shelving, pretty mushroom Arto tile floor, splash of color in the stained glass (fabricated by Feral Studios, designed by yours truly) I’m not going to bother with the not so nice before shot, but I was very happy with the lighting in this room after construction – Three of these large pendants from Metro Lighting in Berkeley.
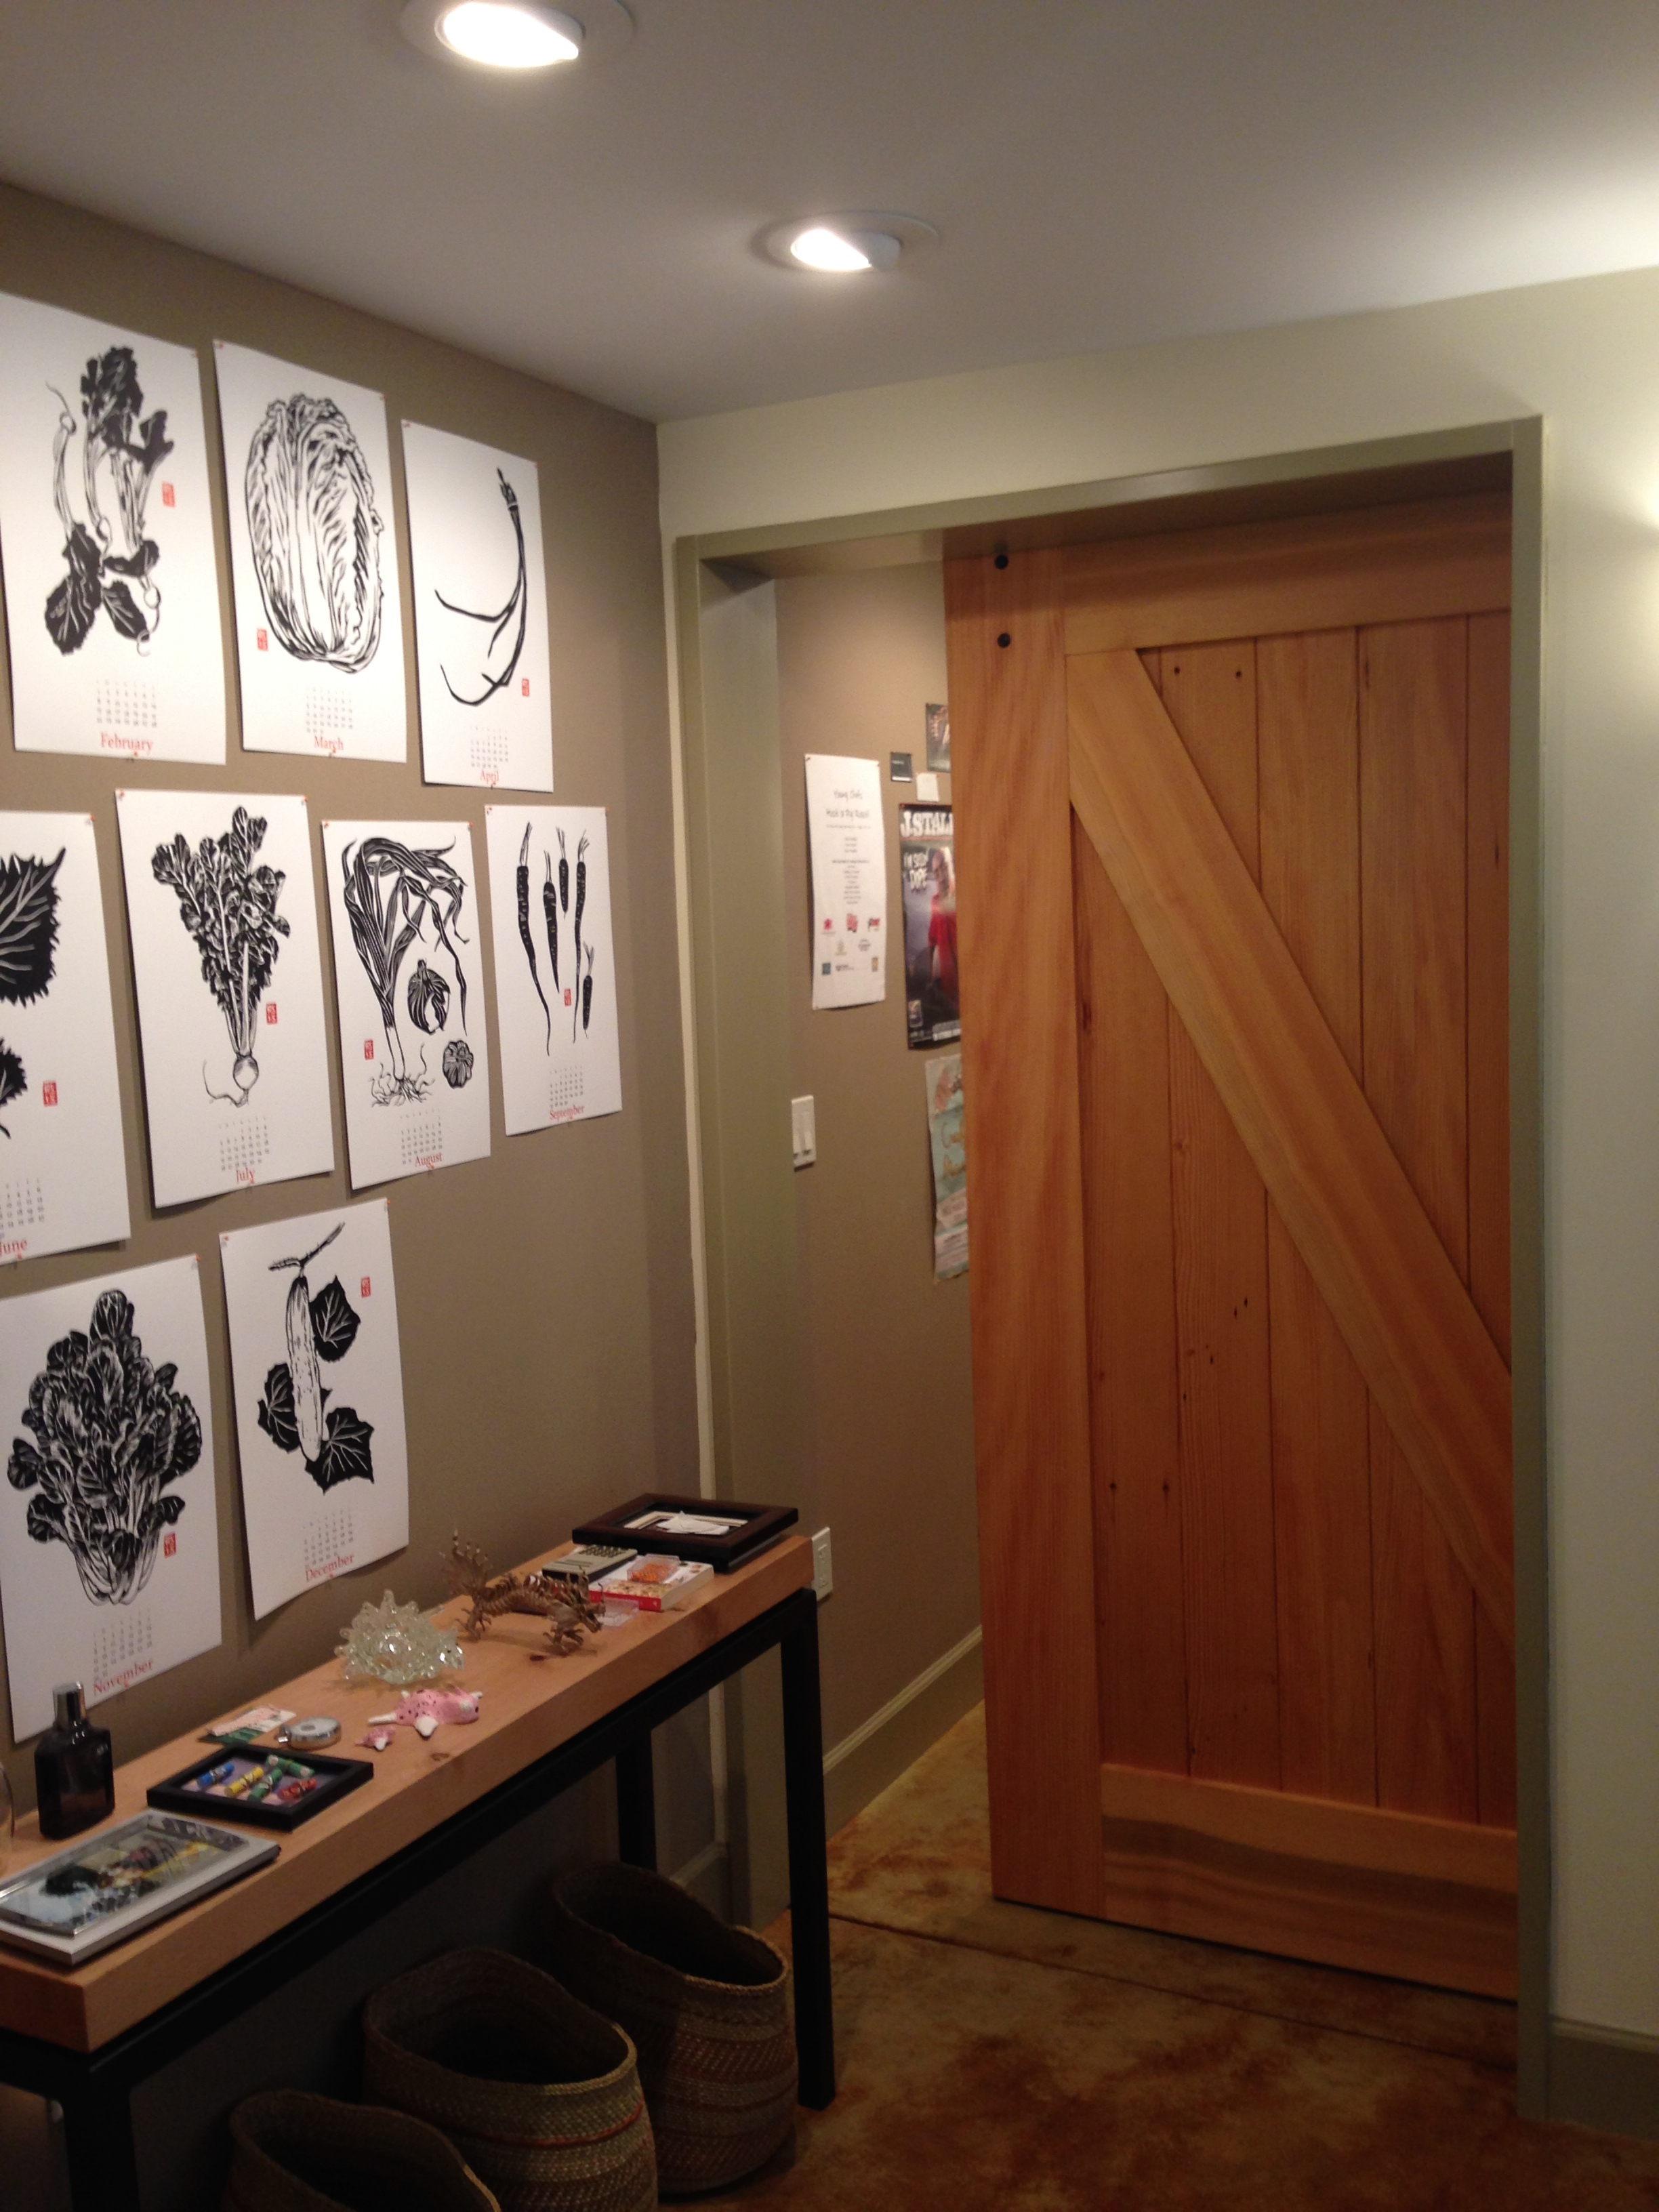
Ive been sorting old photos lately. 🙂 This was one of 2 bathrooms part of a full house remodel. It was fun to design the sliding barn-door mirror that opened to reveal a window (to the back yard) Built by Canivet Construction and John McBride (Working for Canivet as a carpenter)
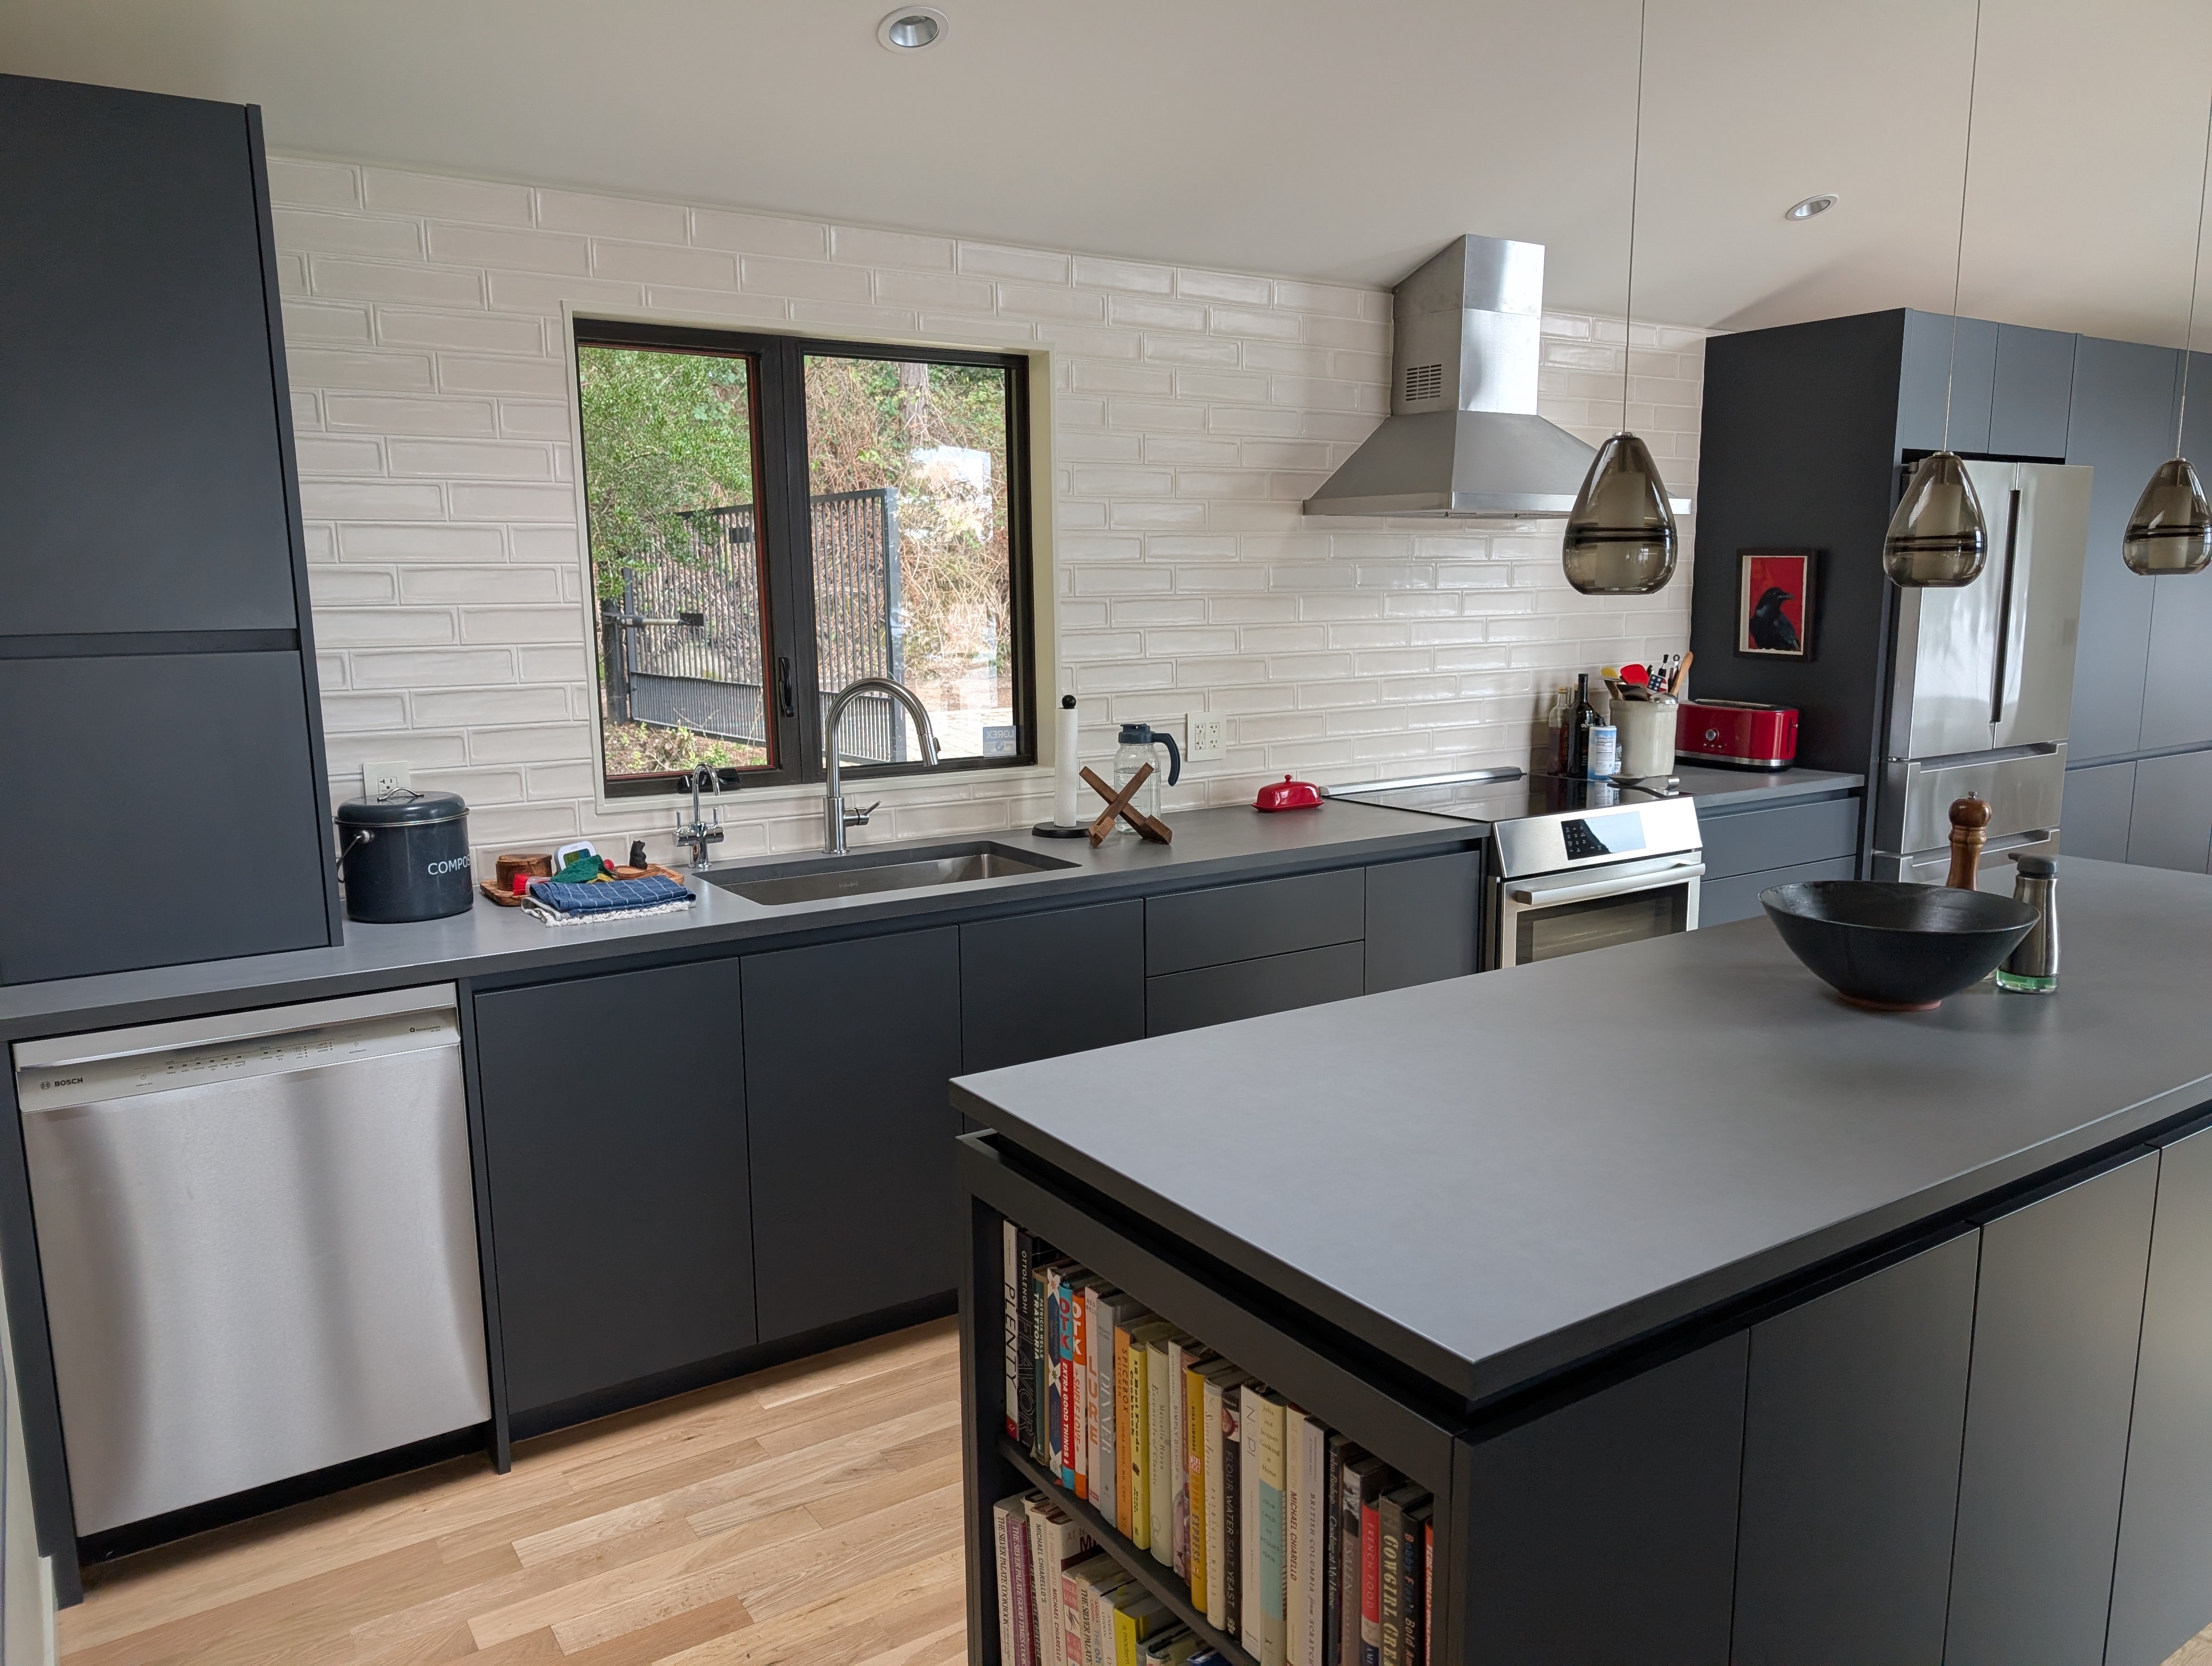
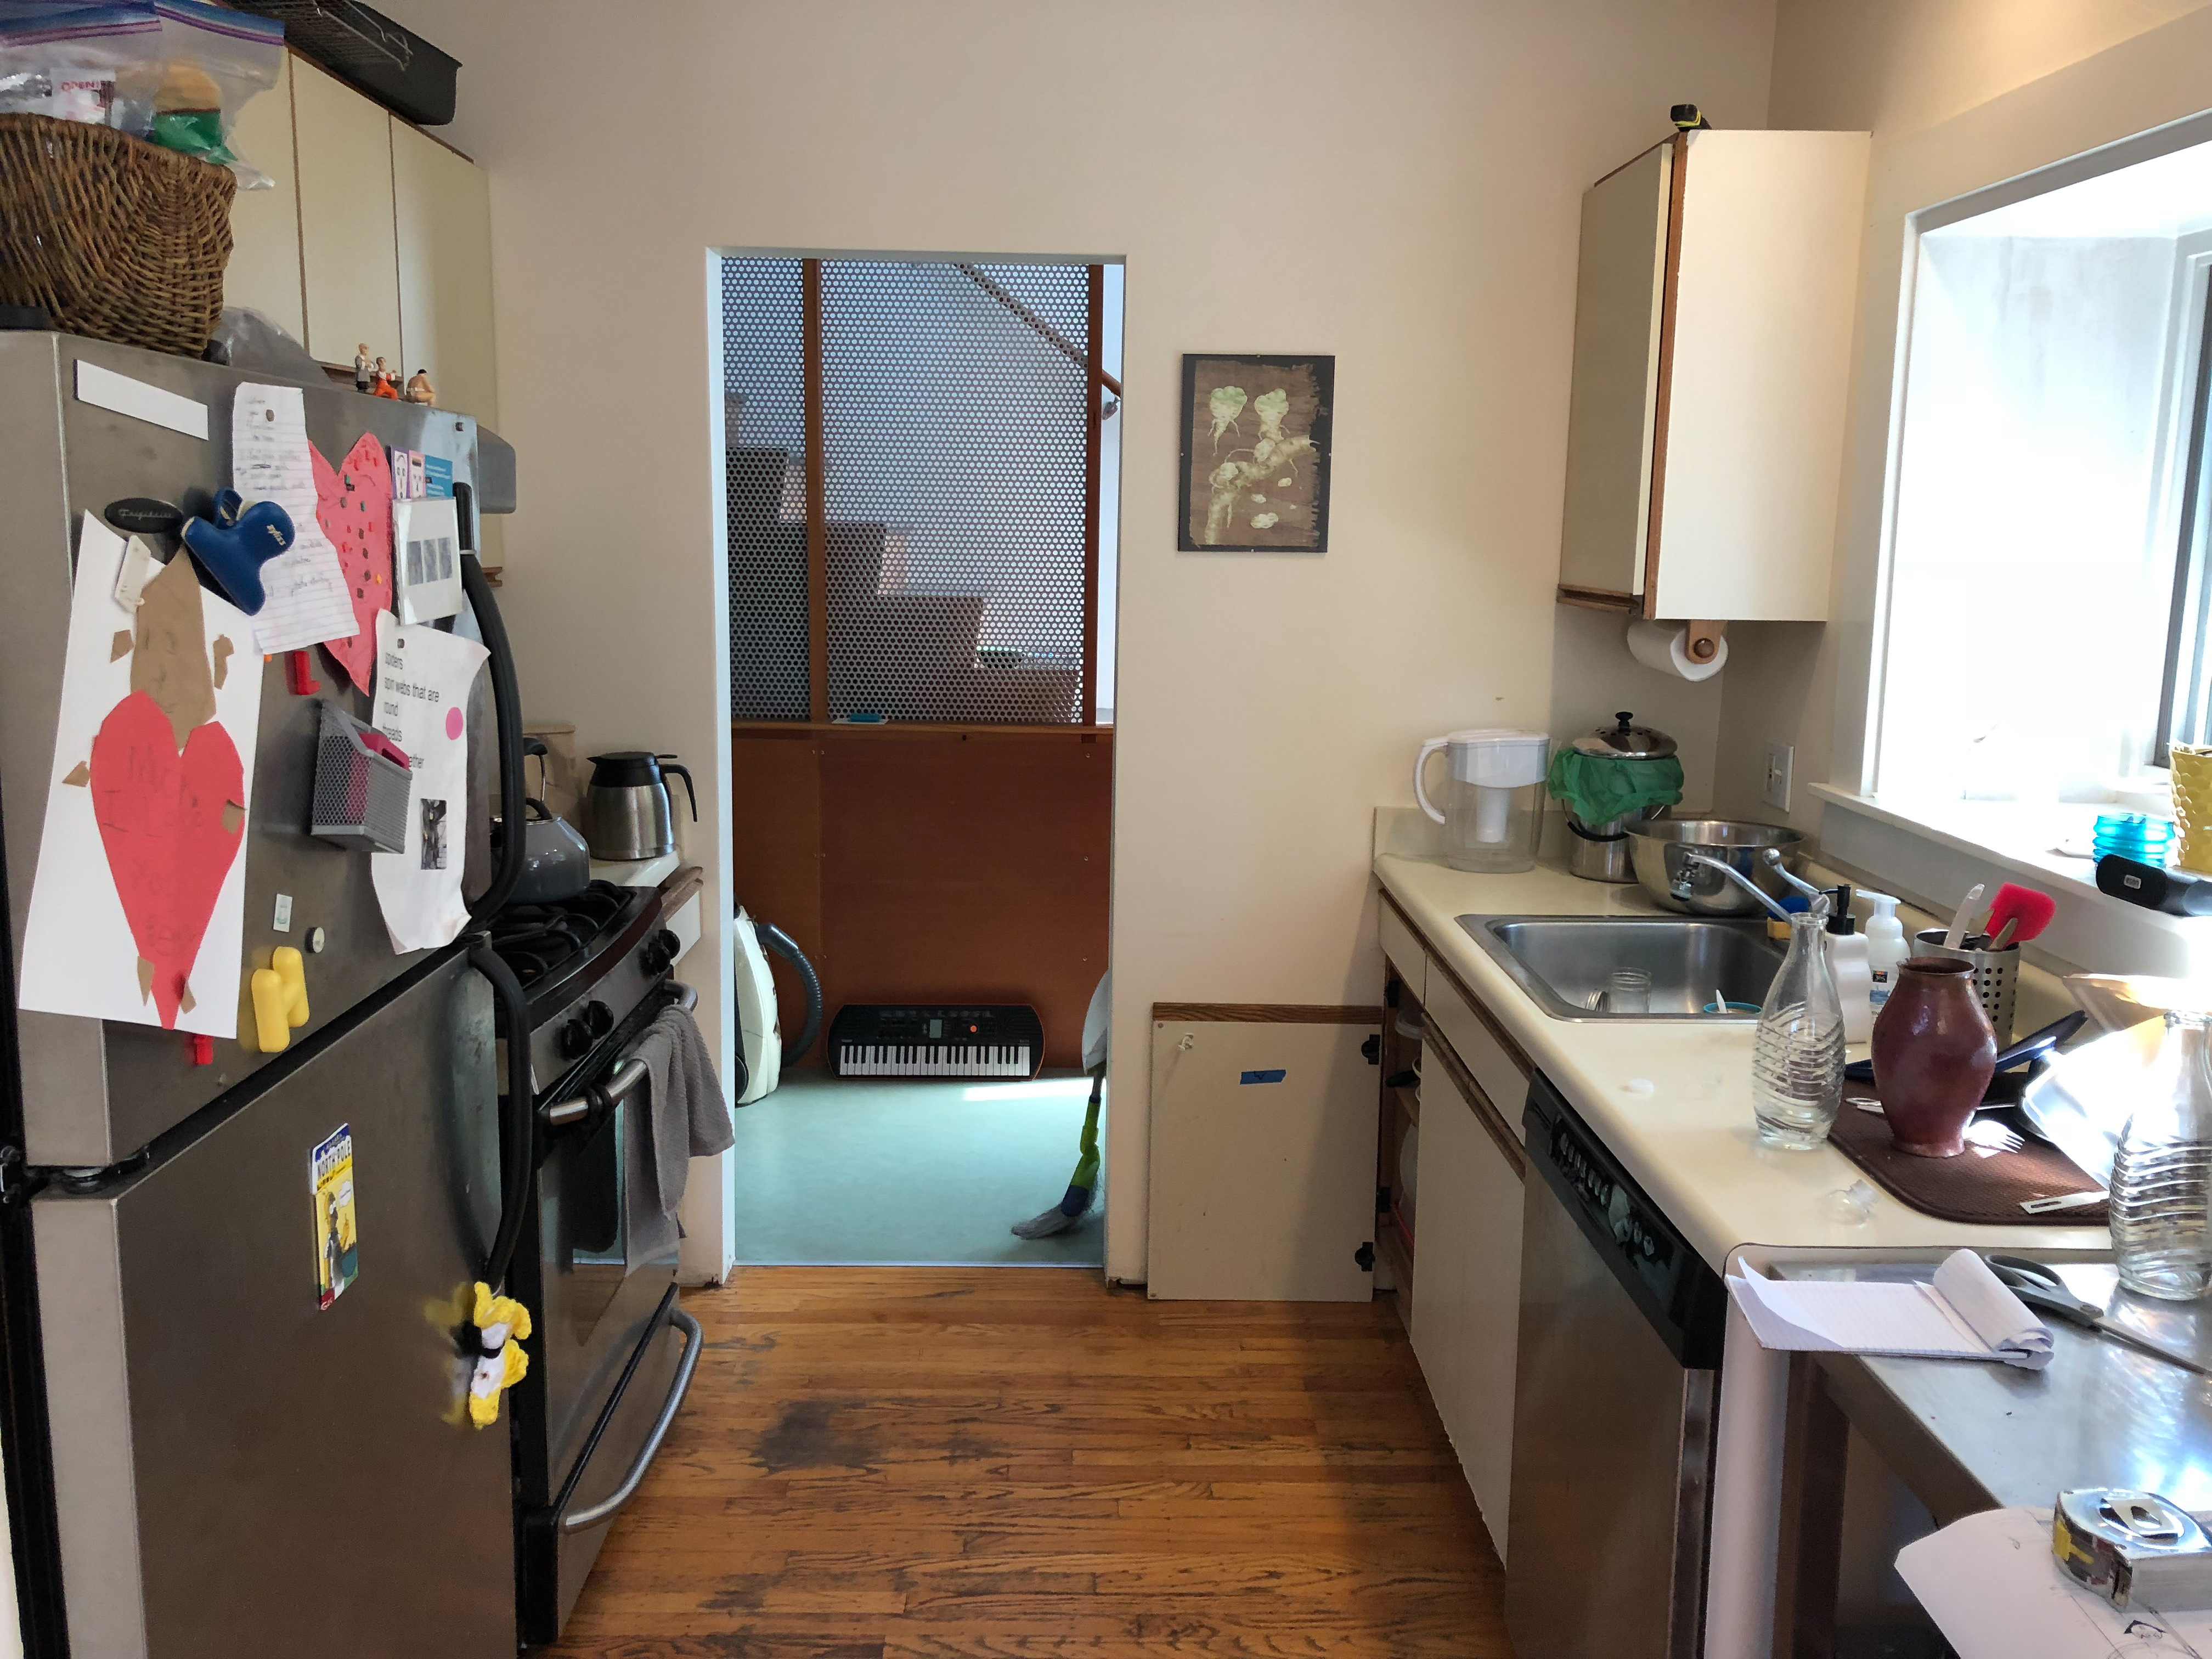
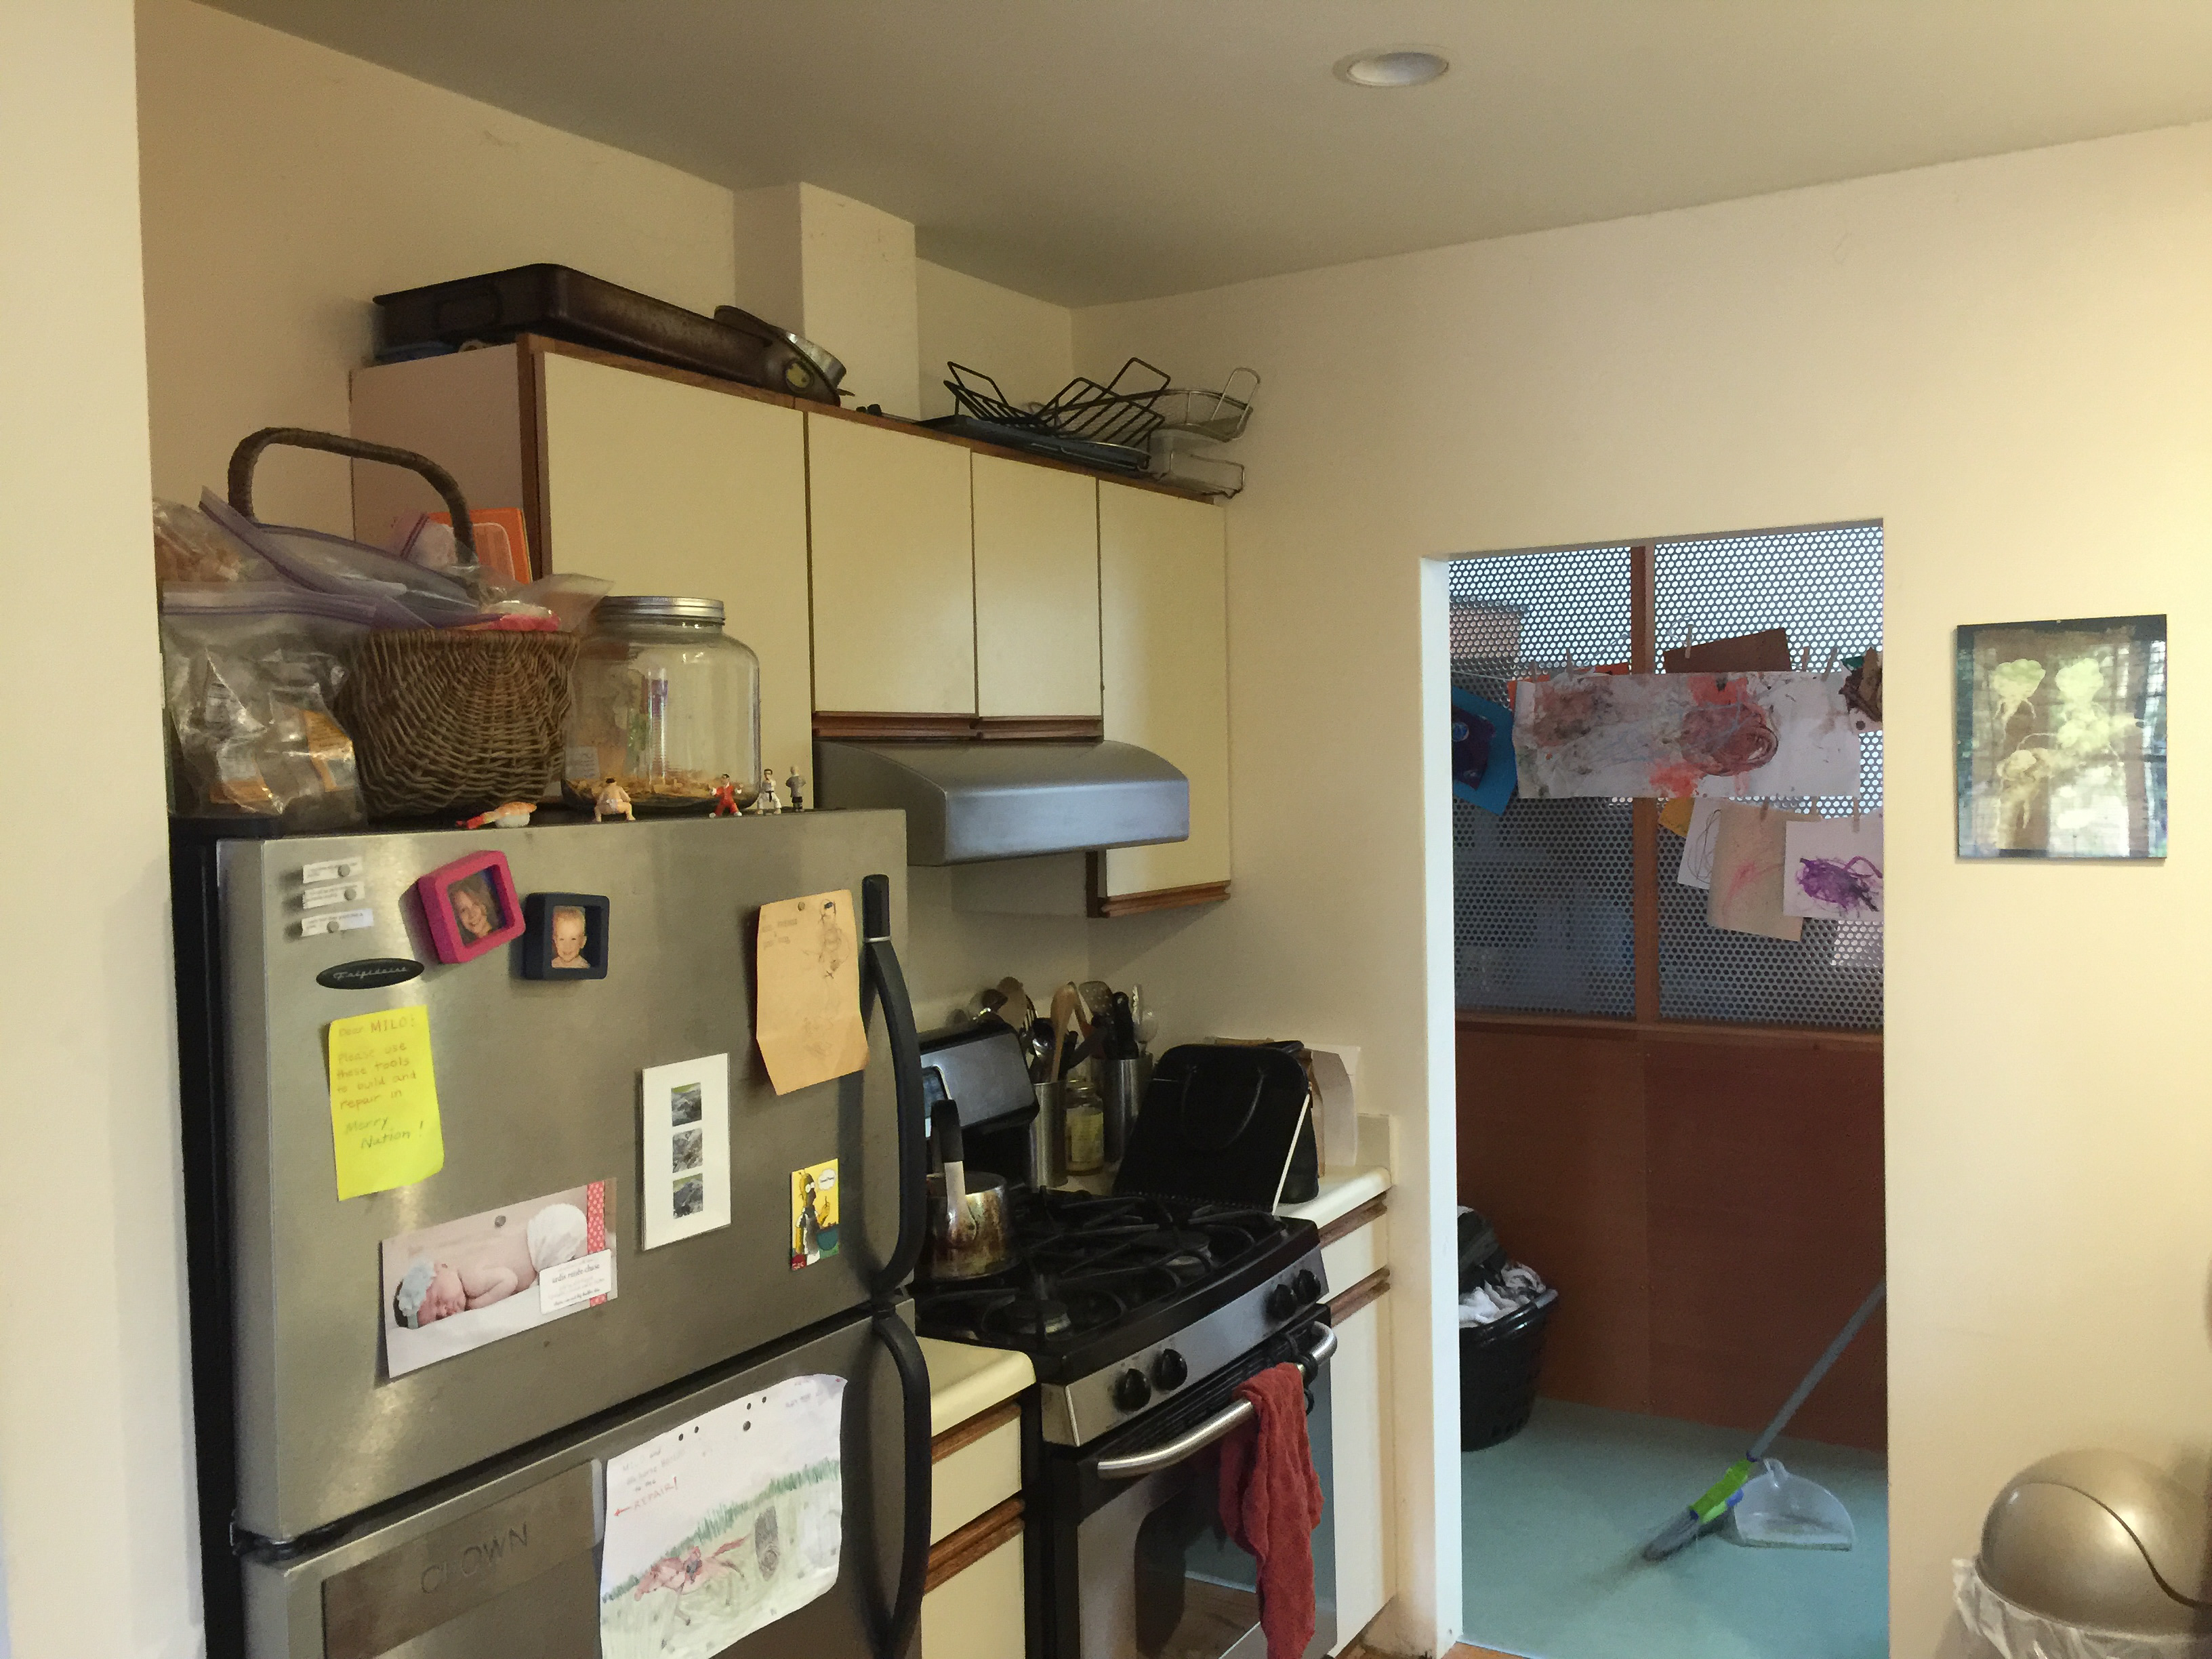
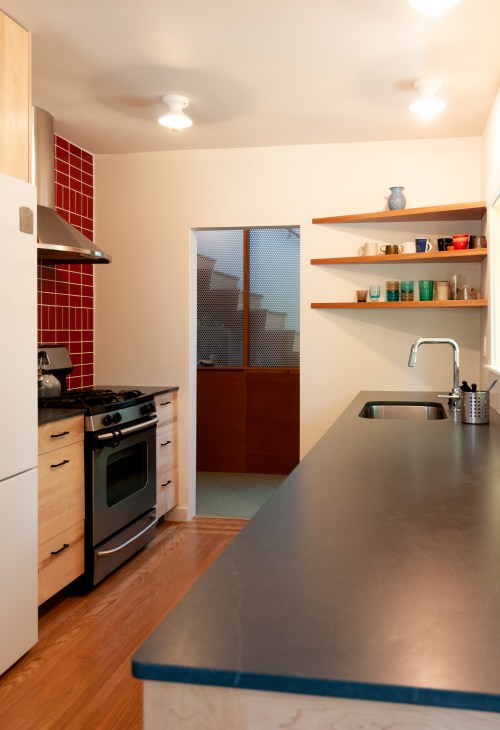
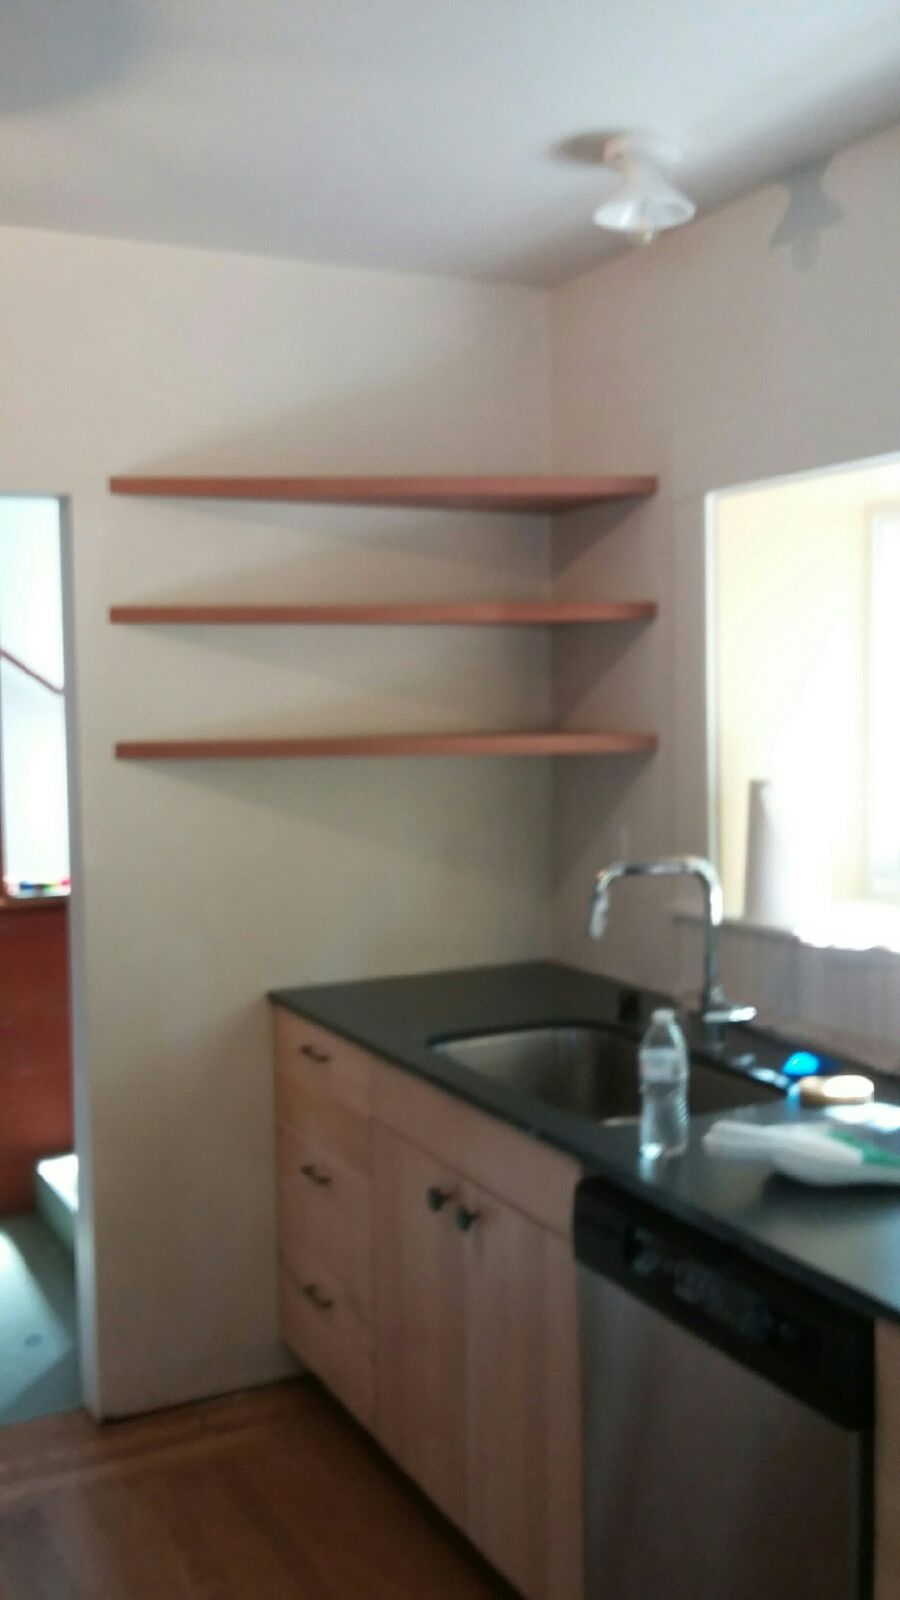
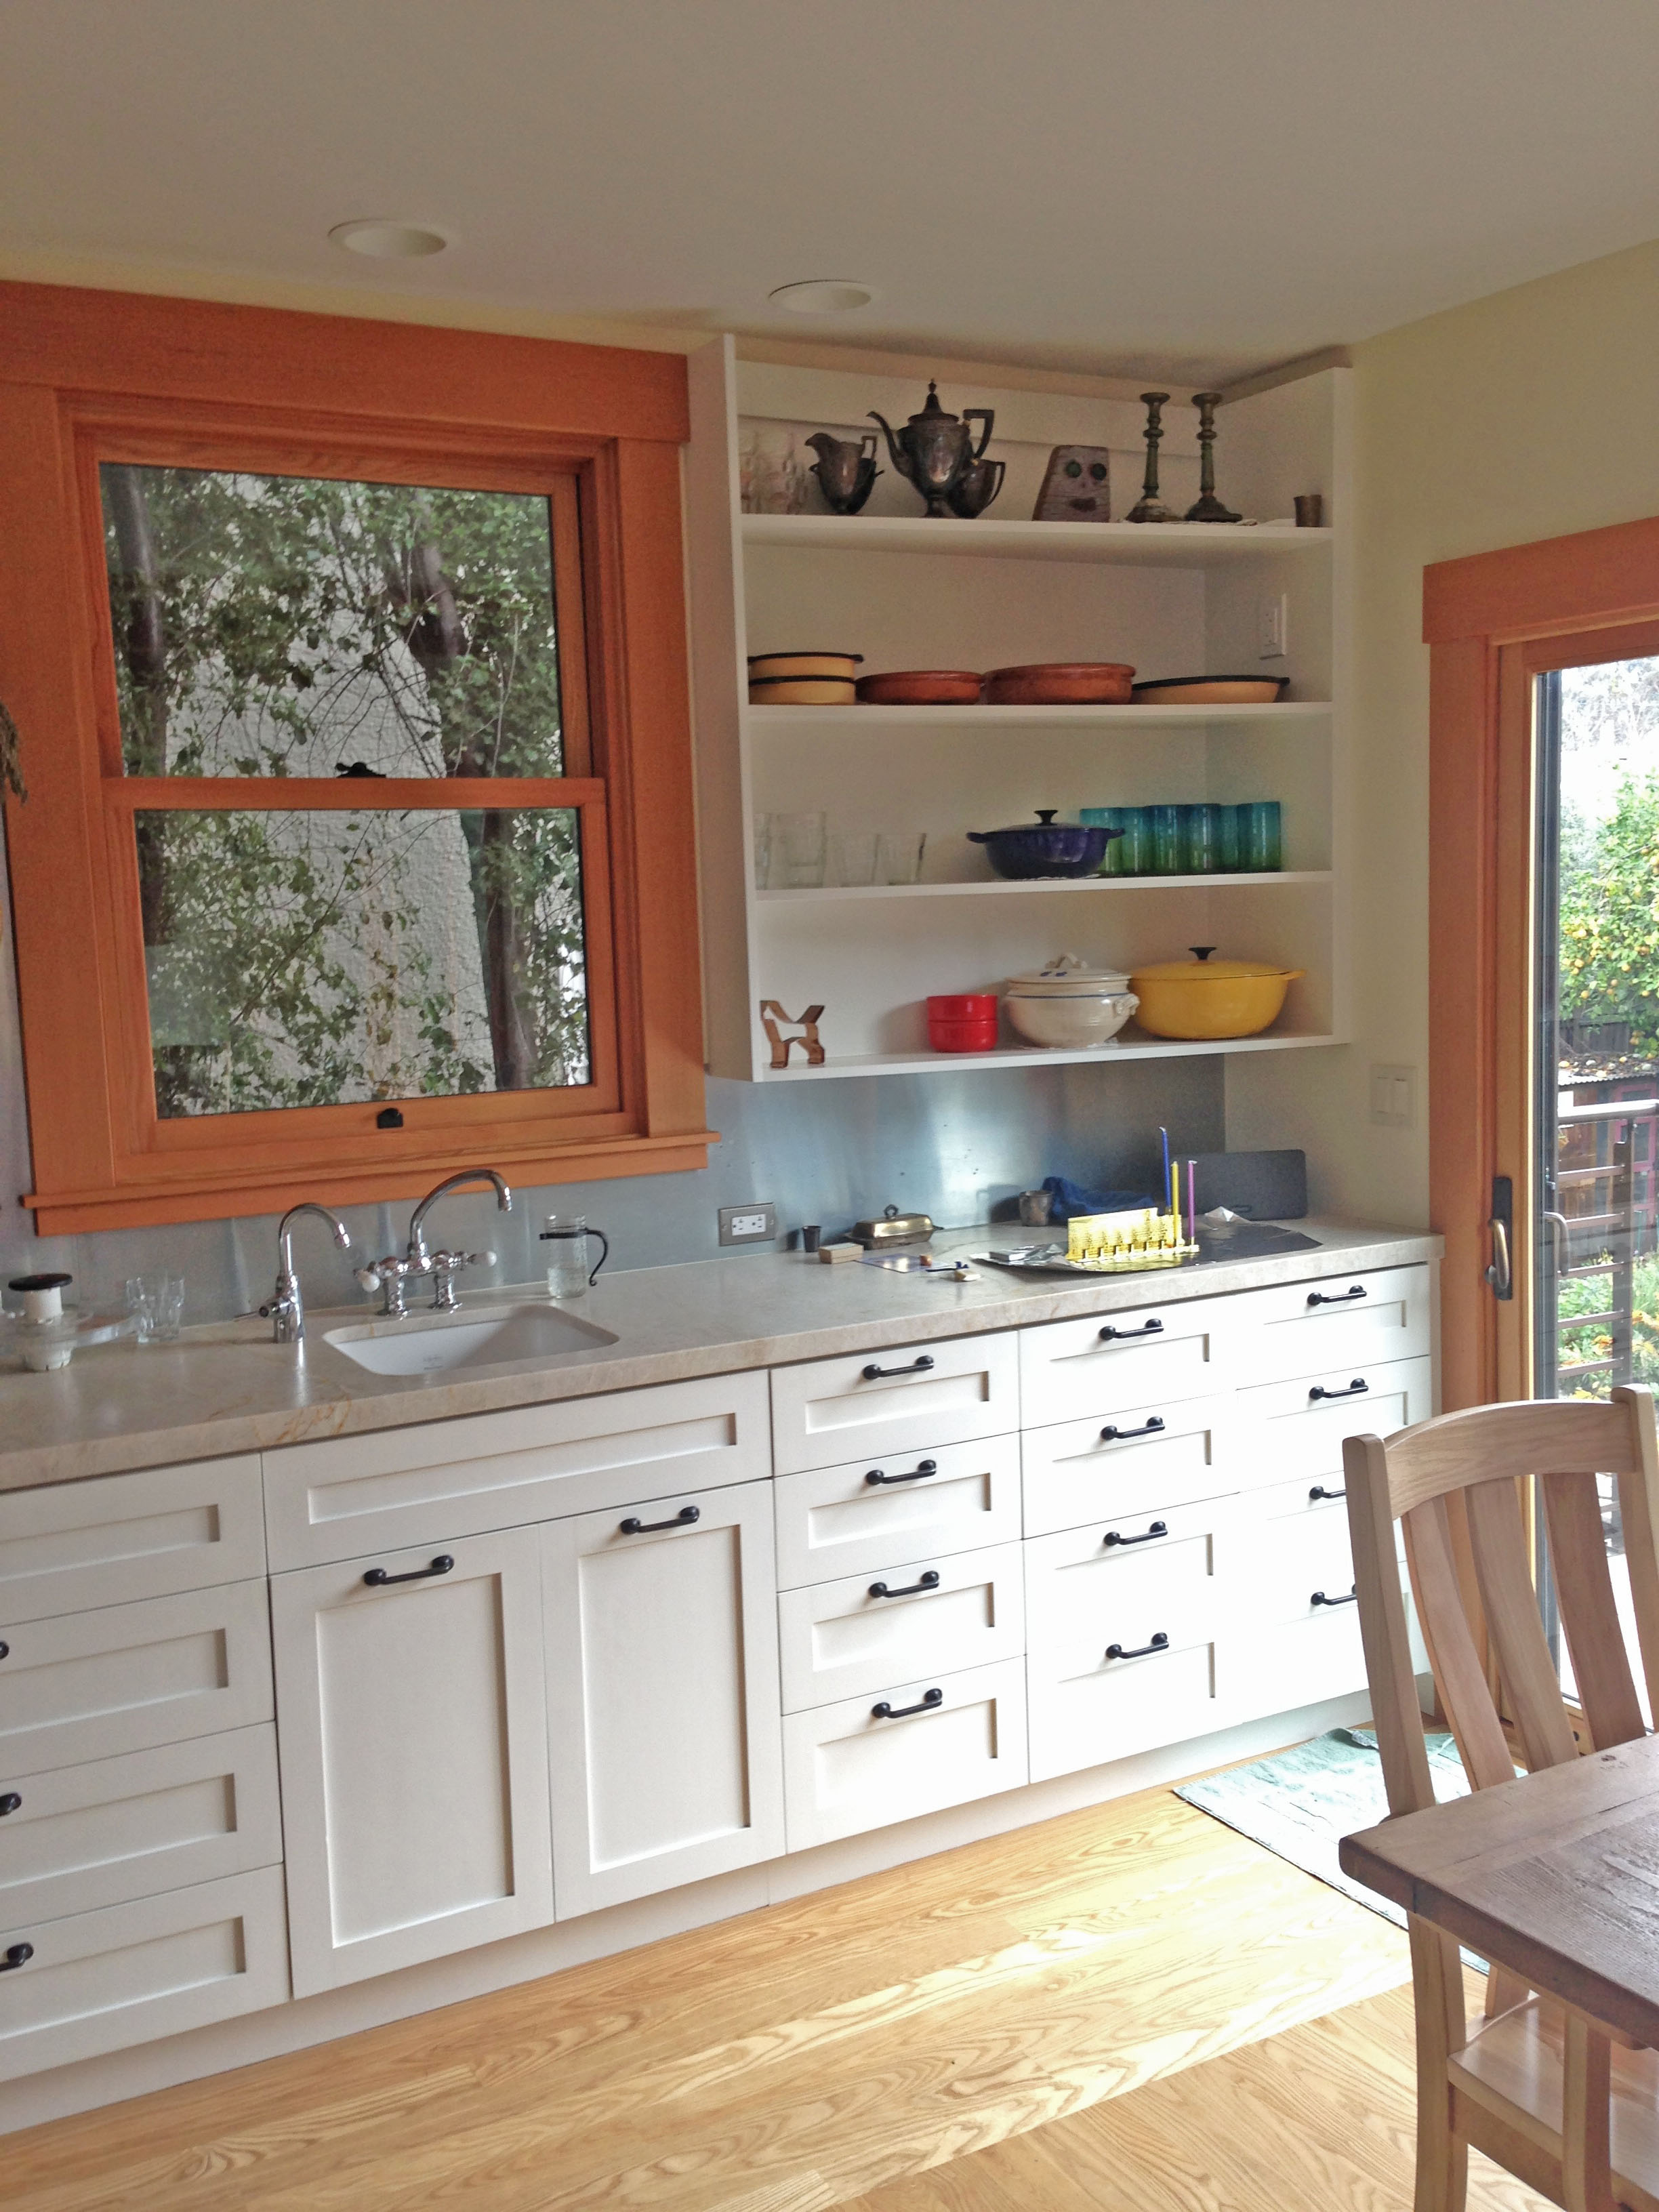
This small kitchen is in the center of a small house. The house had been lovingly and artistically updated over the years, but the owners were waiting for the right time to tackle the kitchen. The budget was tight, but the owners had a lot of energy for carefully considering every detail and the contractor, Steve Coleman, was the perfect fit. He had the skill and the patience to accomplish it all.
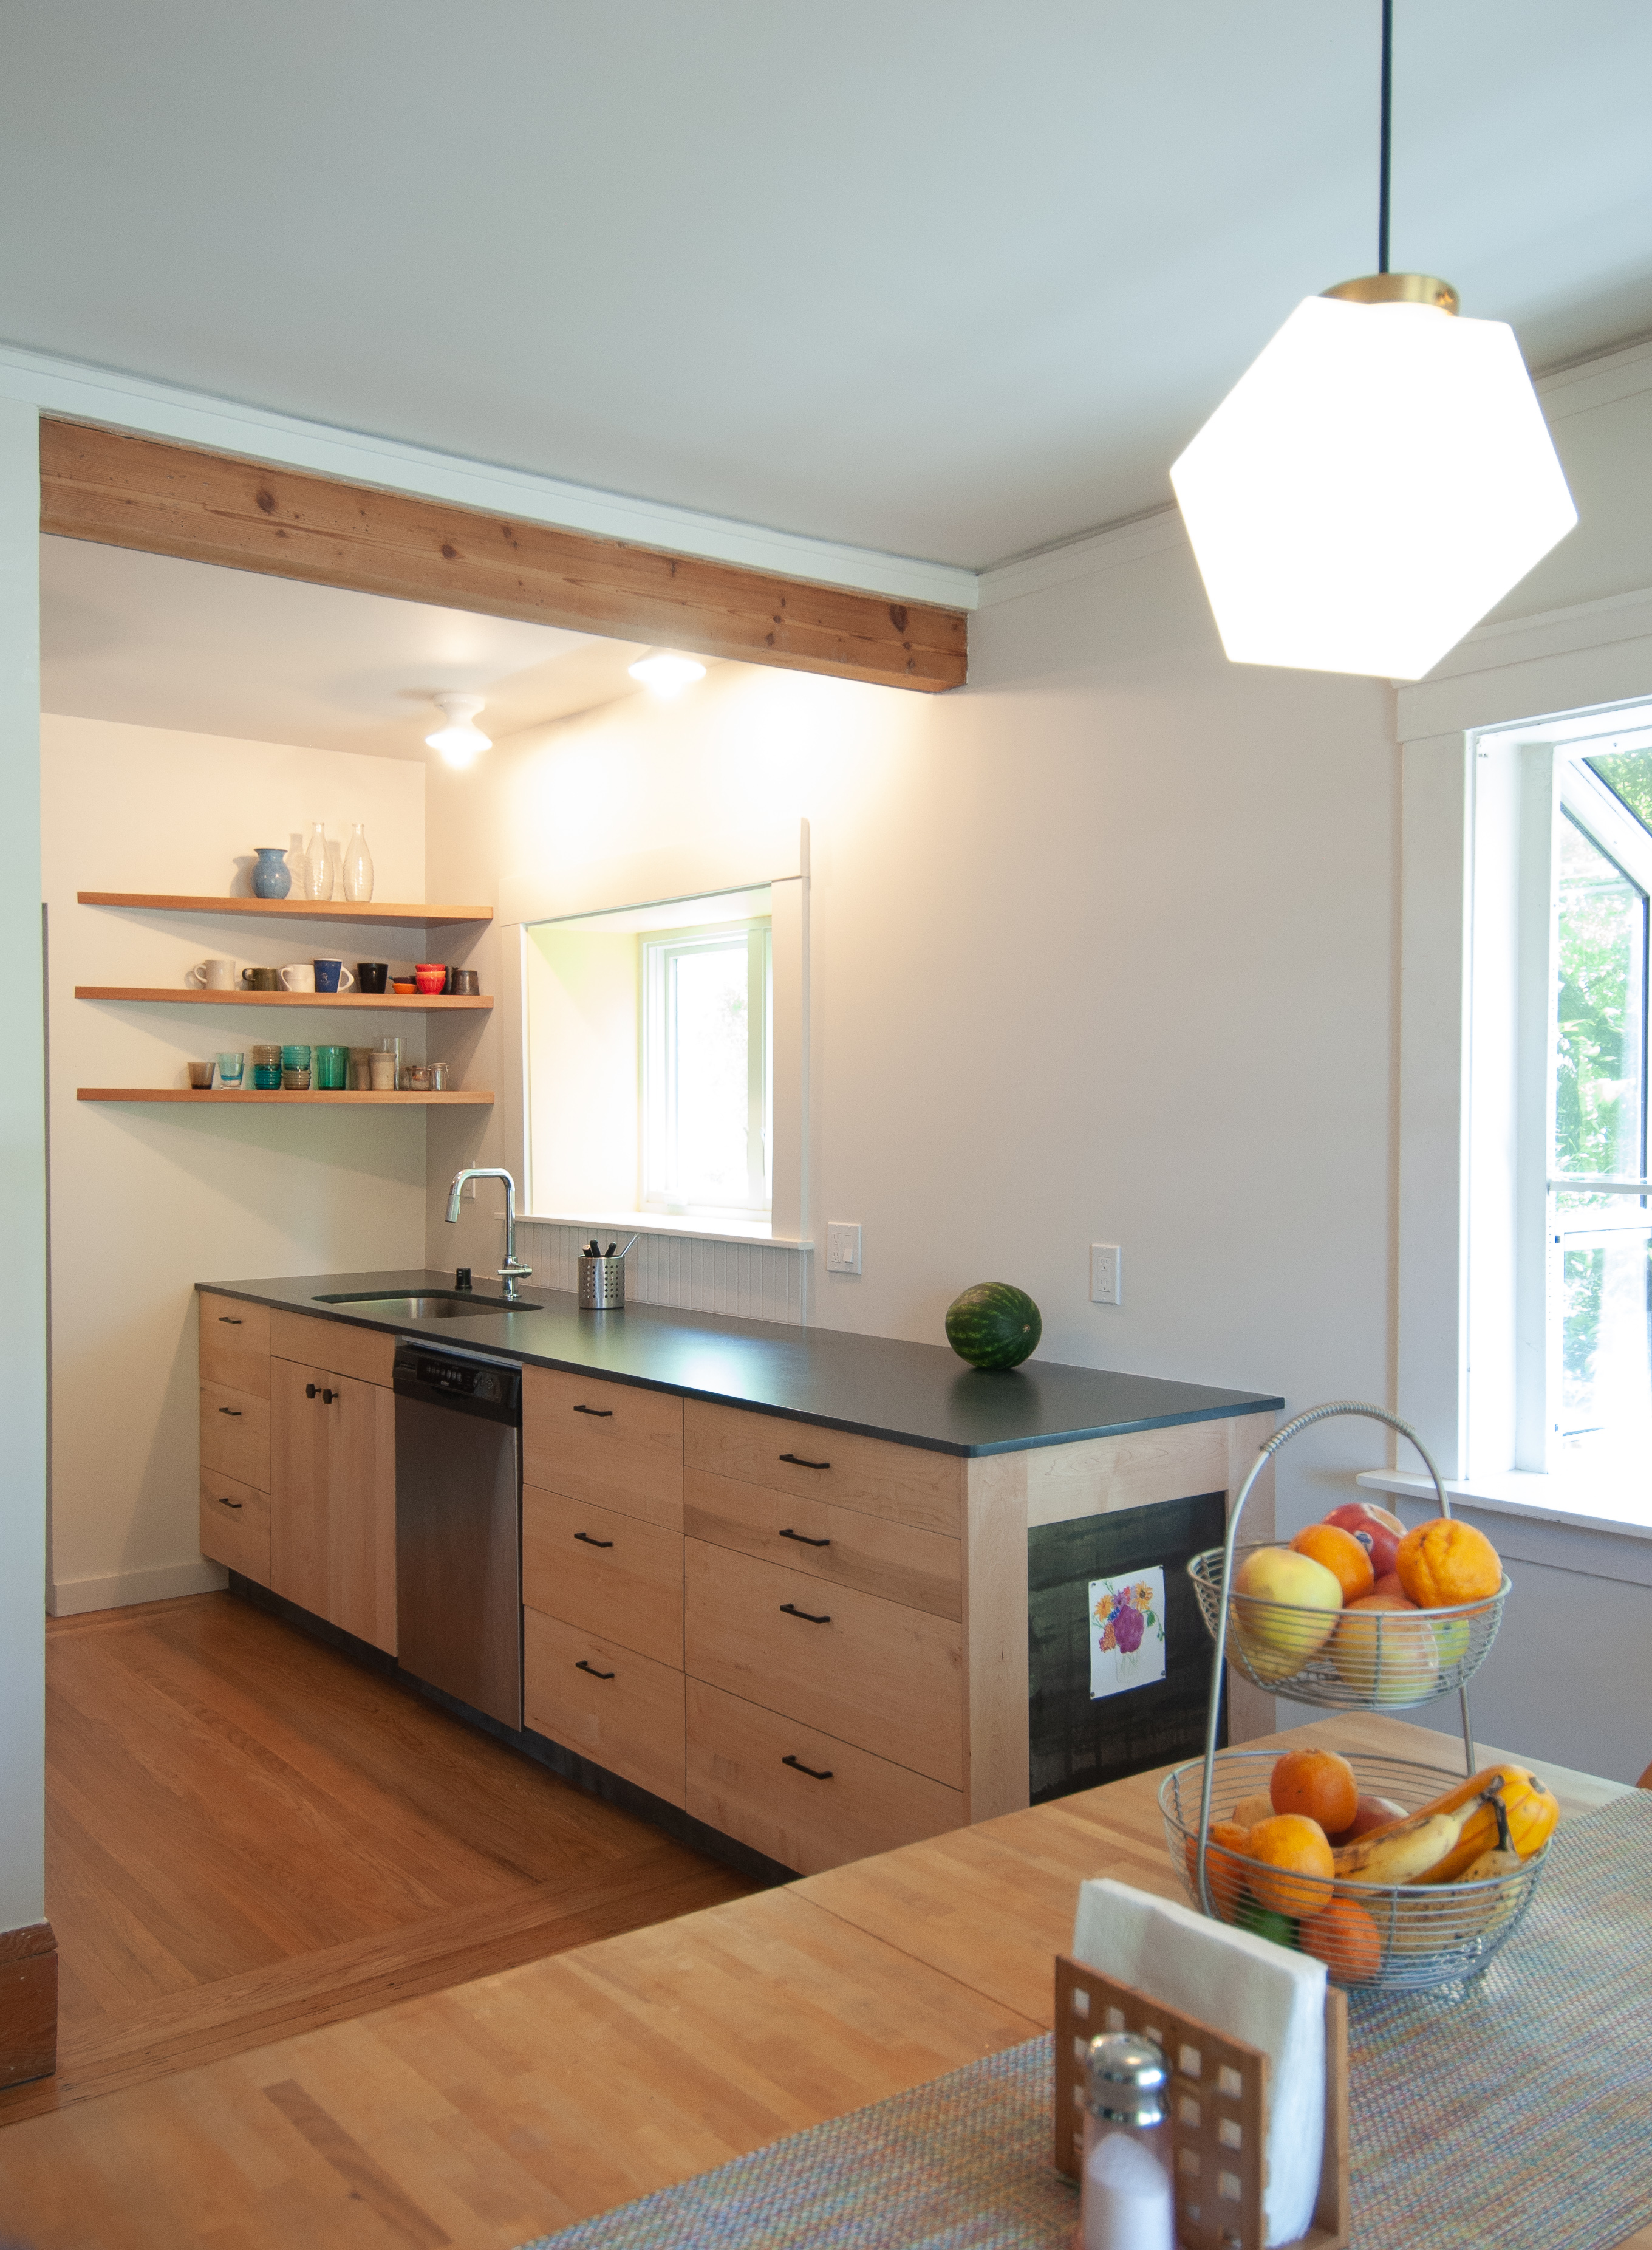
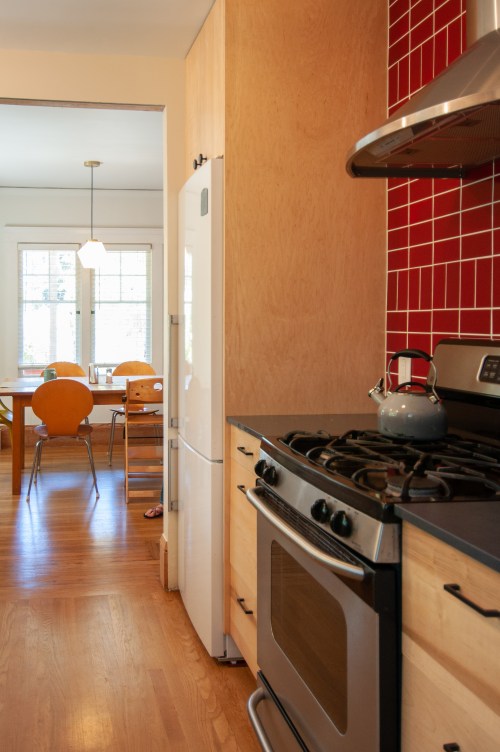
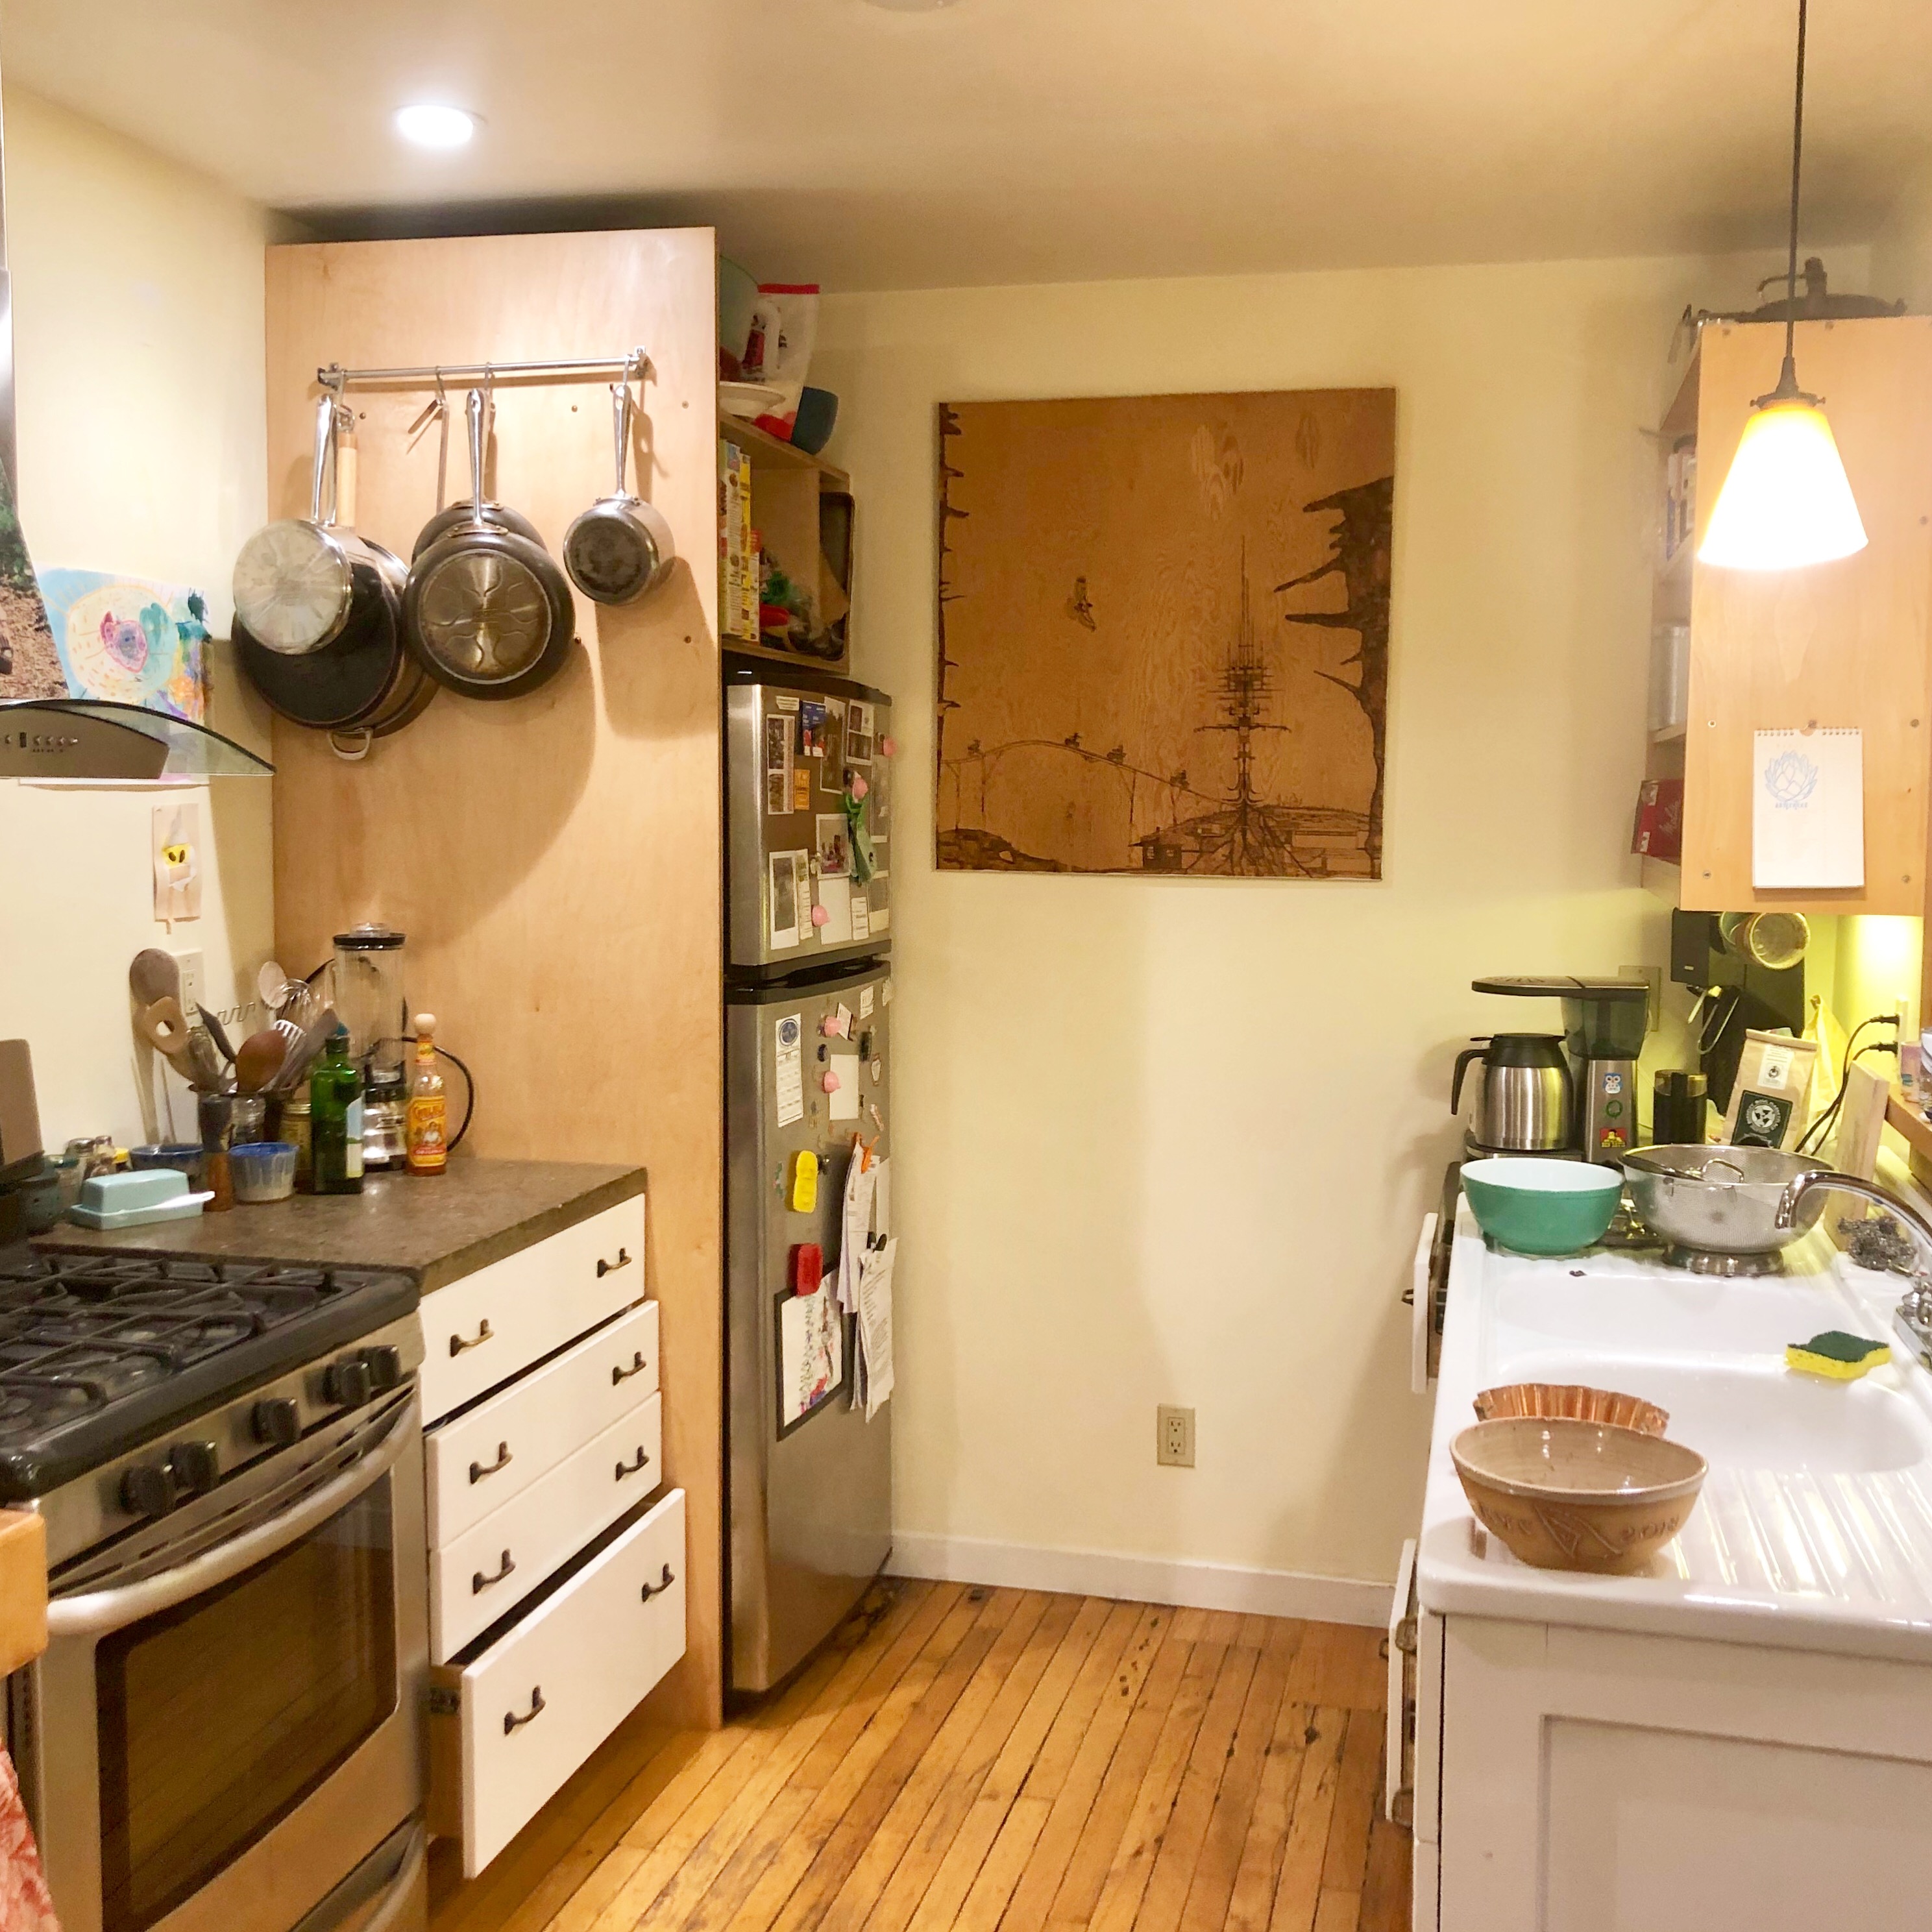
Most of the cabinet boxes are standard IKEA with the faces upgraded by Steve. The mahogany corner shelves and the refrigerator side panel and upper cabinet are custom made. The cabinet kick and the end panel are zinc with patina. (The end panel has steel behind the zinc so that it is magnetic for displaying pictures) The dark metal kick is quite visible from the entry and livingroom…but by visible I mean it actually nicely disappears into the shadows. Fluorescent recessed lights and dated dining table lighting have been upgraded beautifully. The deep window at the sink got a splash of pale yellow with vertical white tiles below. The range side got a bright red tiled backsplash. The improved below counter storage allowed for the elimination of the cabinets surrounding the cooking area. The range and dishwasher were saved, but a new taller and shallower refrigerator improves the space. The long counter on the sink side is 6 inches deeper than normal which yields more counter space for working and for objects such as toasters and fruit baskets. (Some objects were removed for the photoshoot)
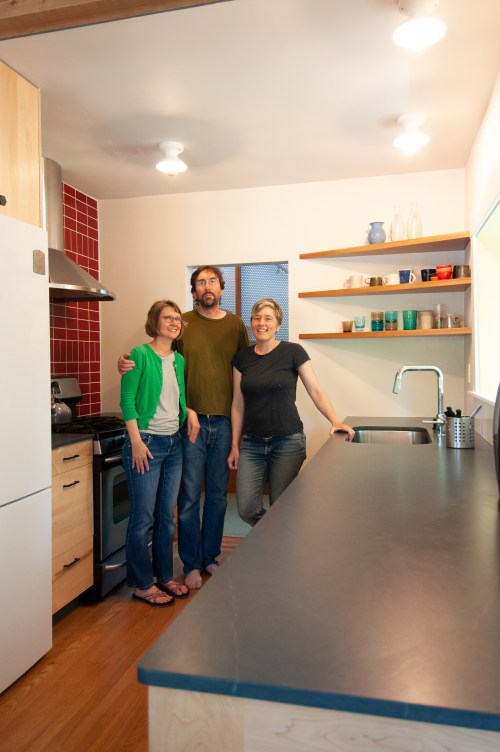
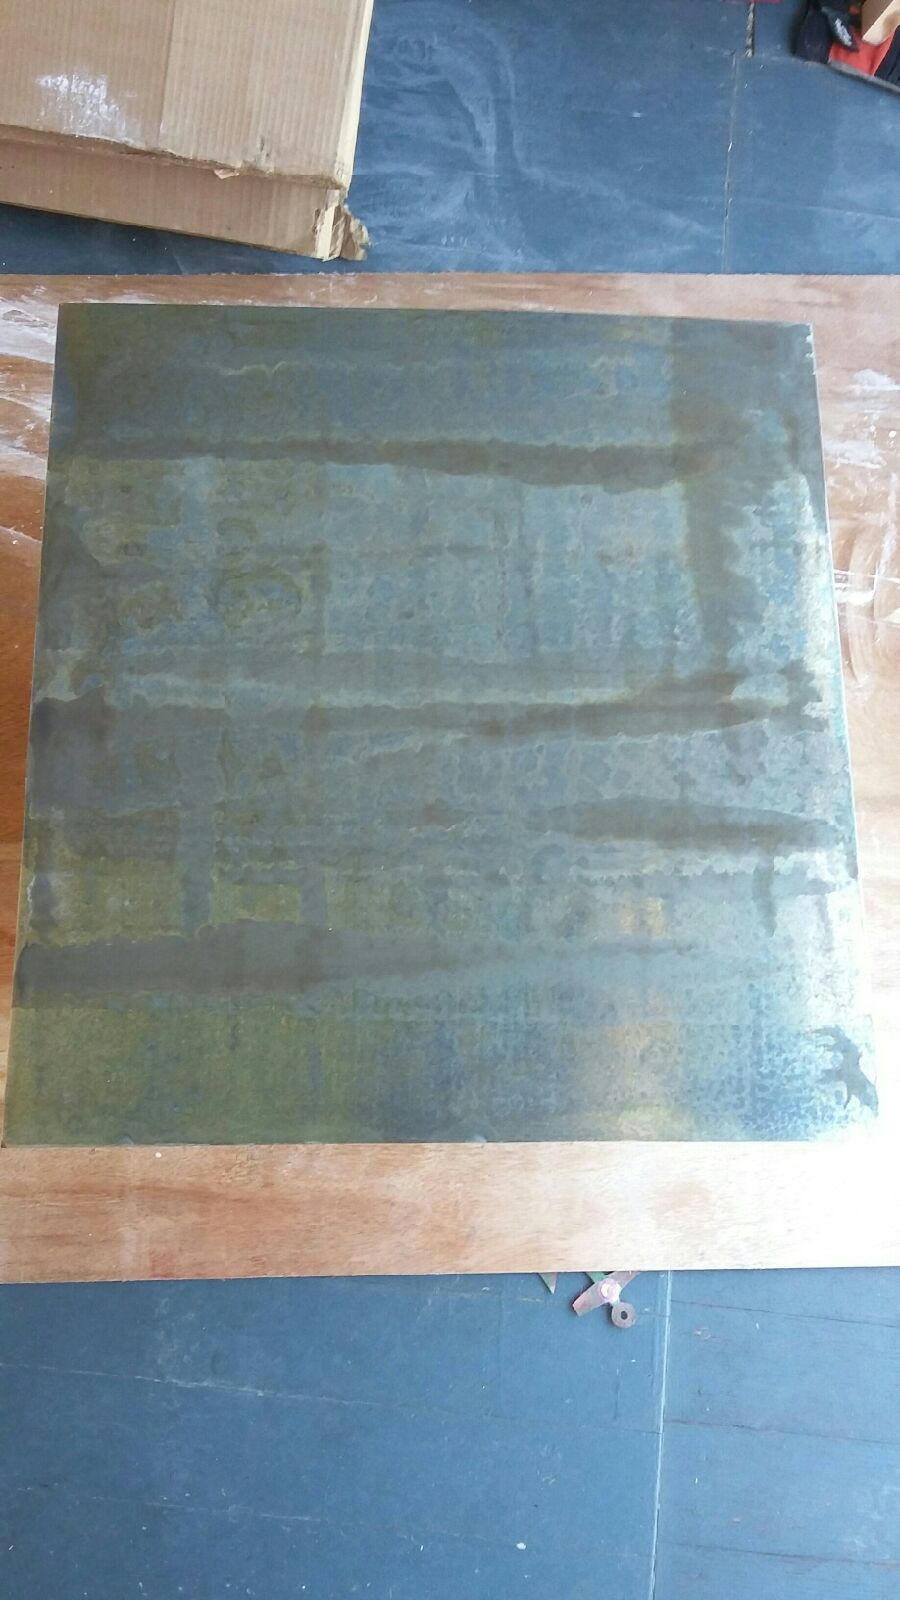
The builder sent me these first 4 snapshots…hopefully I’ll be able to photograph the finished project soon.
Zinc sheet with patina
Zinc panel installed
mahogony triangle shelves in the corner – lots of storage, clean and simple, counter still open for work
red heath tile backsplash behind the range (existing range to remain)
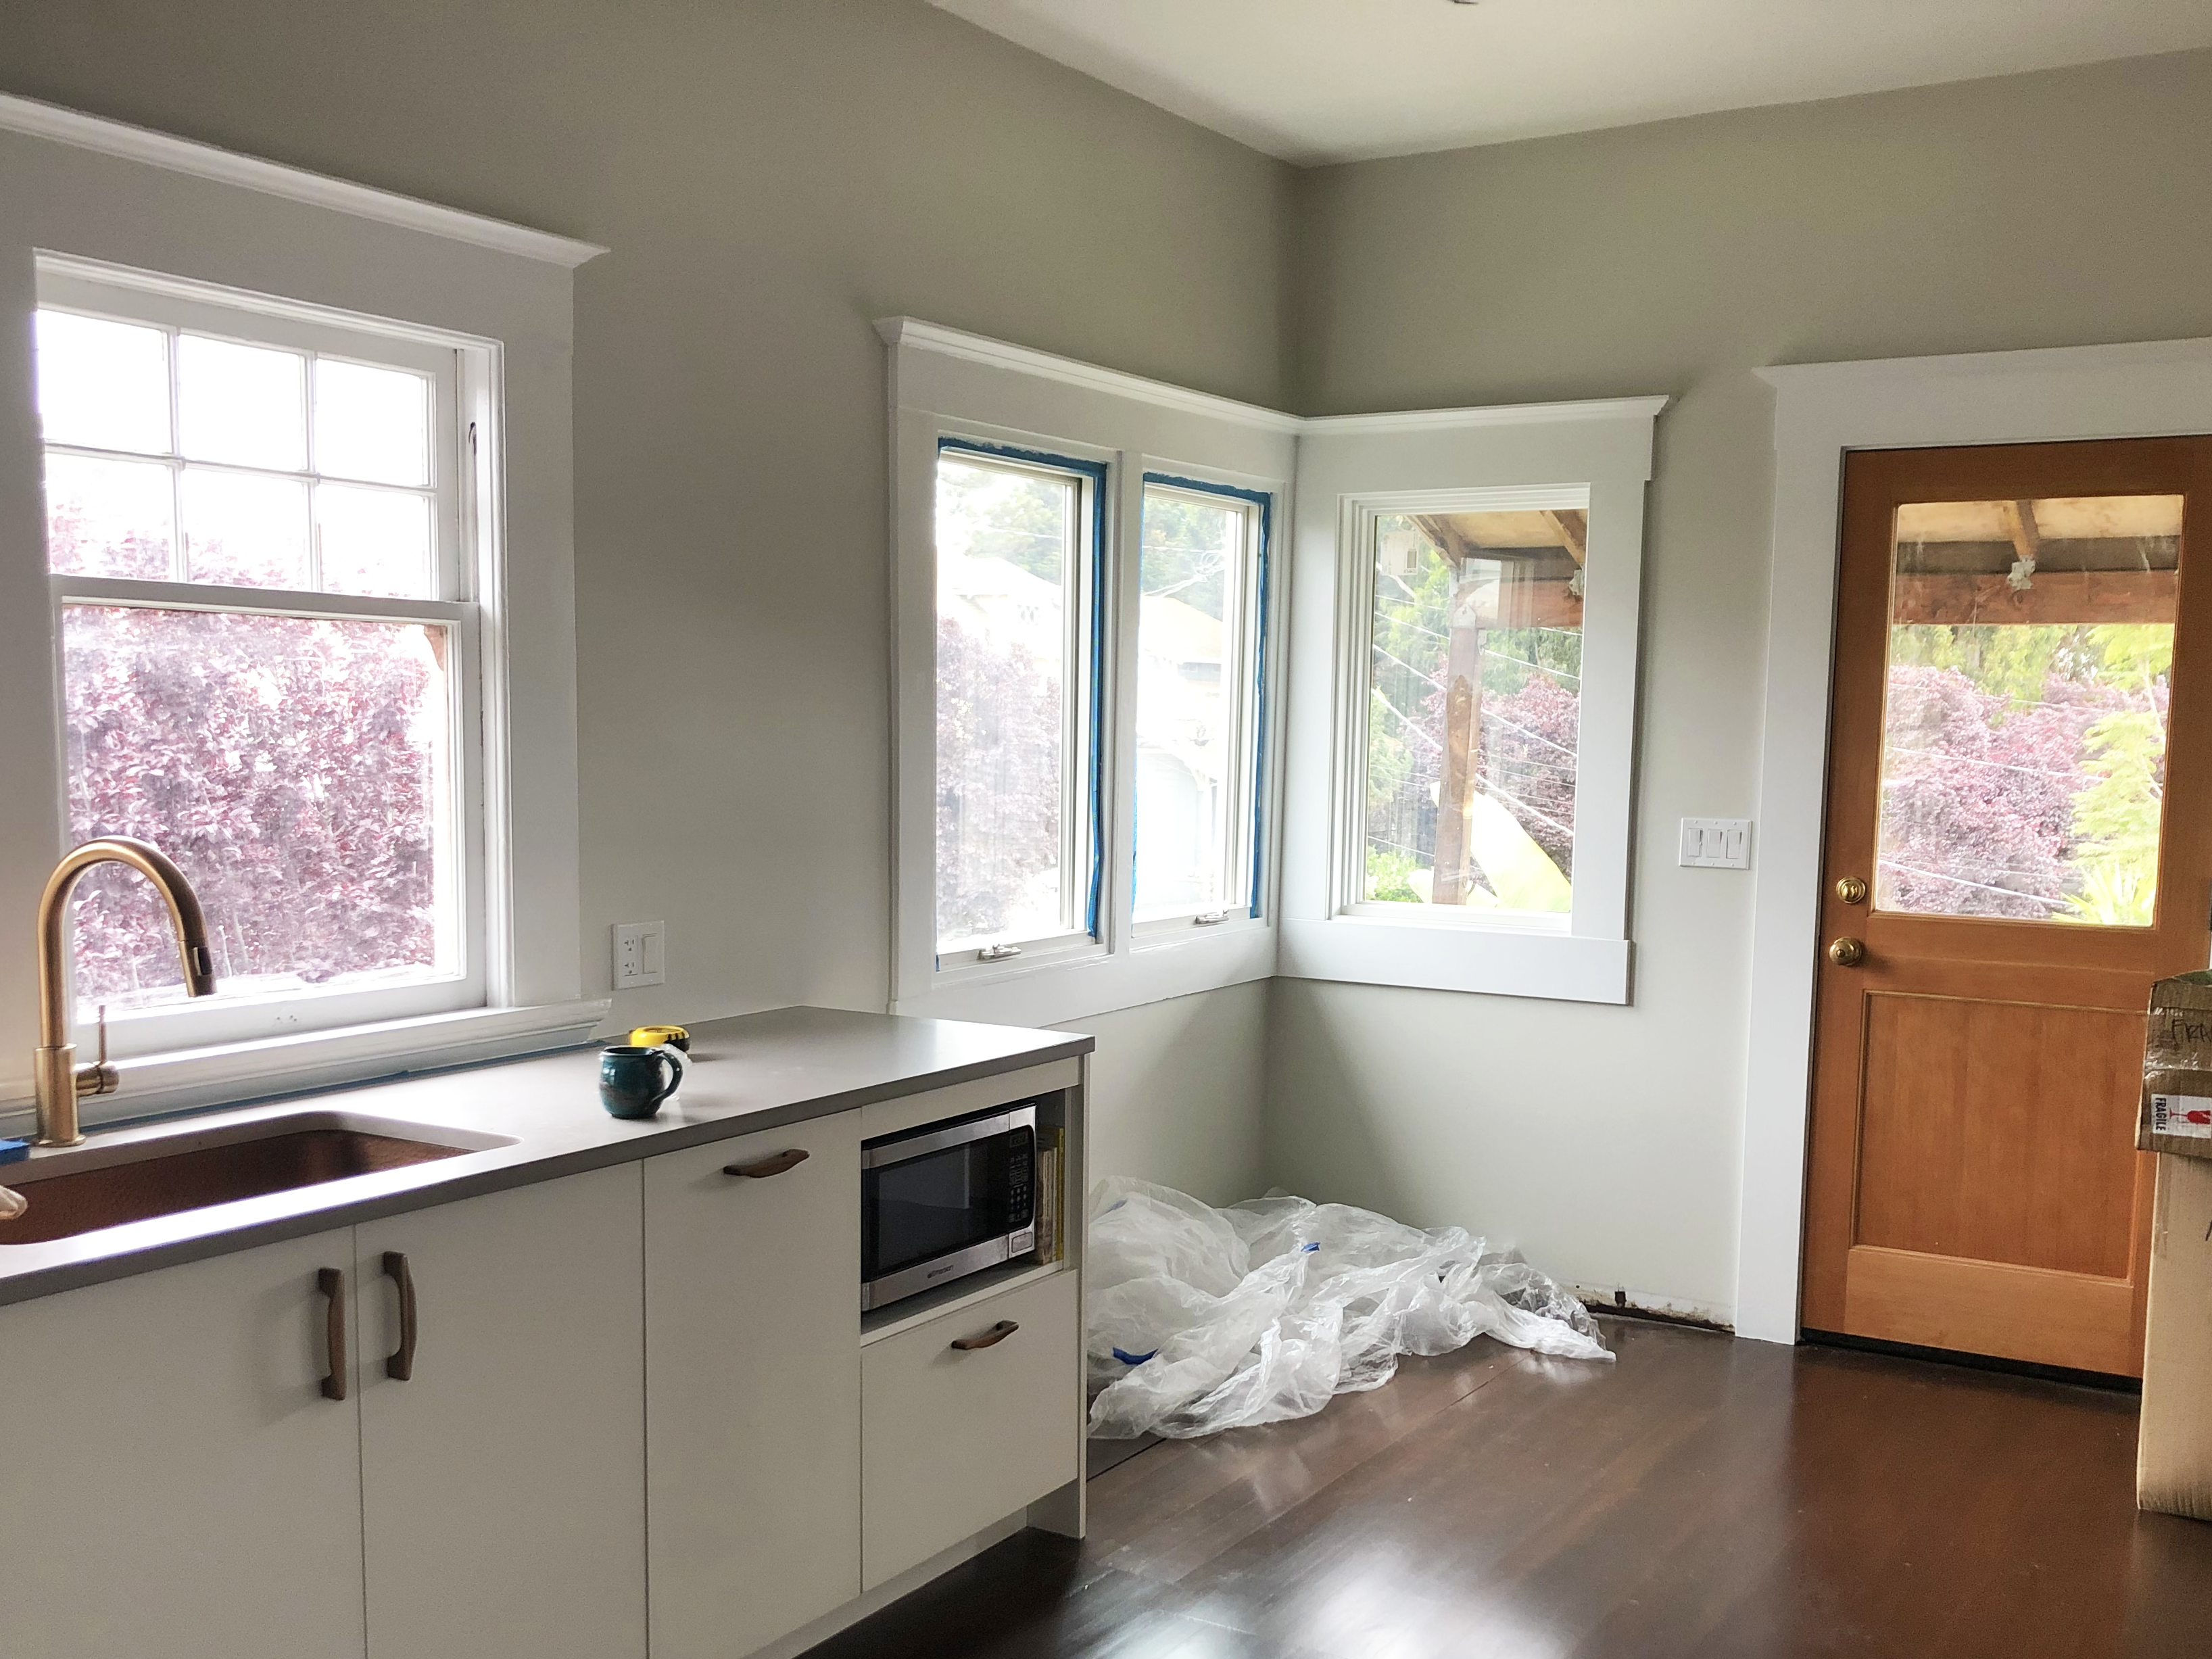
Another kitchen with a new very simple refrigerator side panel and high cabinet to hide the cereal boxes. The side panel is a great spot for a pot rack!
And another with a very simple under counter microwave
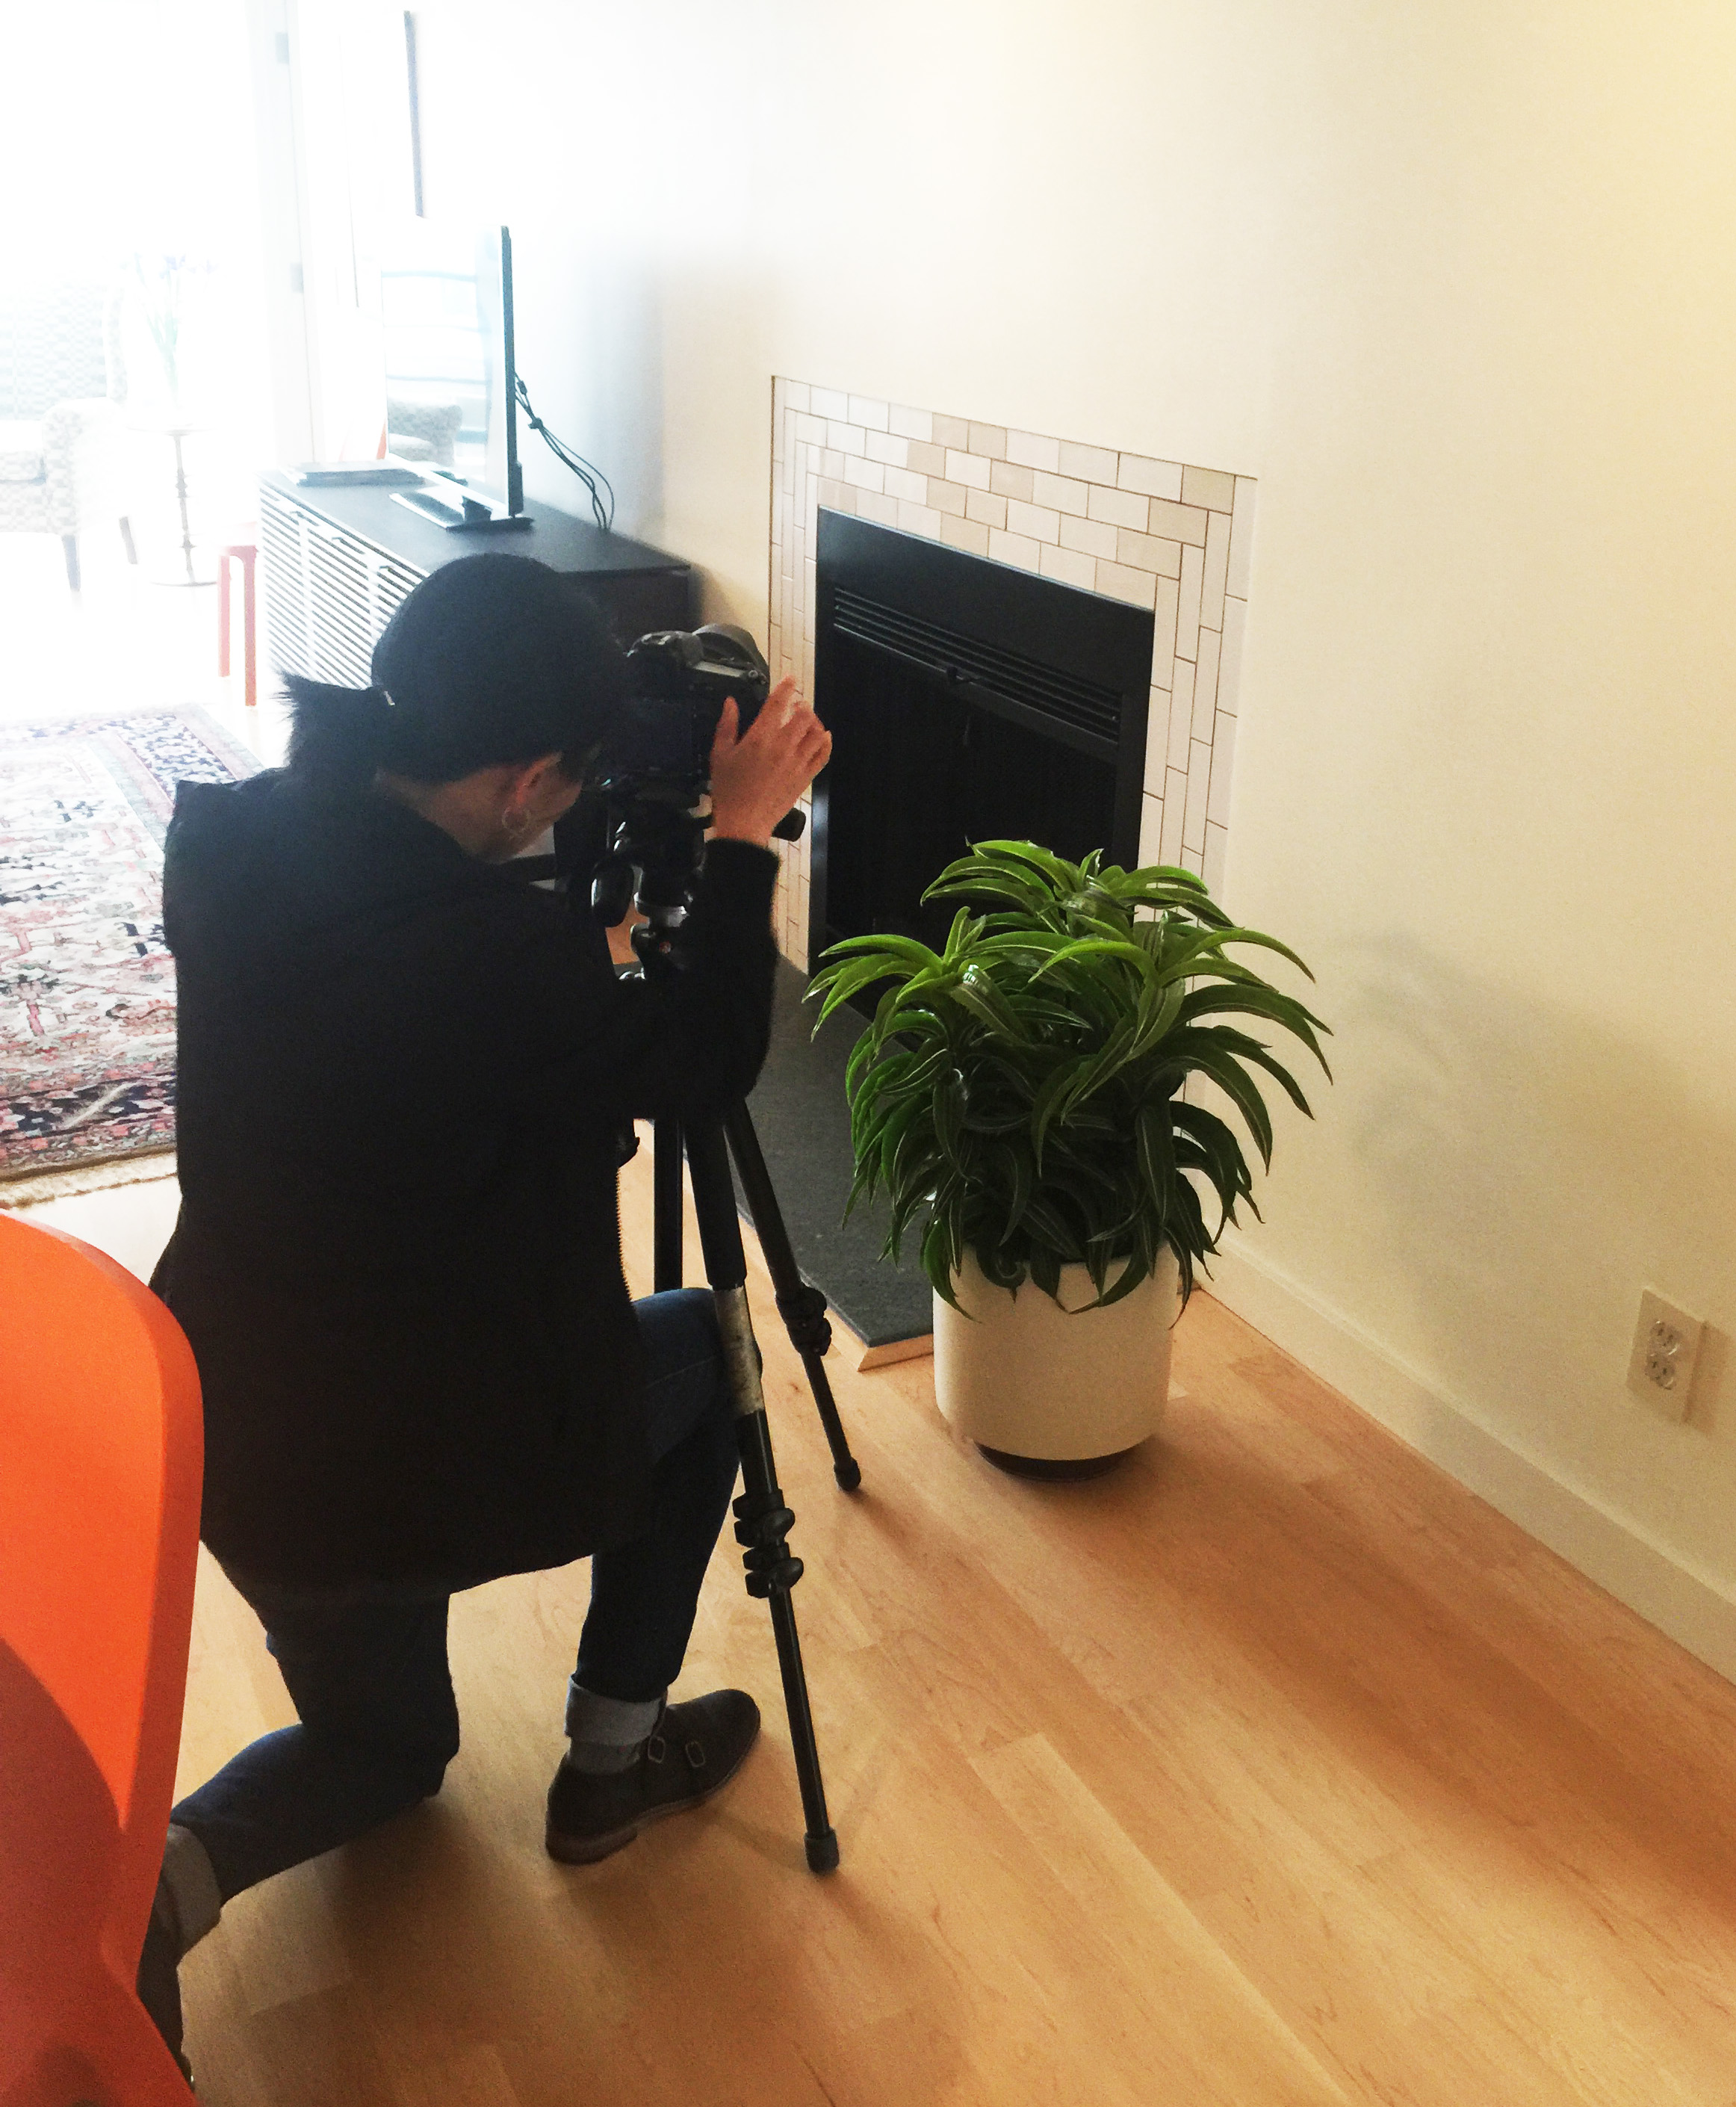
The photographer is capturing the mix of shiny and matte Heath tiles in the hearth surround that makes a subtle pattern. (Only visible when the light is at the right angle)
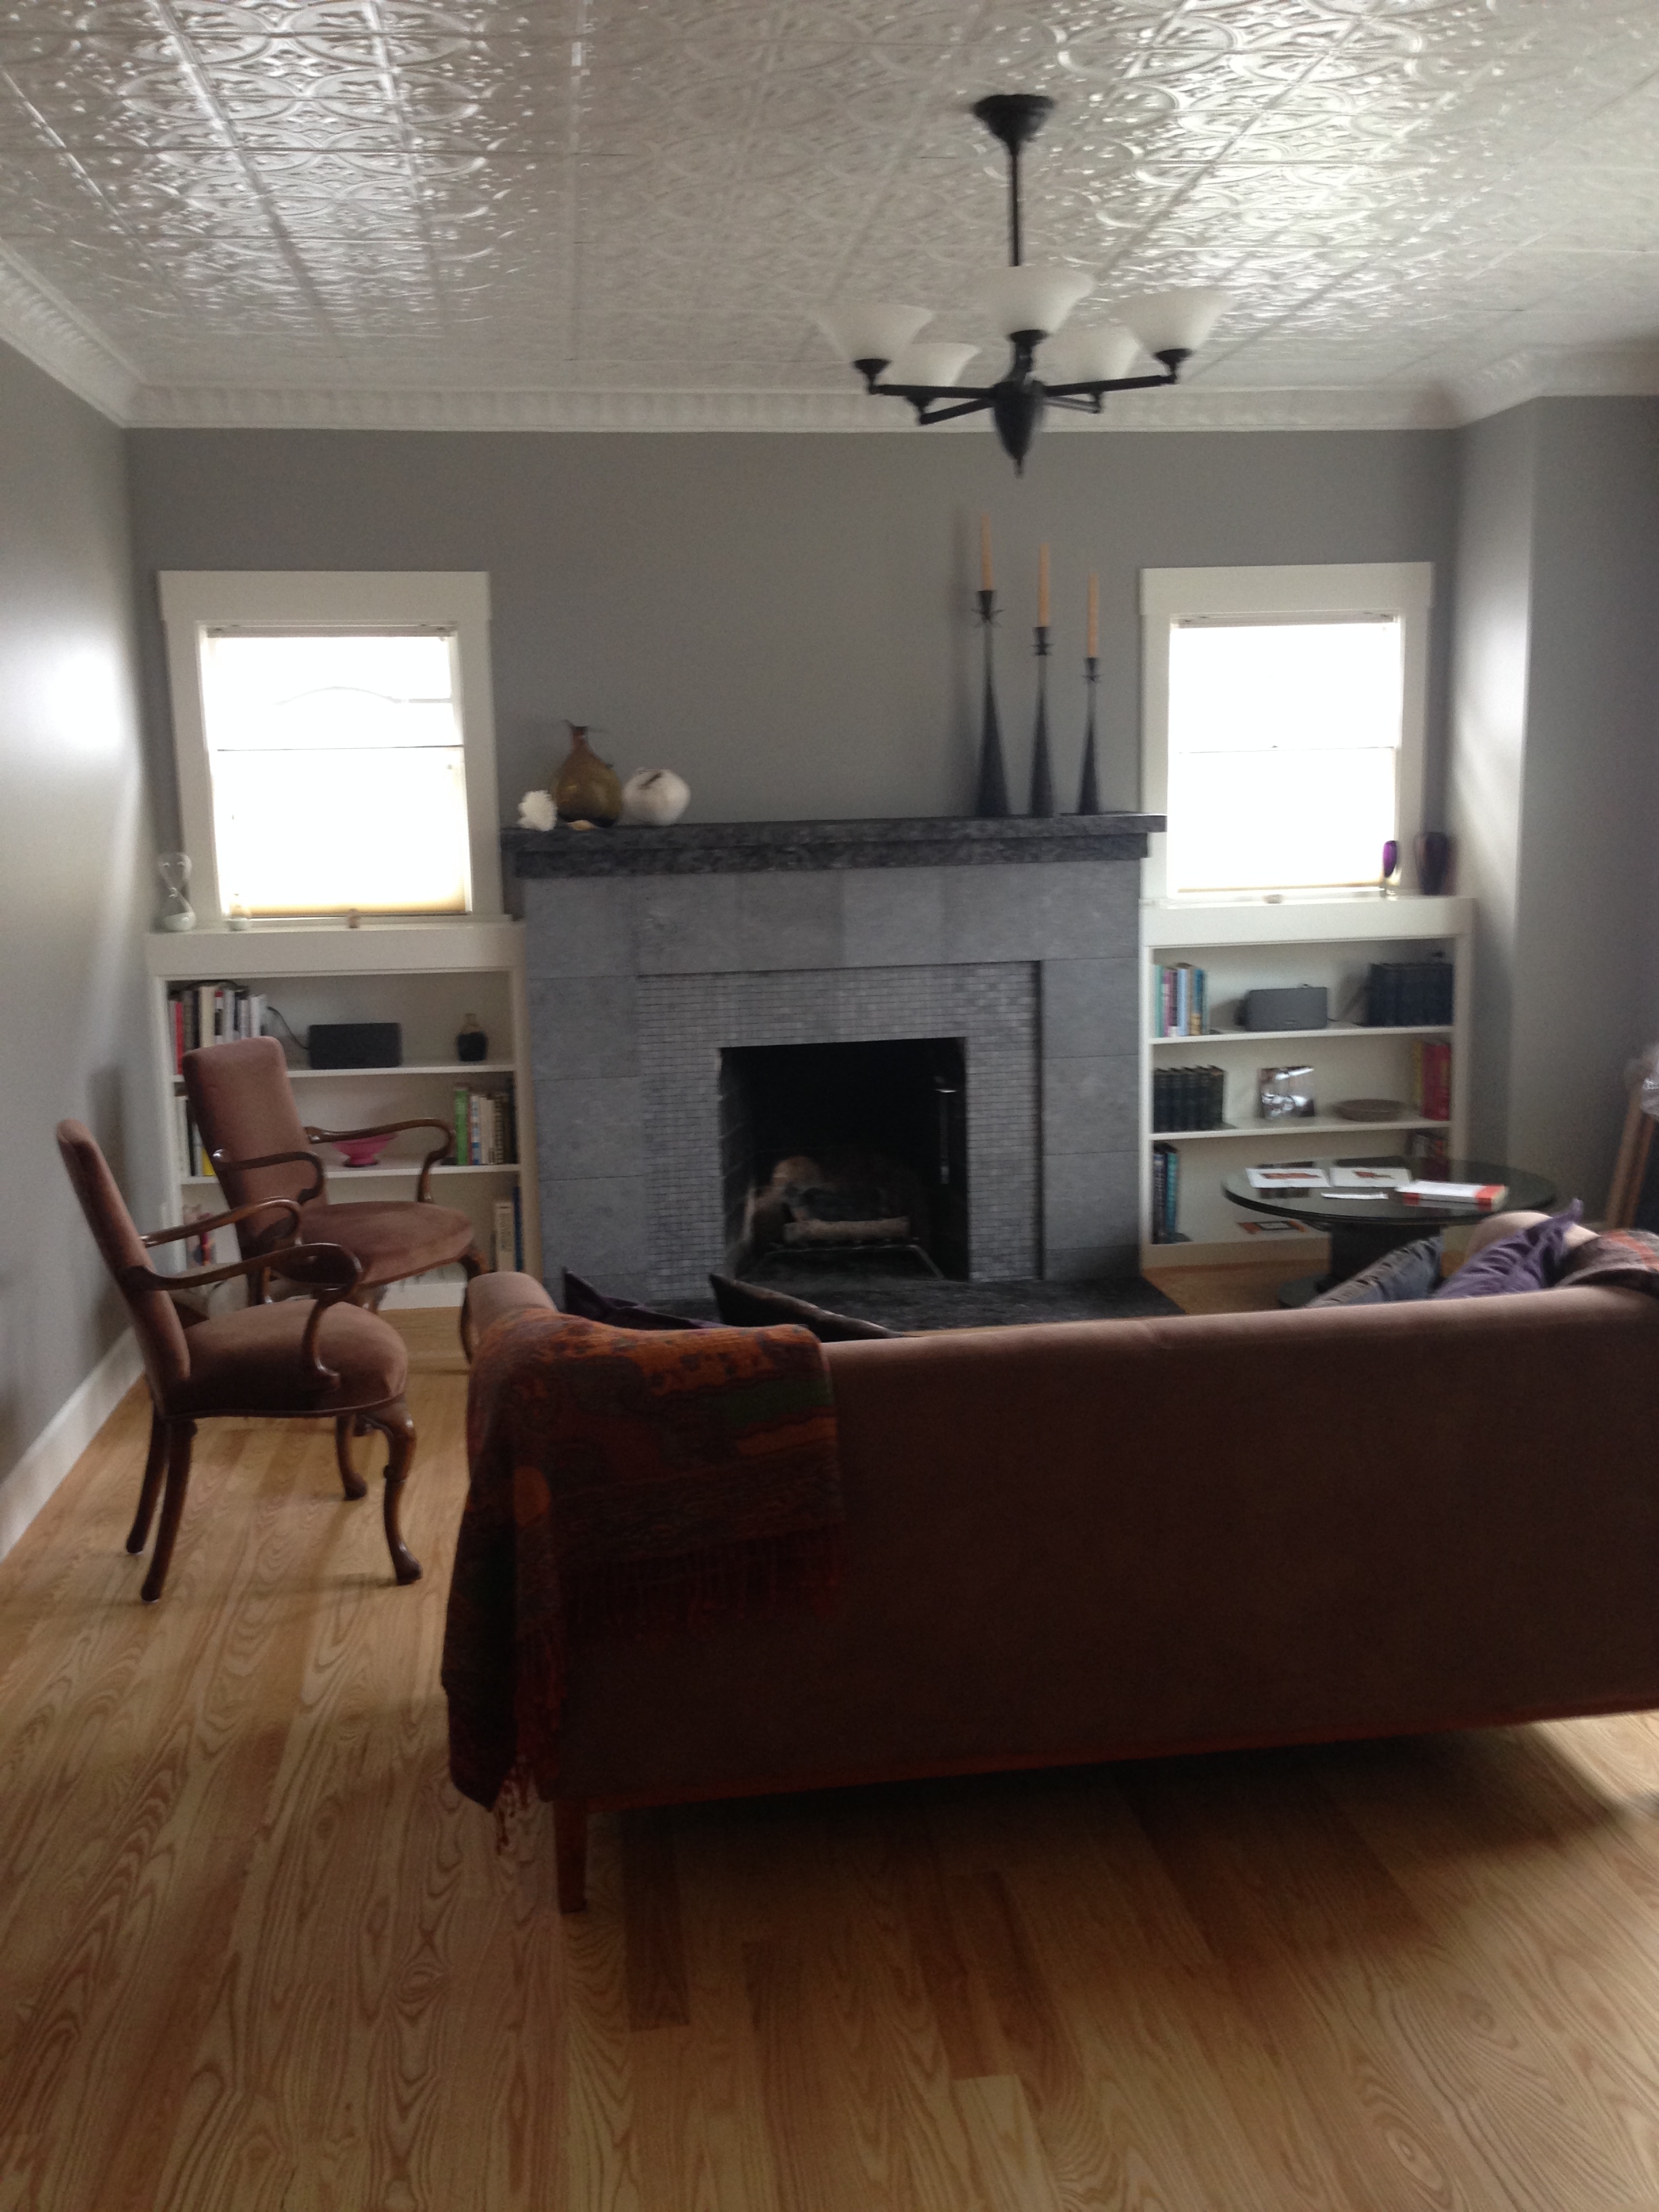
A while back I visited this cute little cottage in Oakland. The couple living there had been told by the landlord that it was designed by Julia Morgan. I couldn’t find any proof of this, so I delayed publishing my photos in hopes that I could find the proof. Now I just want to share some of the pictures regardless of who designed it.
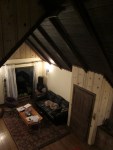
looking down from the hallway overlook to the living room
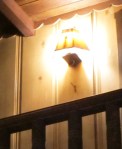
Before 3-way switches! (upper hallway light is switched by a pull cord that goes through the floor ) The wall studs also protrude through the floor in a crafty detail.
Close-up of light with “3-way switch”
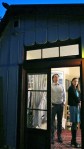
stairs with one tread protruding to become a shelf. You can also see one of the wall studs protruding between the floor joists
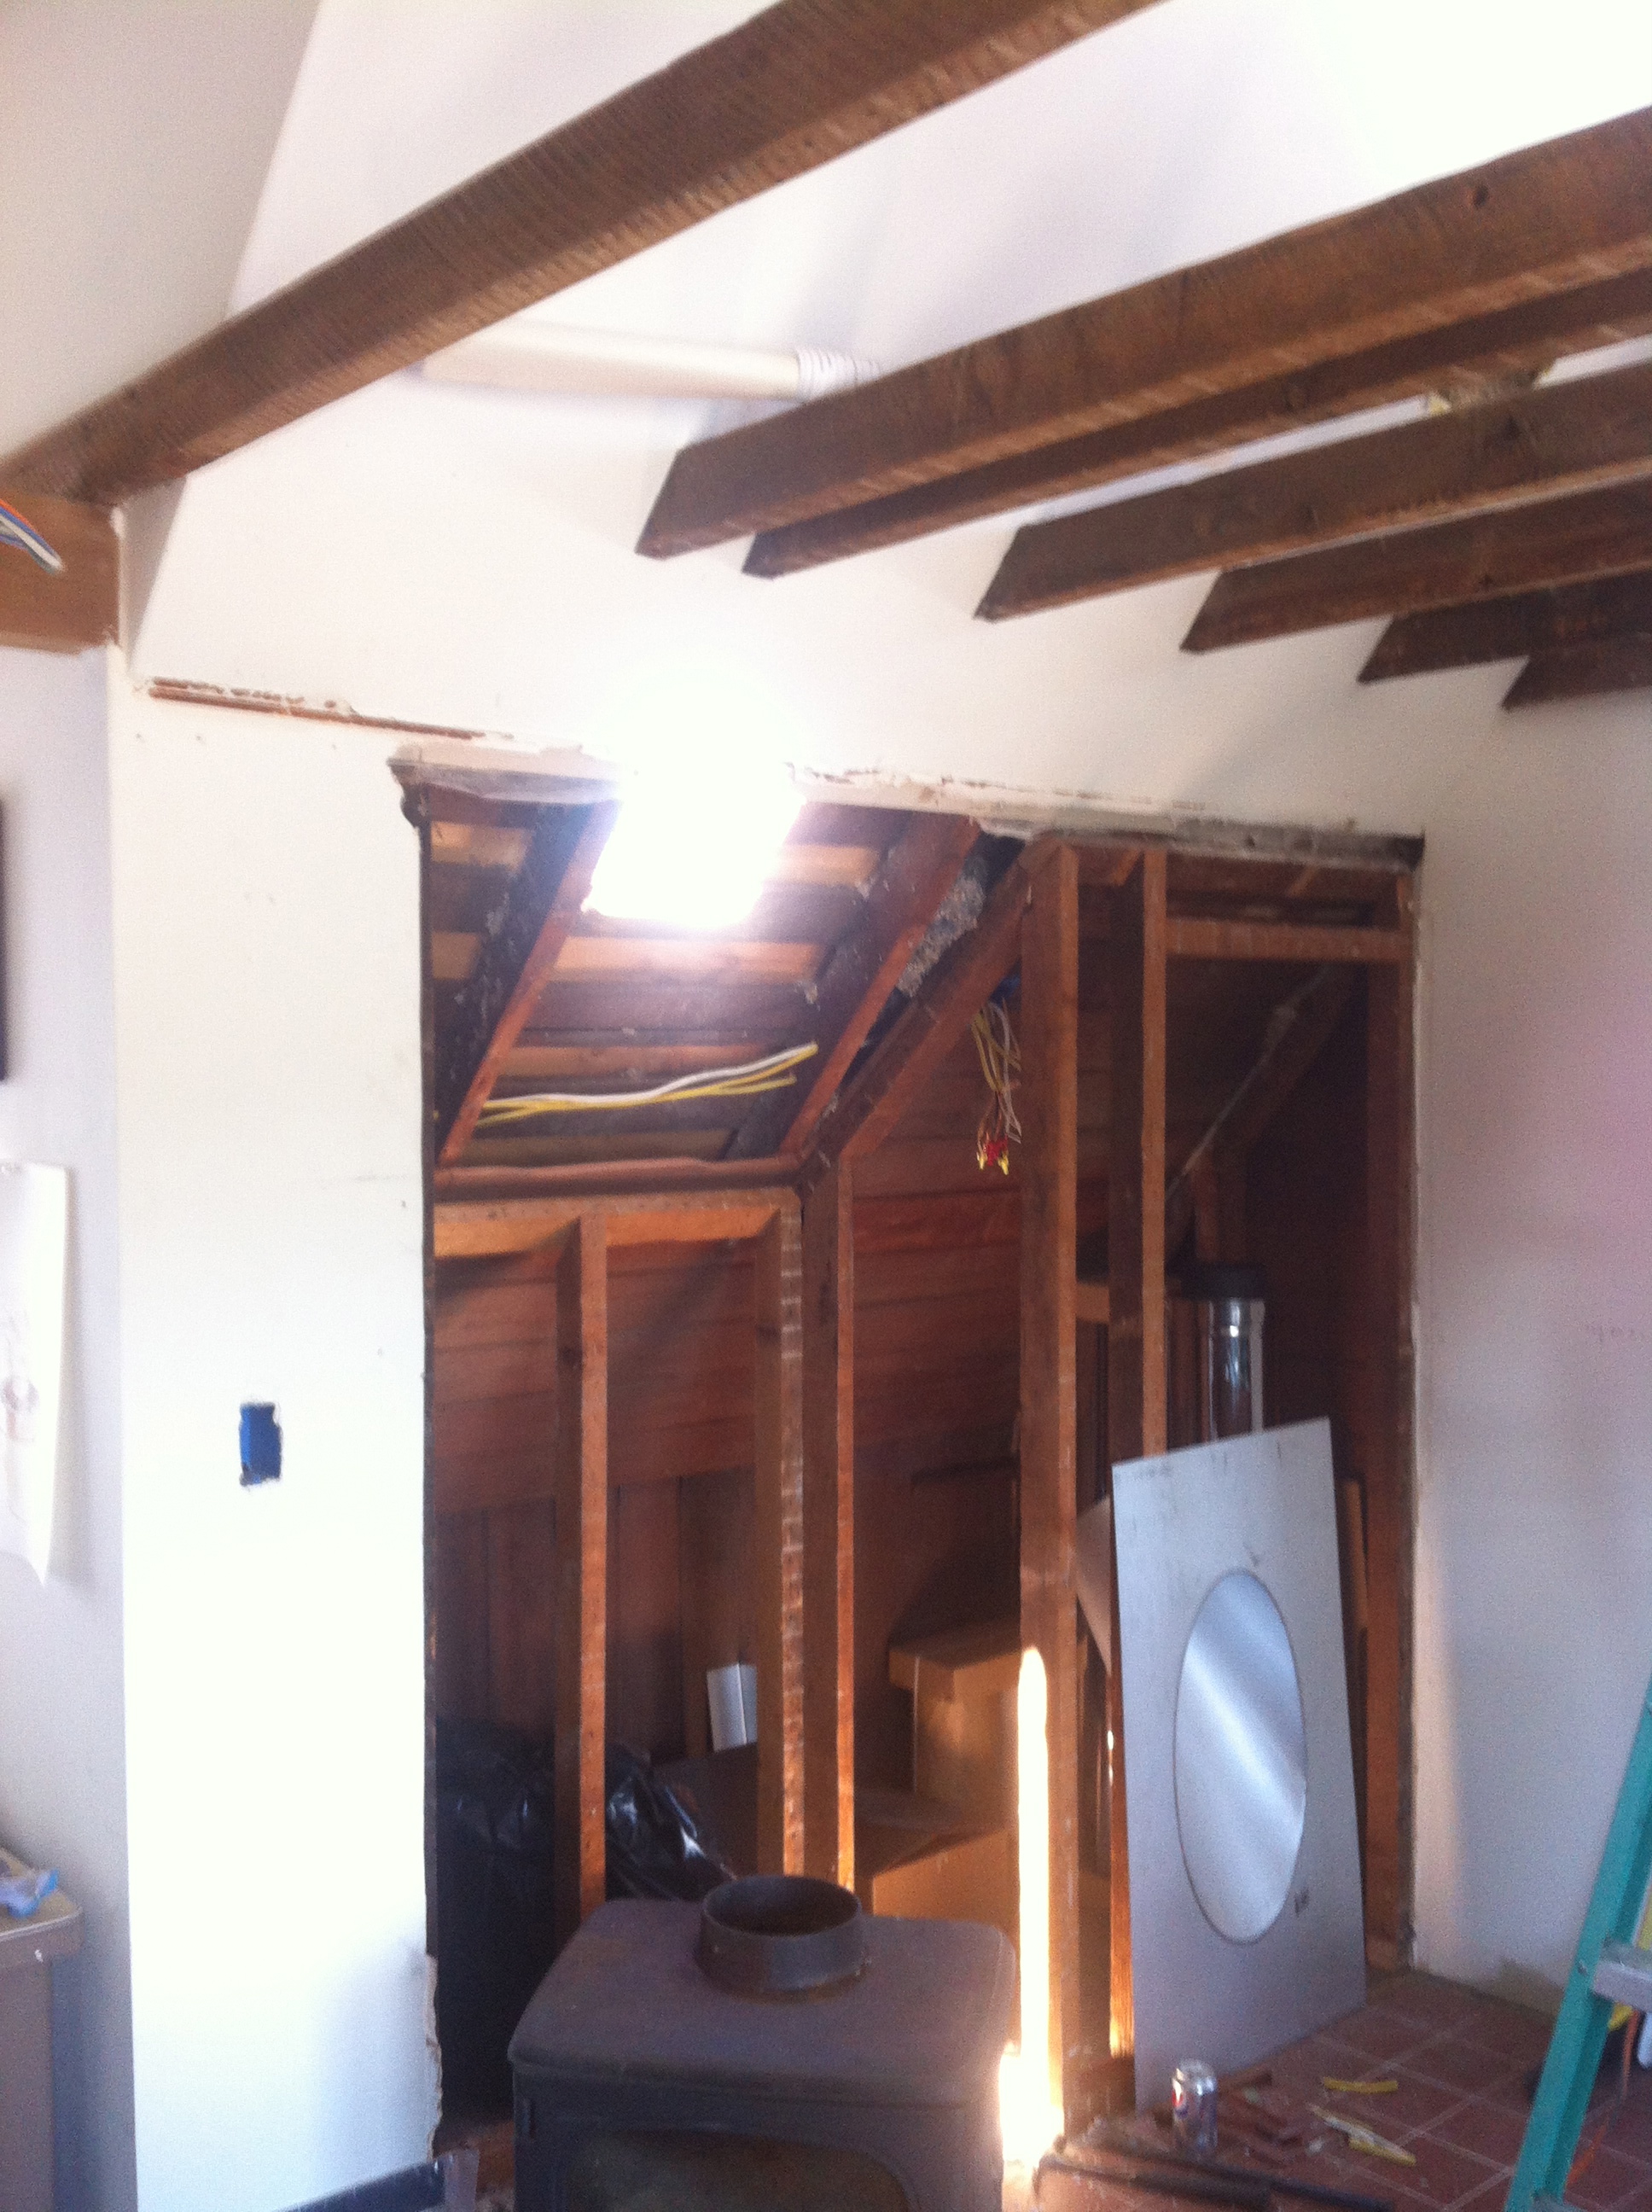
We did a bit of rearranging in our apartment this summer. The chimney and hearth have been screaming replace me since I moved in. The closet behind them was also not very functional – very deep with a small door, so not very efficient storage. Now the closet is very efficiently laid out to store the vacuum and brooms and other cleaning tools, and the litter box fits nicely behind the stove with a private cat door at the back. The stove is now recessed into the wall leaving room for a generous raised hearth and a clear pathway to the kitchen beyond. I took pictures of most of the steps.
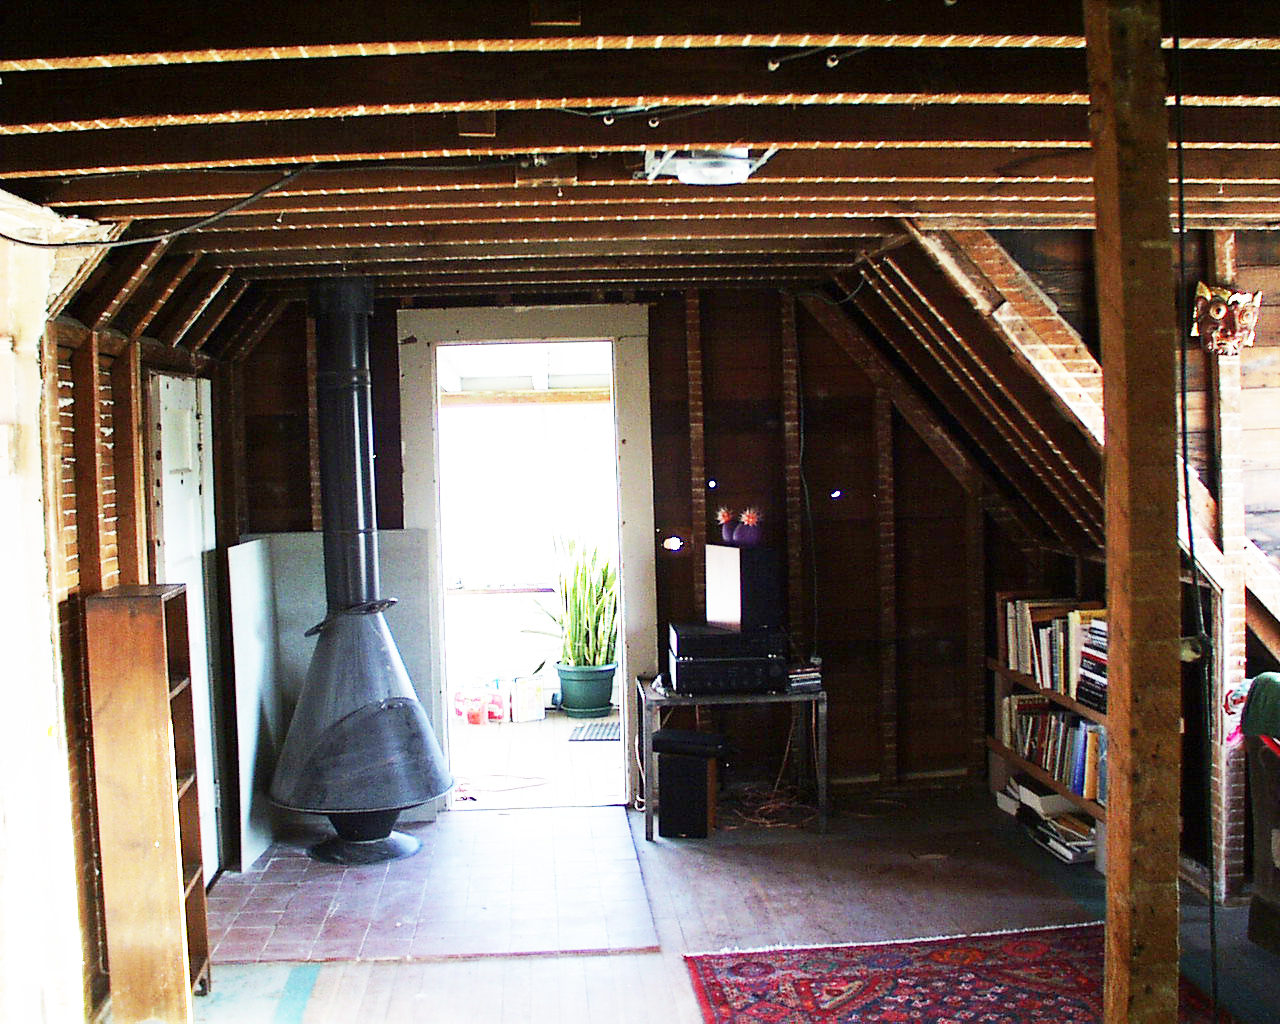
This is the best “before” shot I could find. It is from several years ago before the sheetrock was finished. The woodstove protrudes past the kitchen door and the tile hearth is a huge square chunk out of the room and also a tripping hazard
I found an even earlier “before” shot with the round sheet metal stove that came with the house. For the elderly woman who lived here, this was the only source of heat, no insulation.
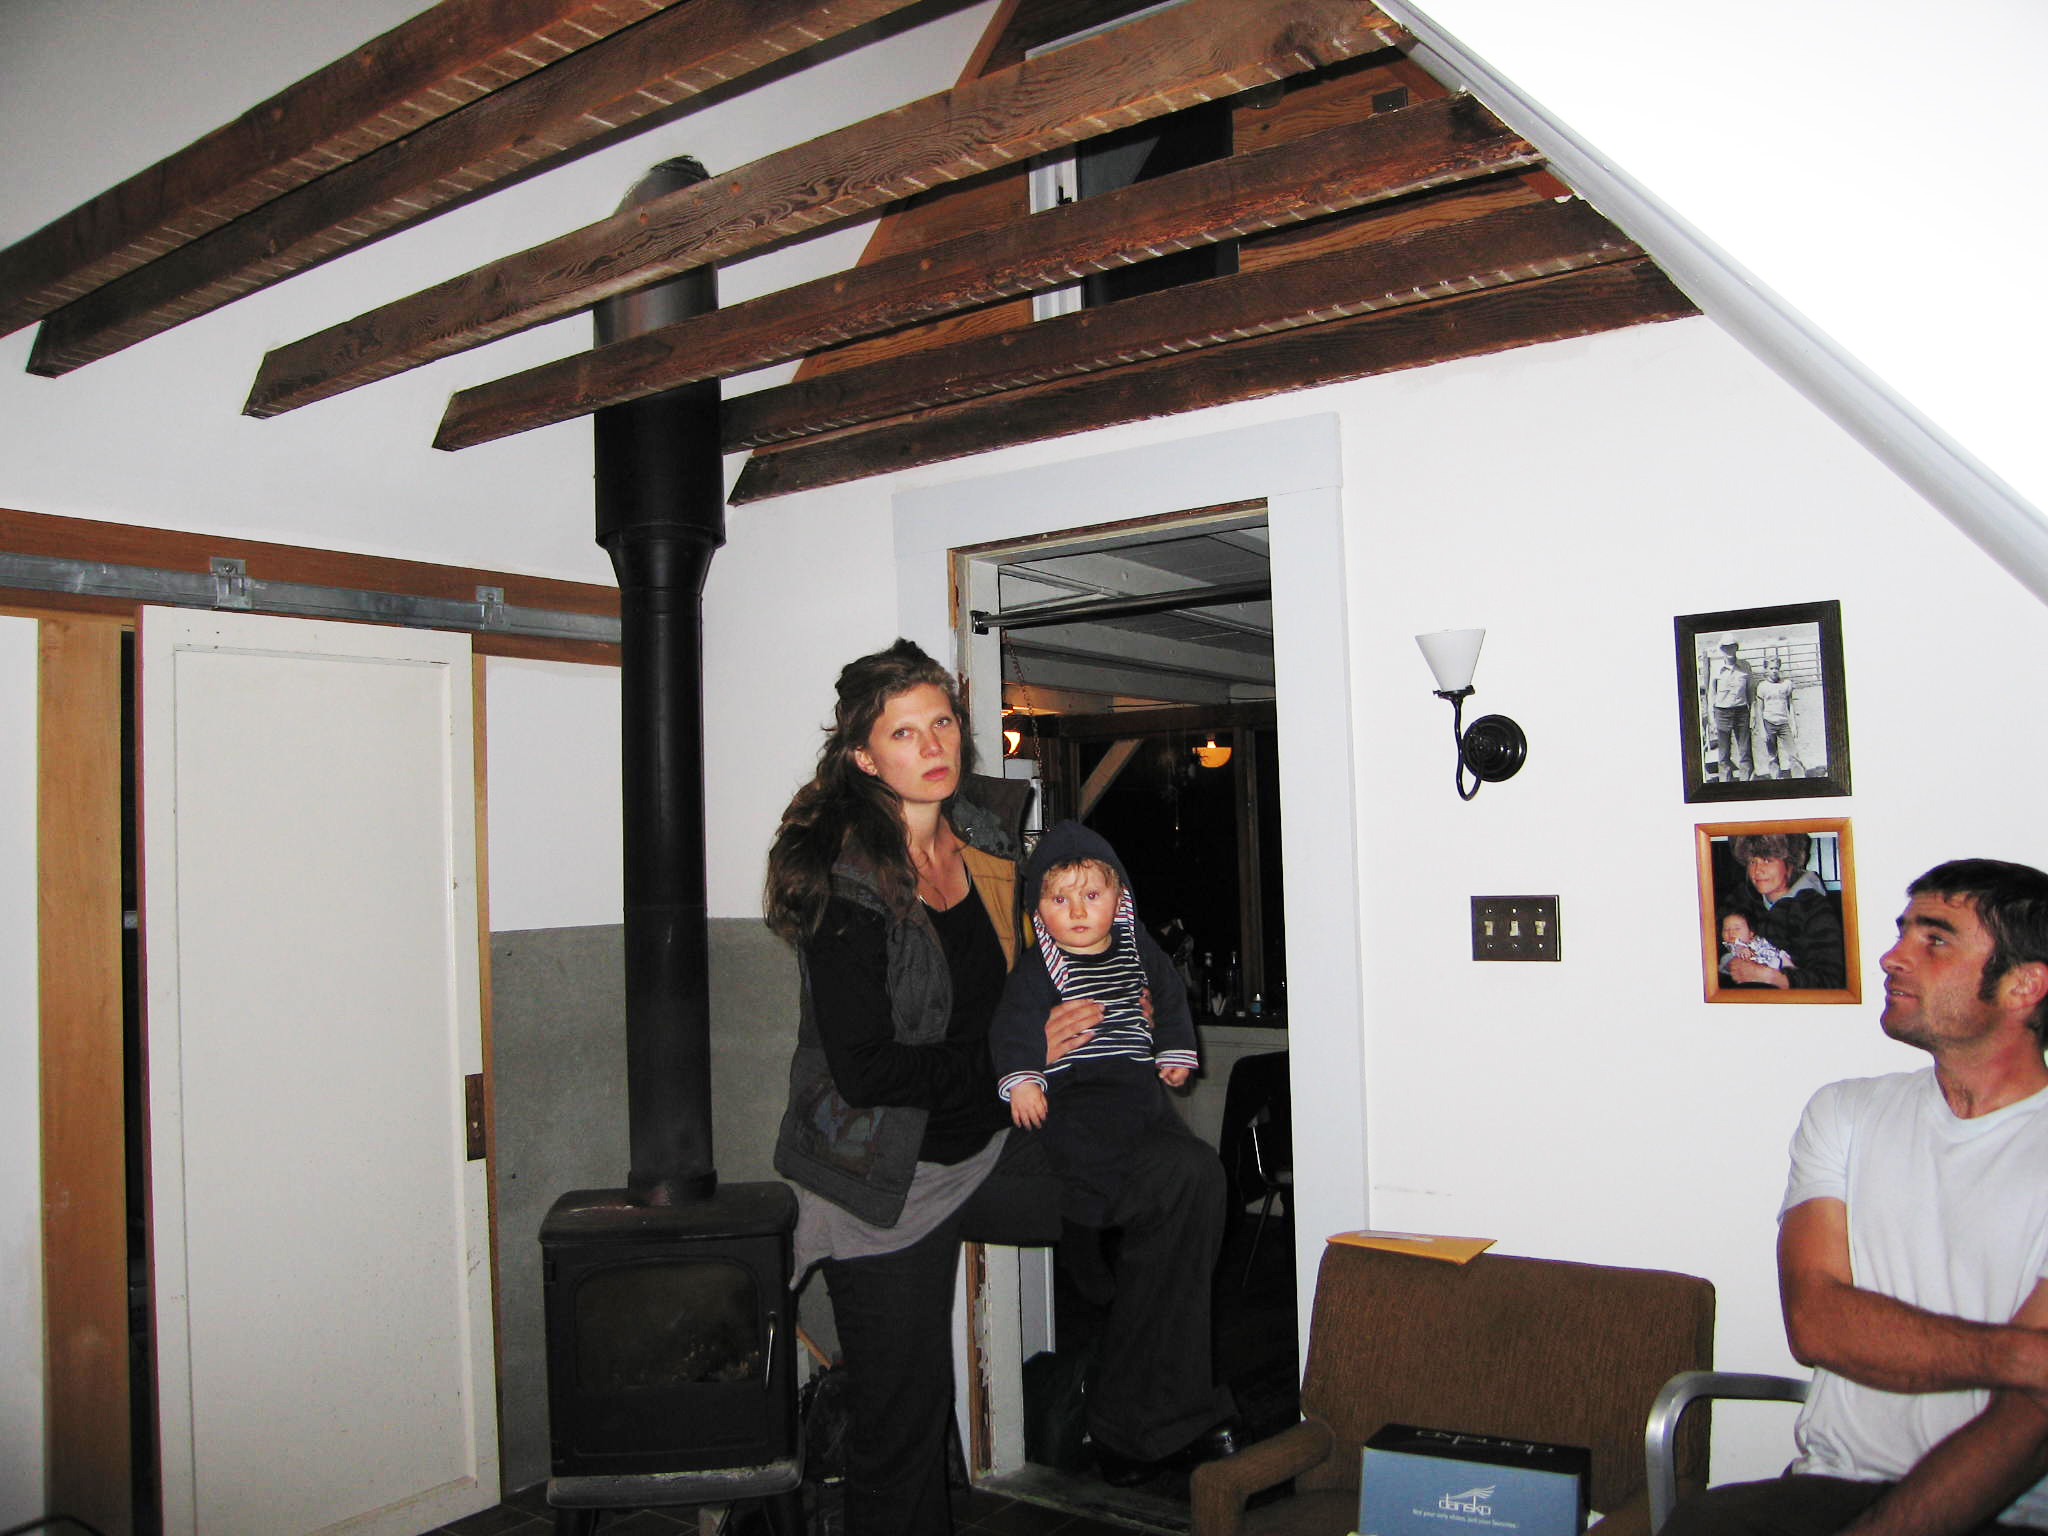
another old “before” shot with Dorothee, Falco, and John
Framing for the rearranged closet and the wood stove niche. You can see Frodo’s litterbox already installed in its new location. We installed a private entrance to the back of the closet for him
the old rusty chimney
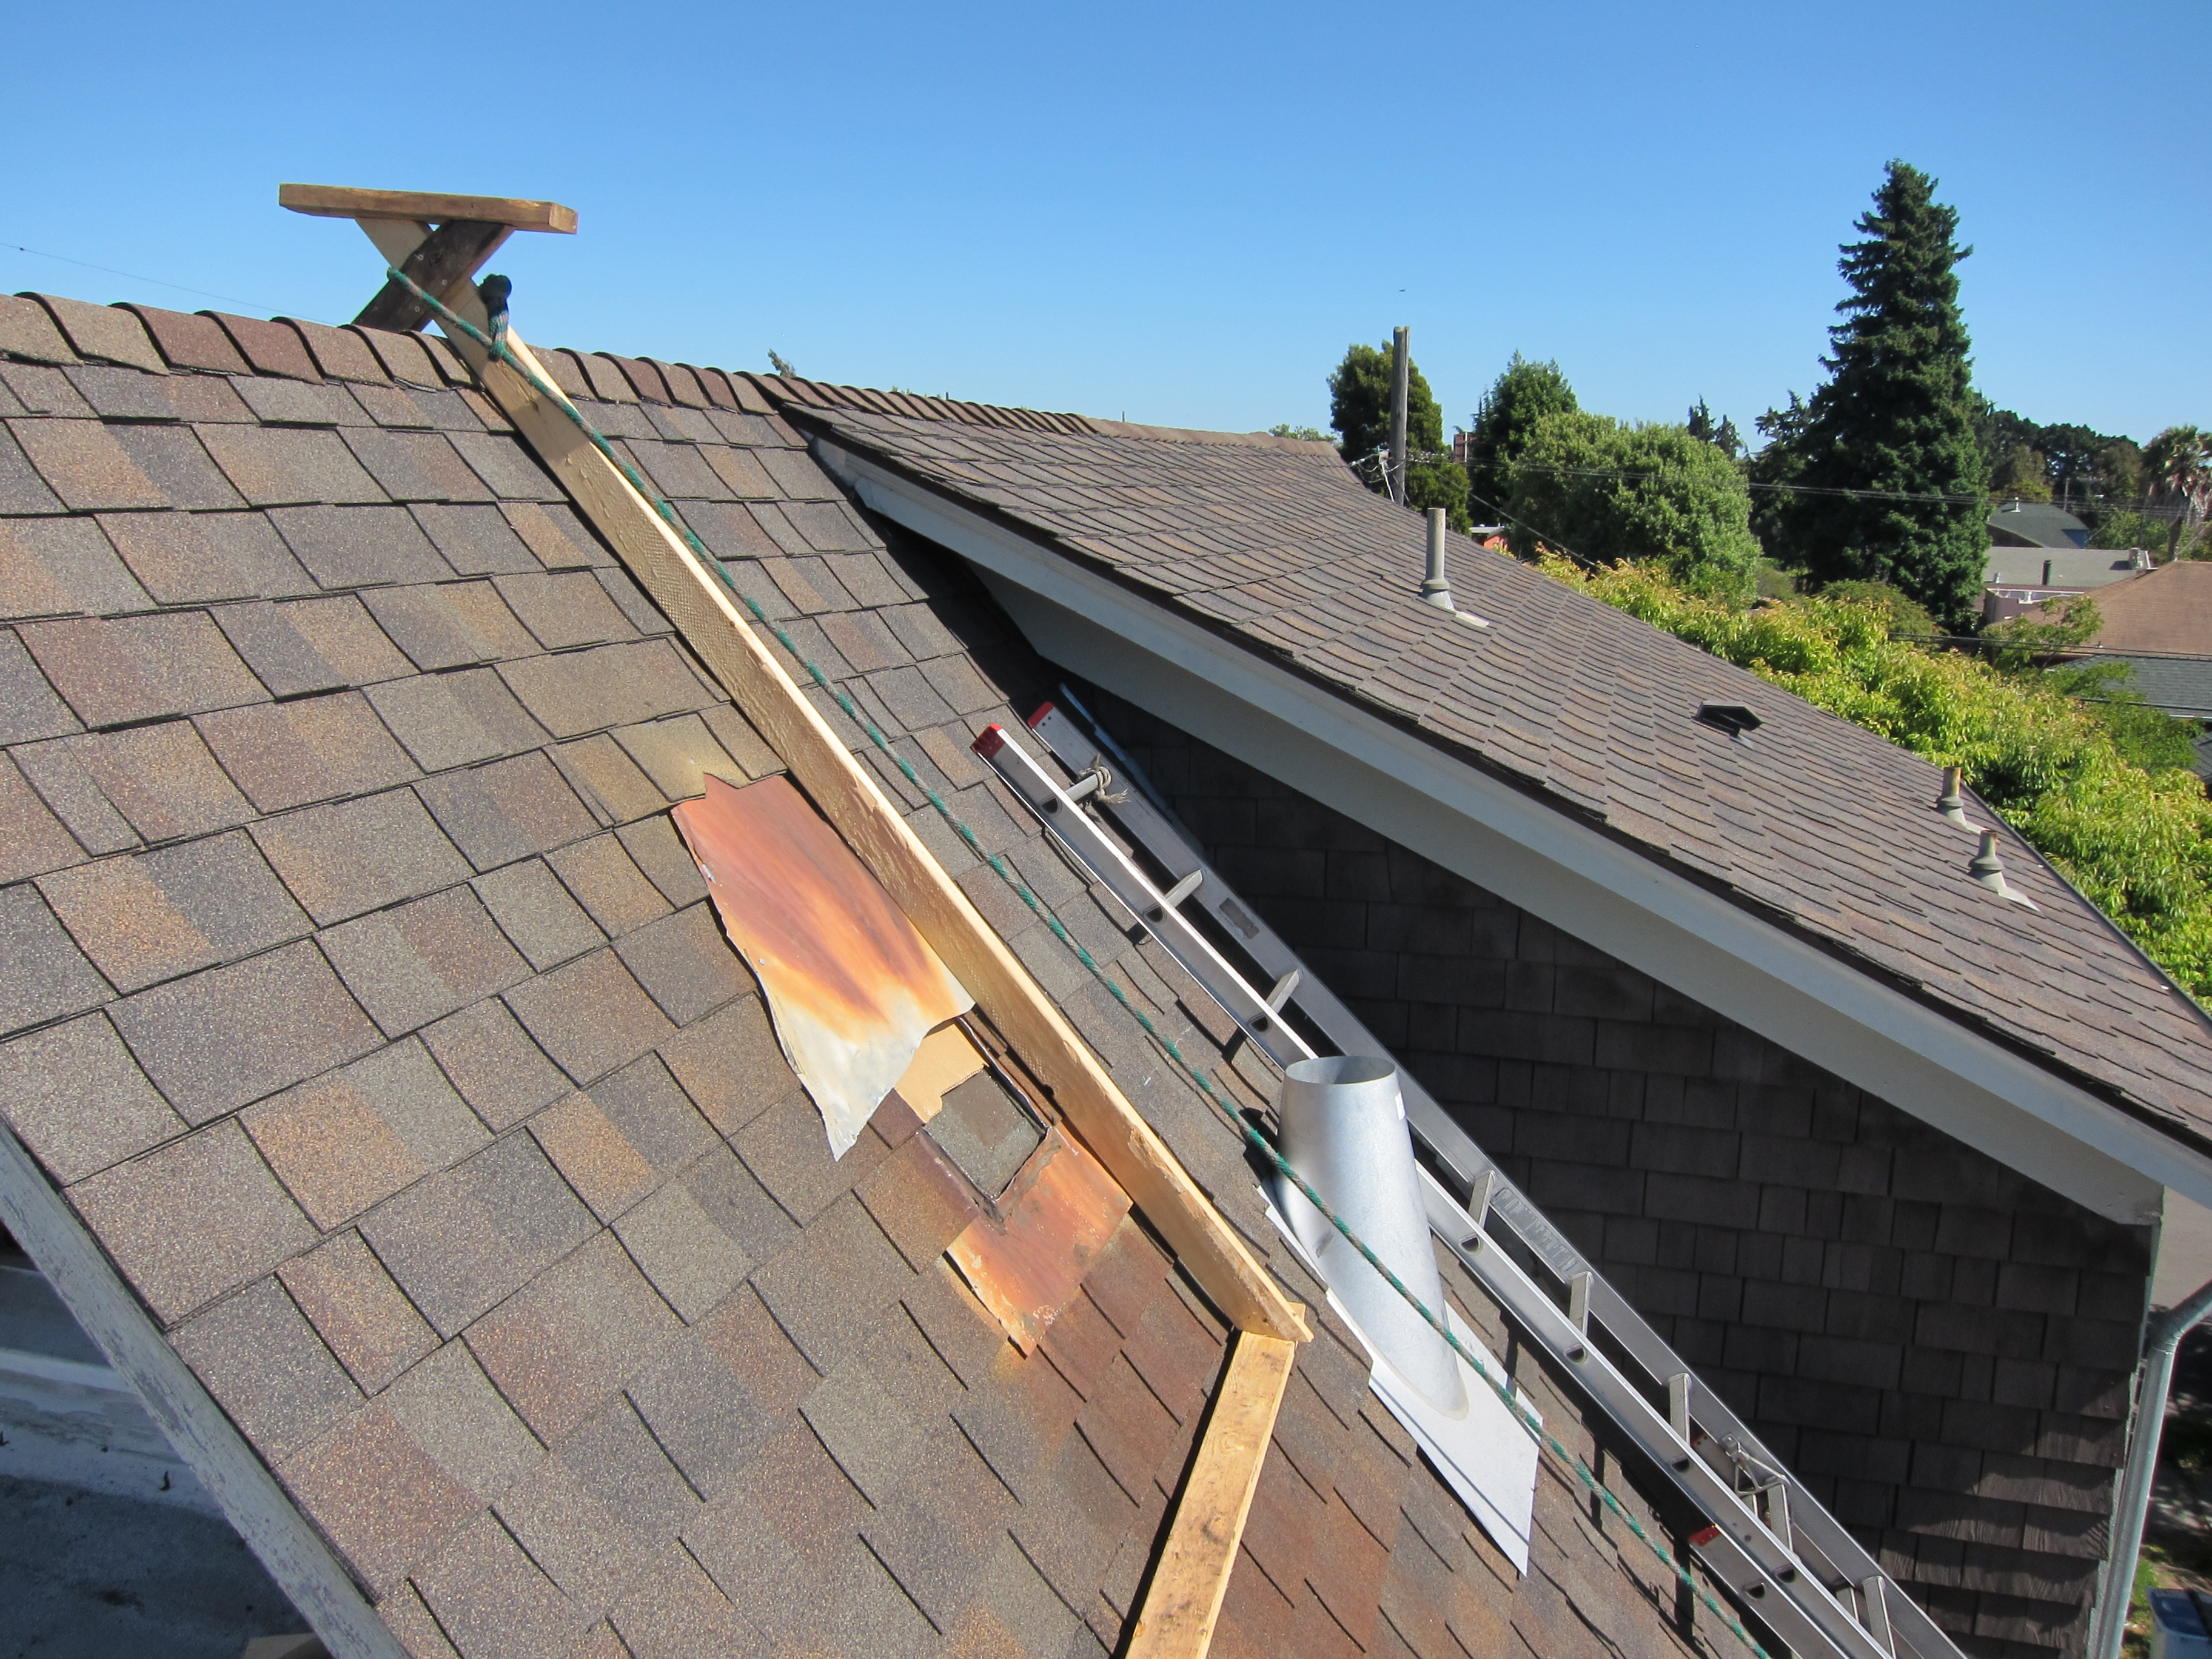
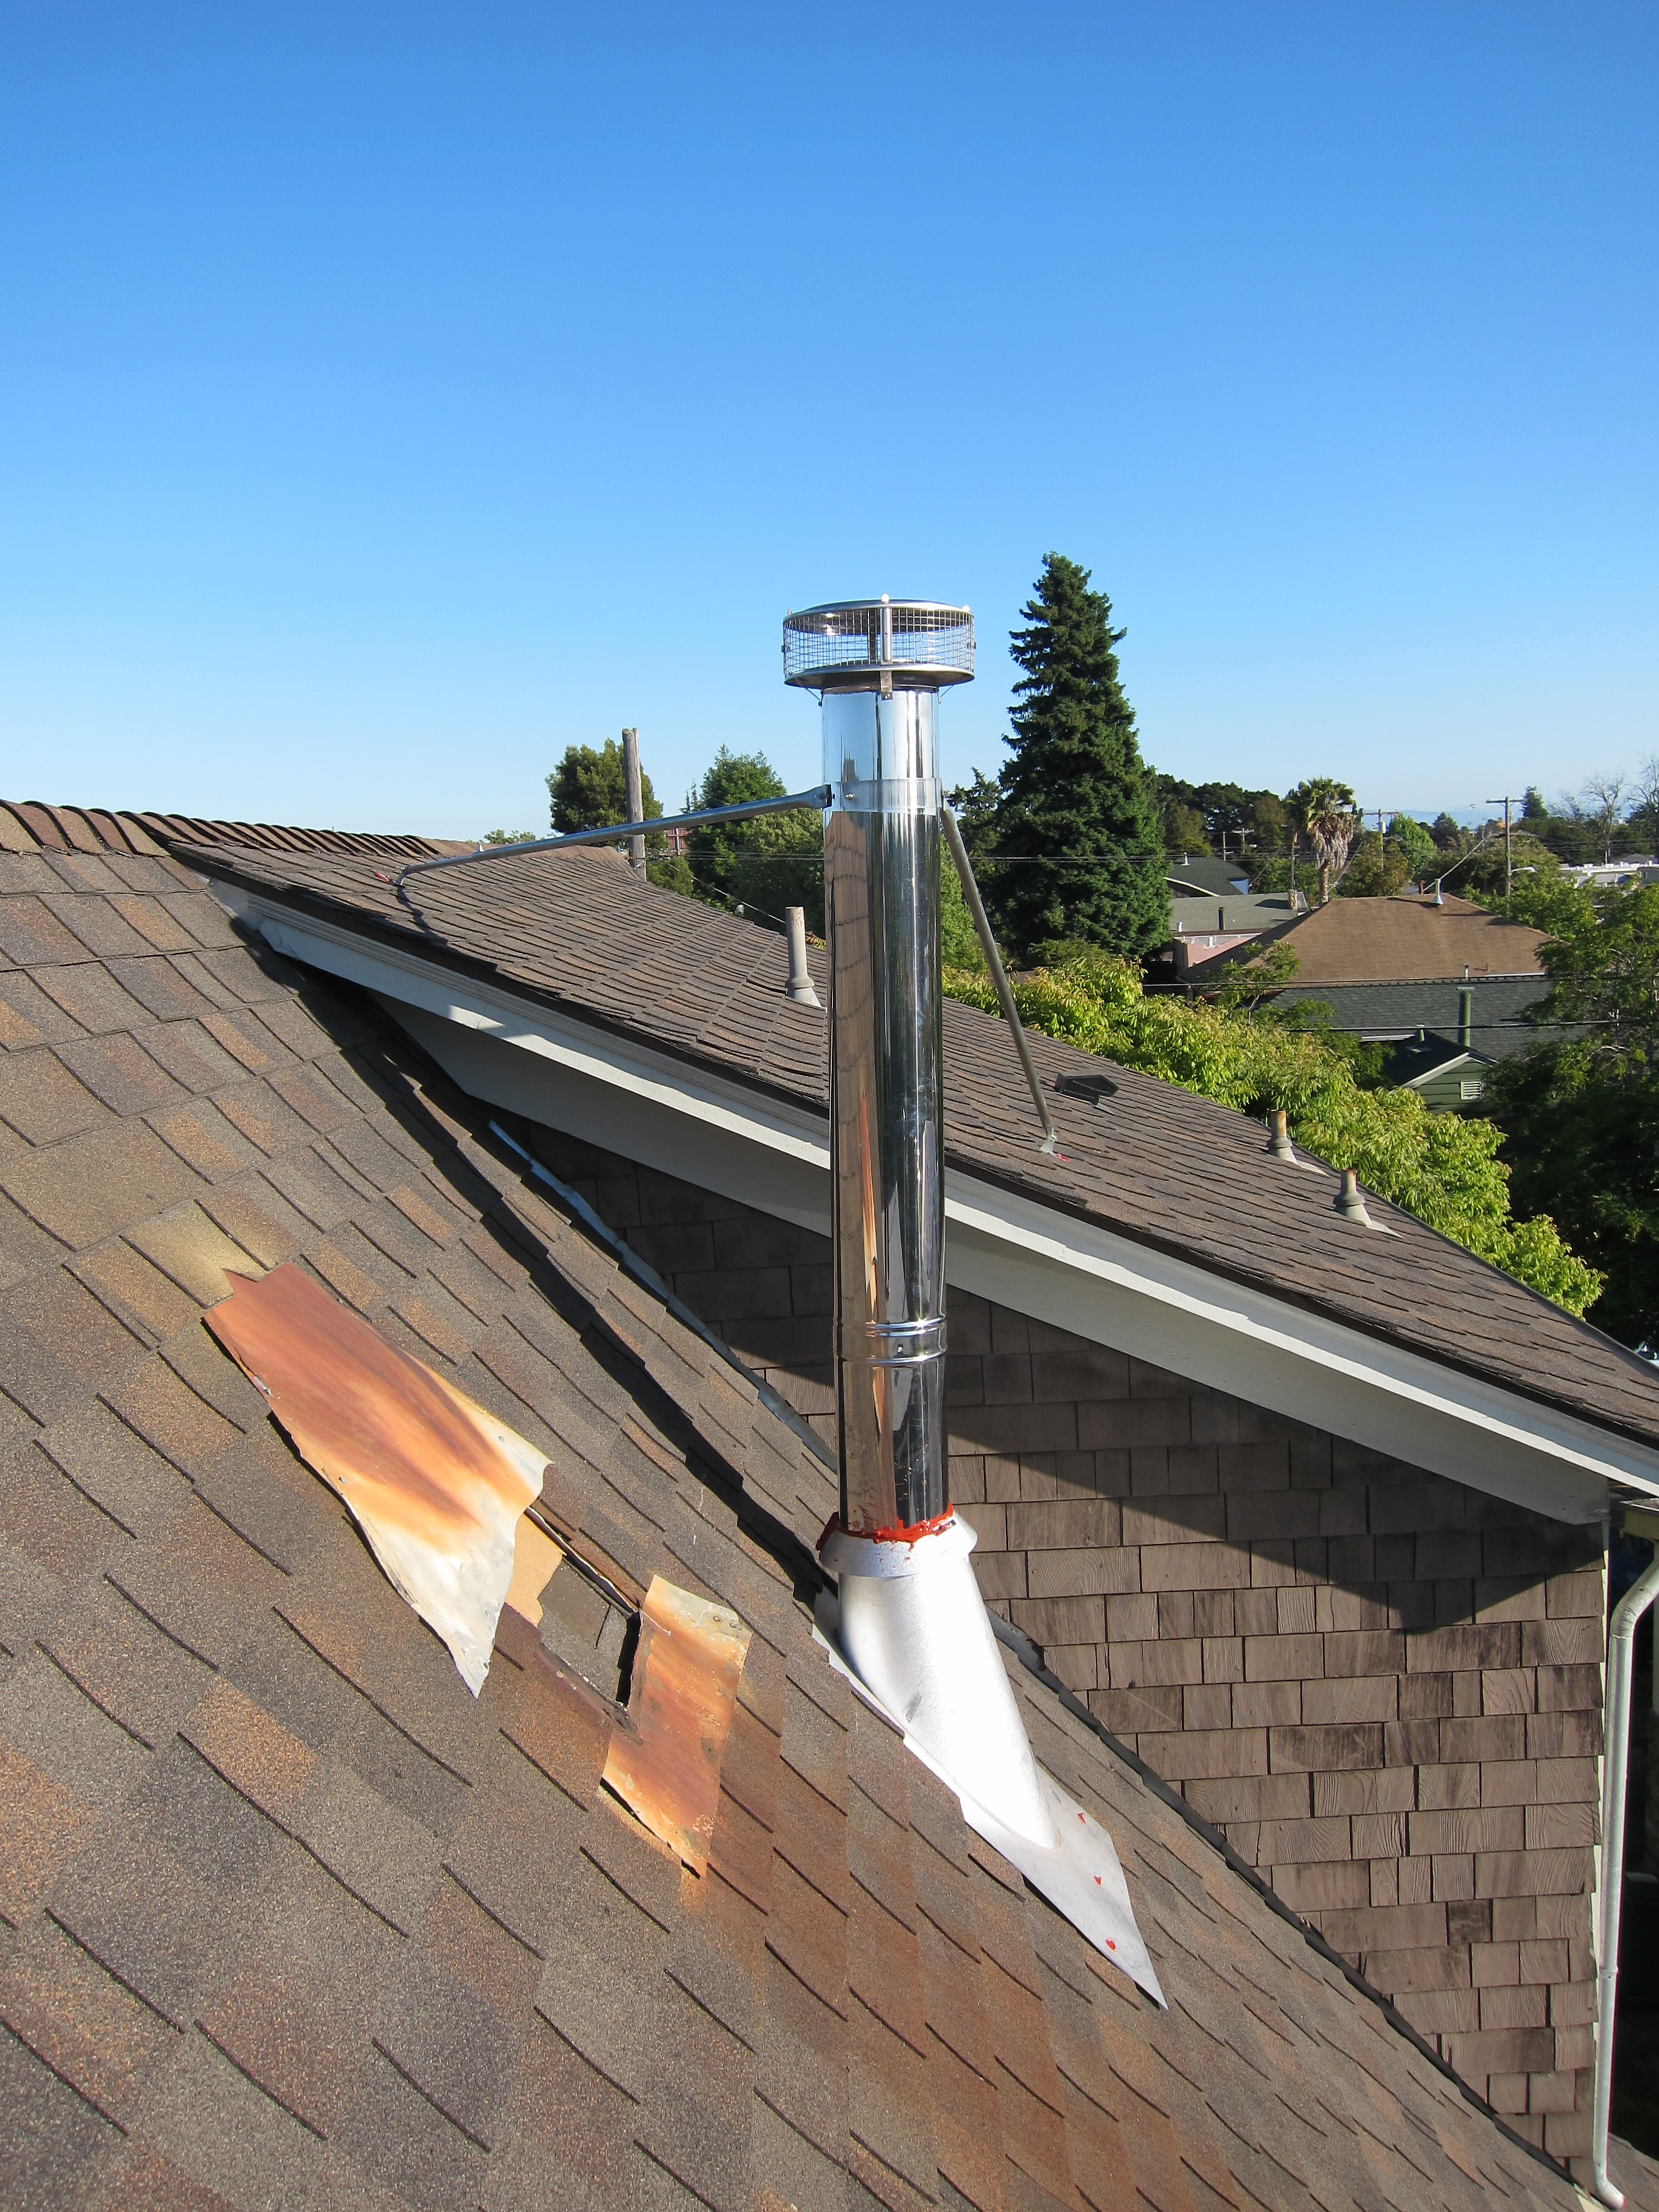
Johnny’s Chimney Service removed the old chimney and installed the new. Here is a progress shot of Johnny’s chimney installation
method for securing a rope to the roof peak
Johnny Key cut the hole in the roof for the new chimney – no turning back!
new chimney – Johnny had to return with one more section to make it 2 feet taller. I wish he had not used red fire caulk, but nobody can see this without climbing on the roof
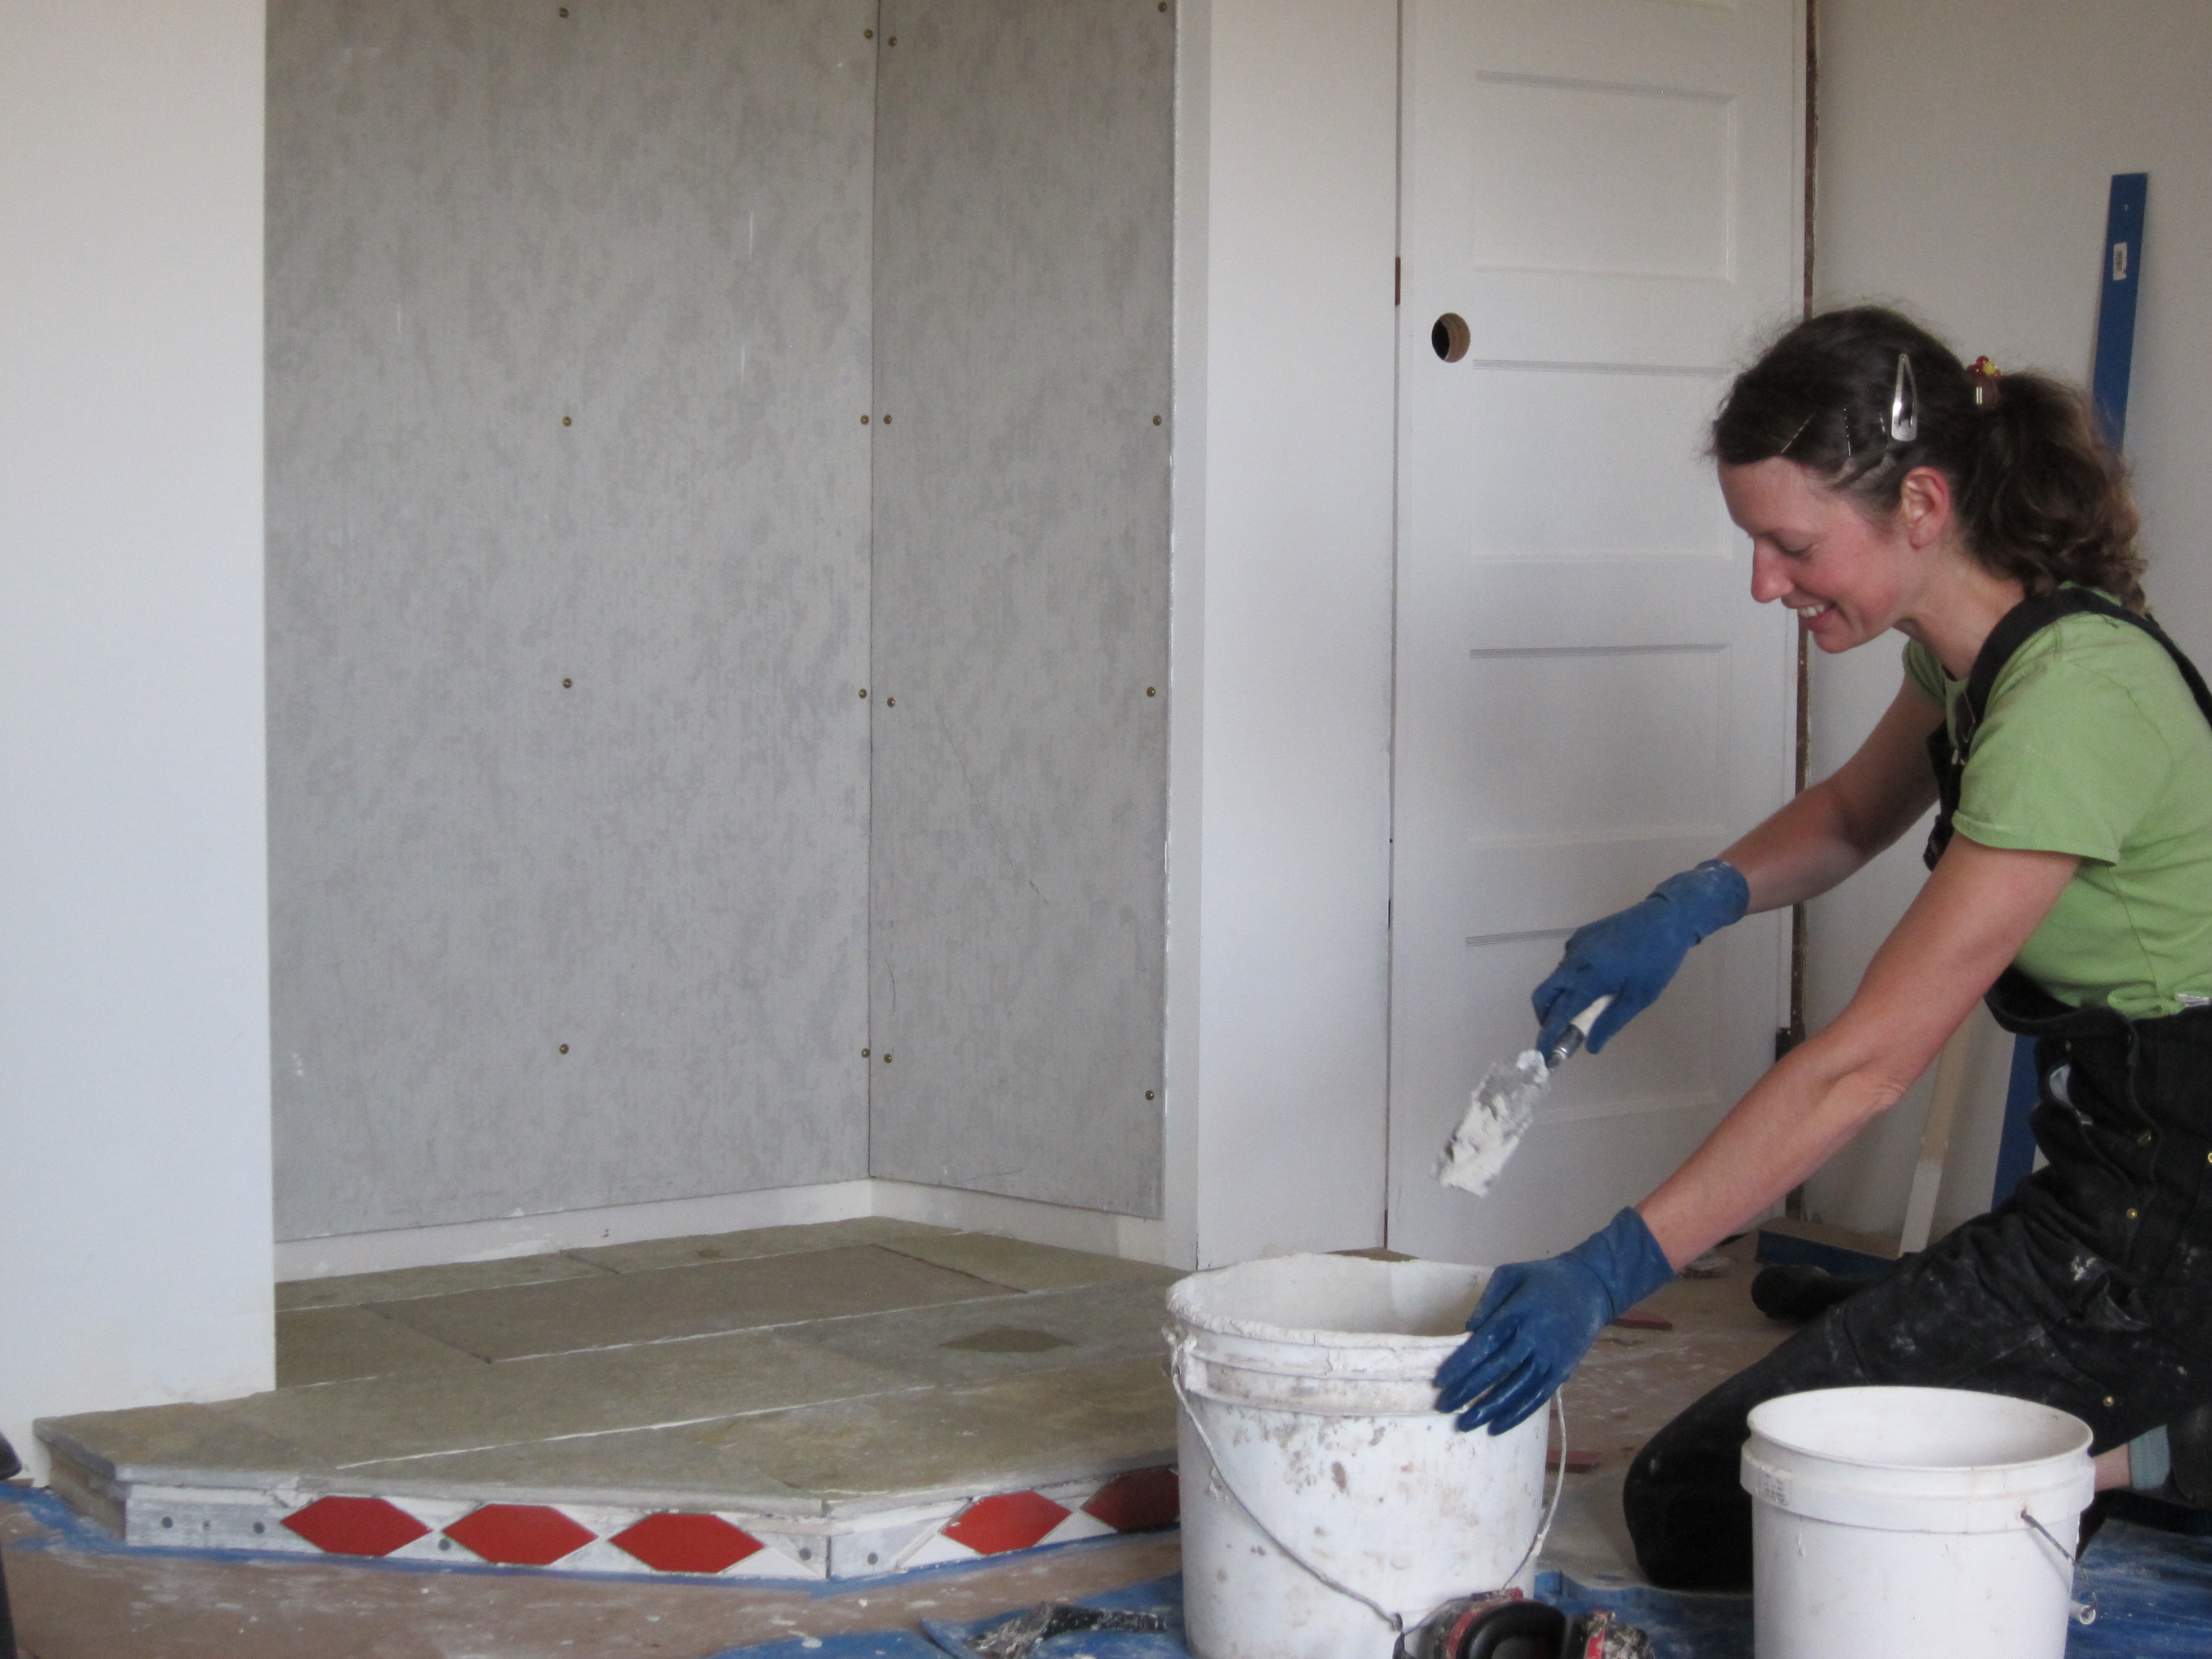
Framing the raised hearth
Ready for tile
Tile saw in the kitchen
Wanda Bonneville sets the decorative edge tiles – seconds from Heath Tile
John Mcbride installs the door hardware
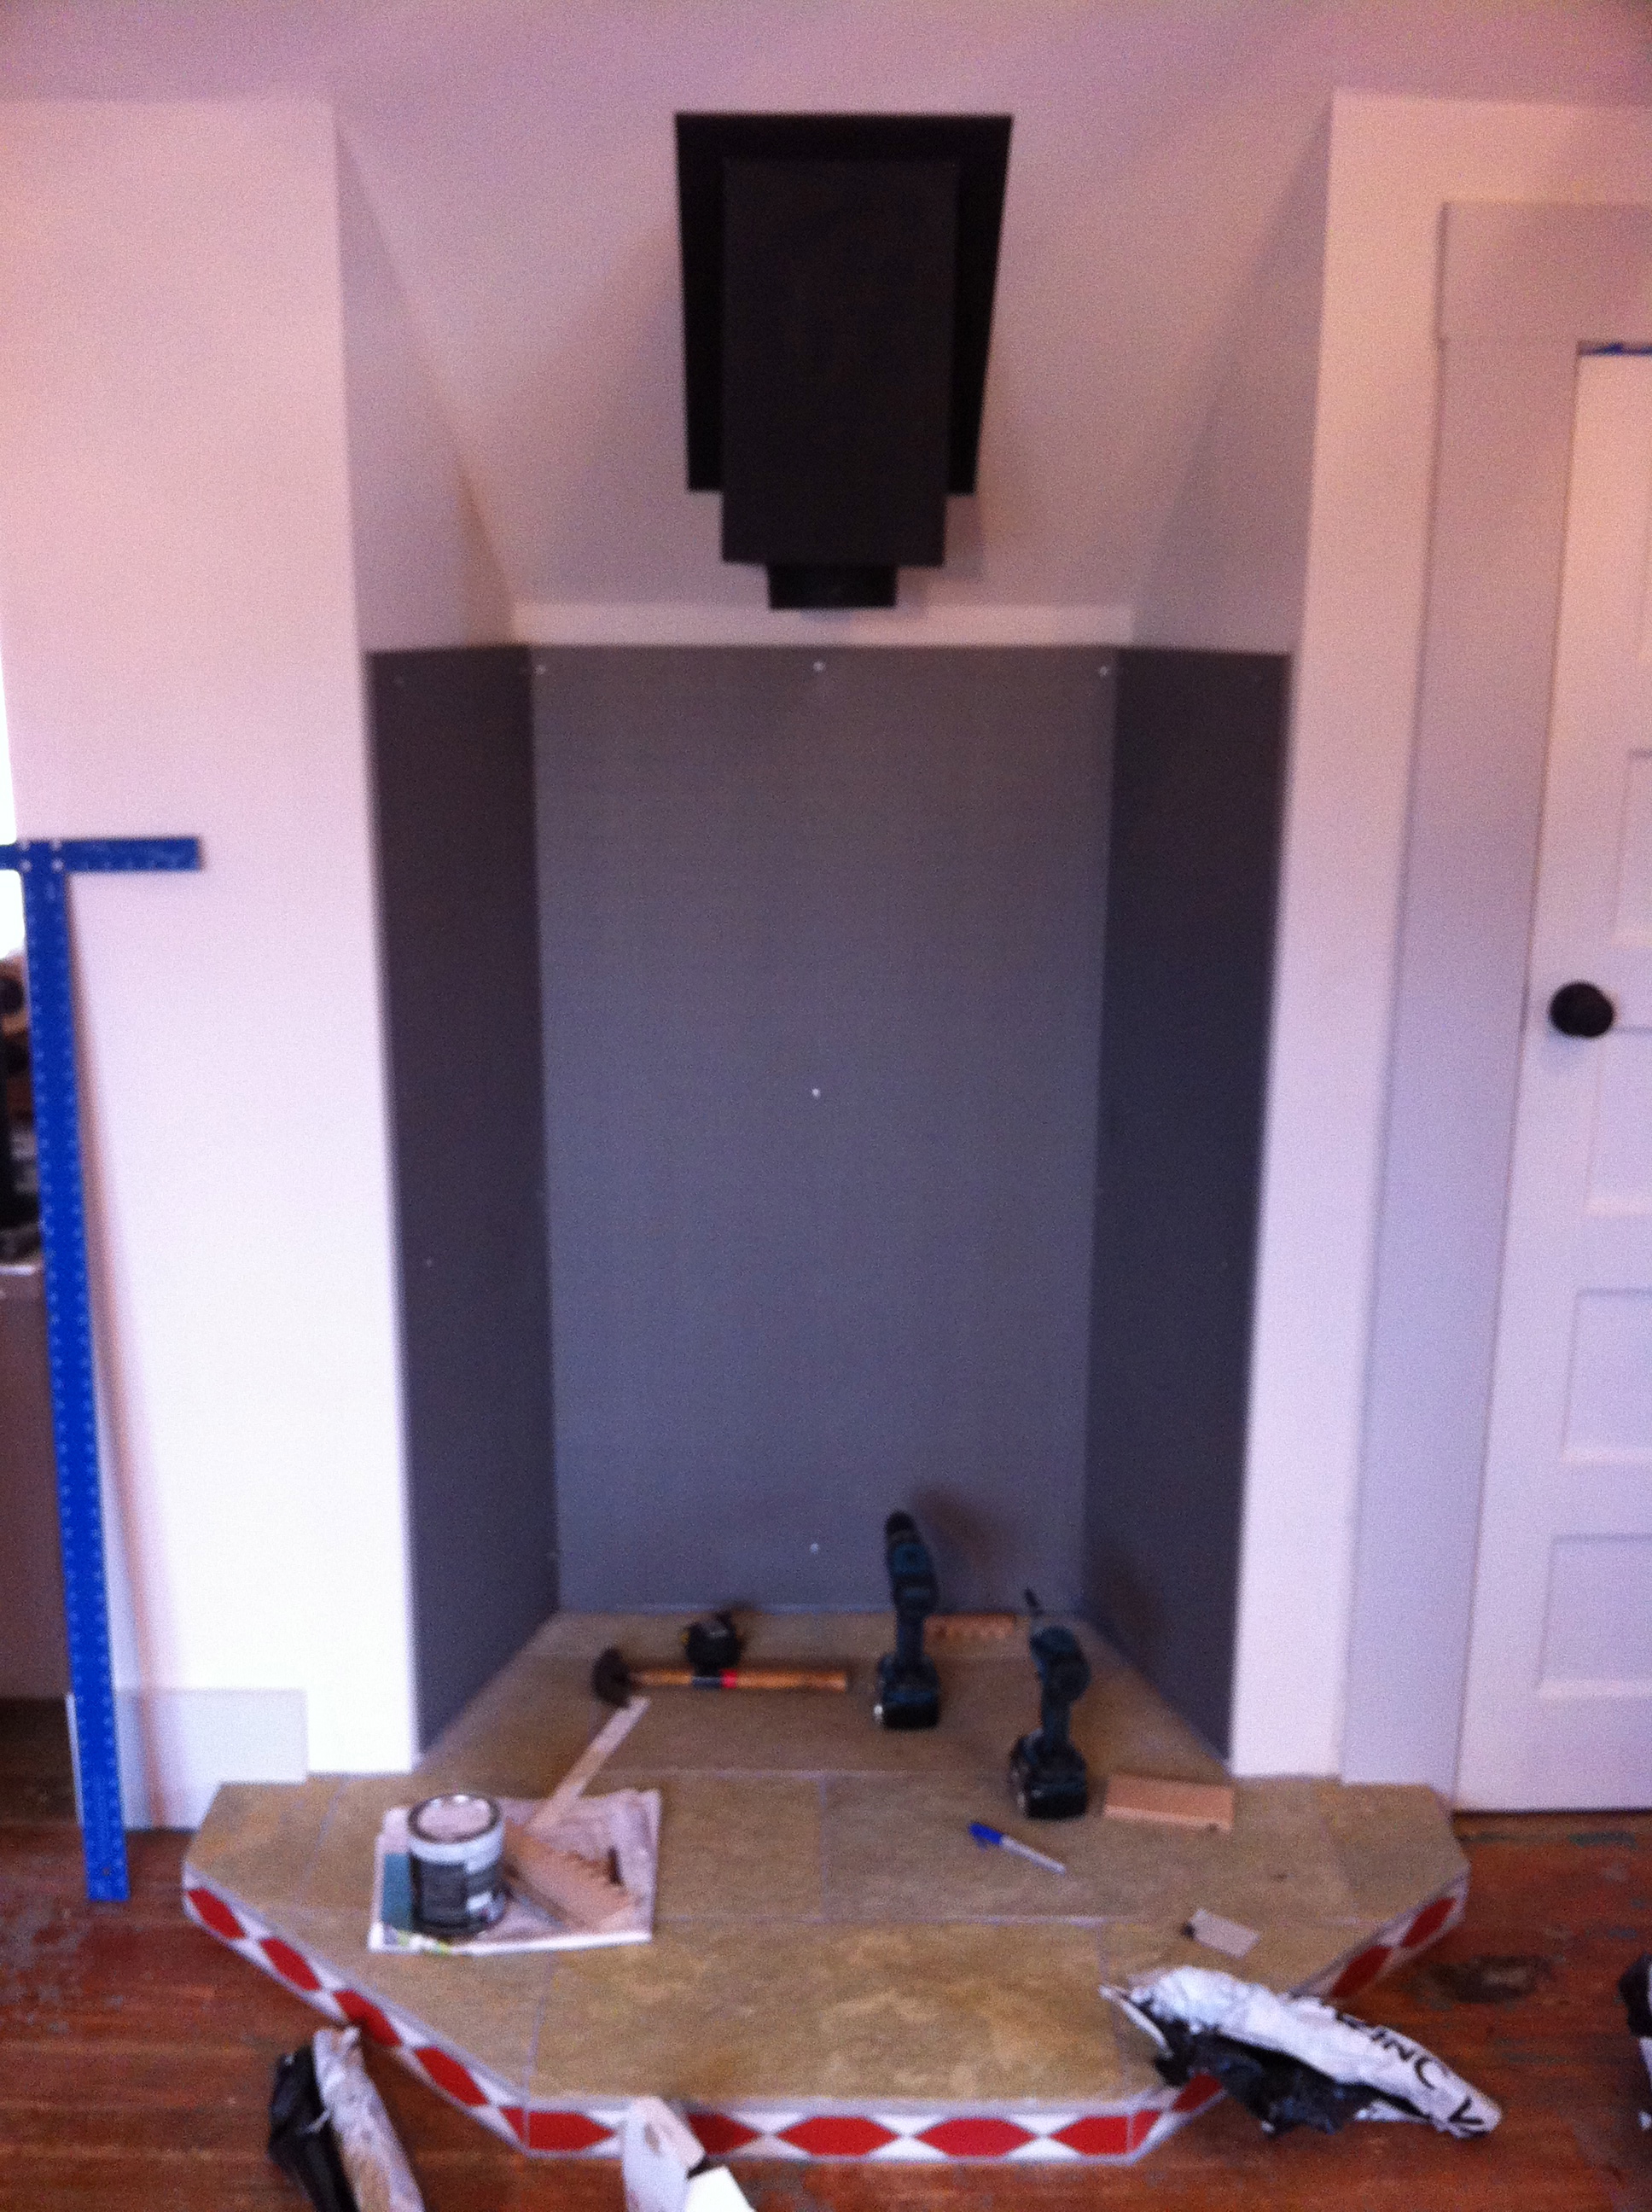
zinc surround installation complete! You can also see that the door trim and base board is installed and painted
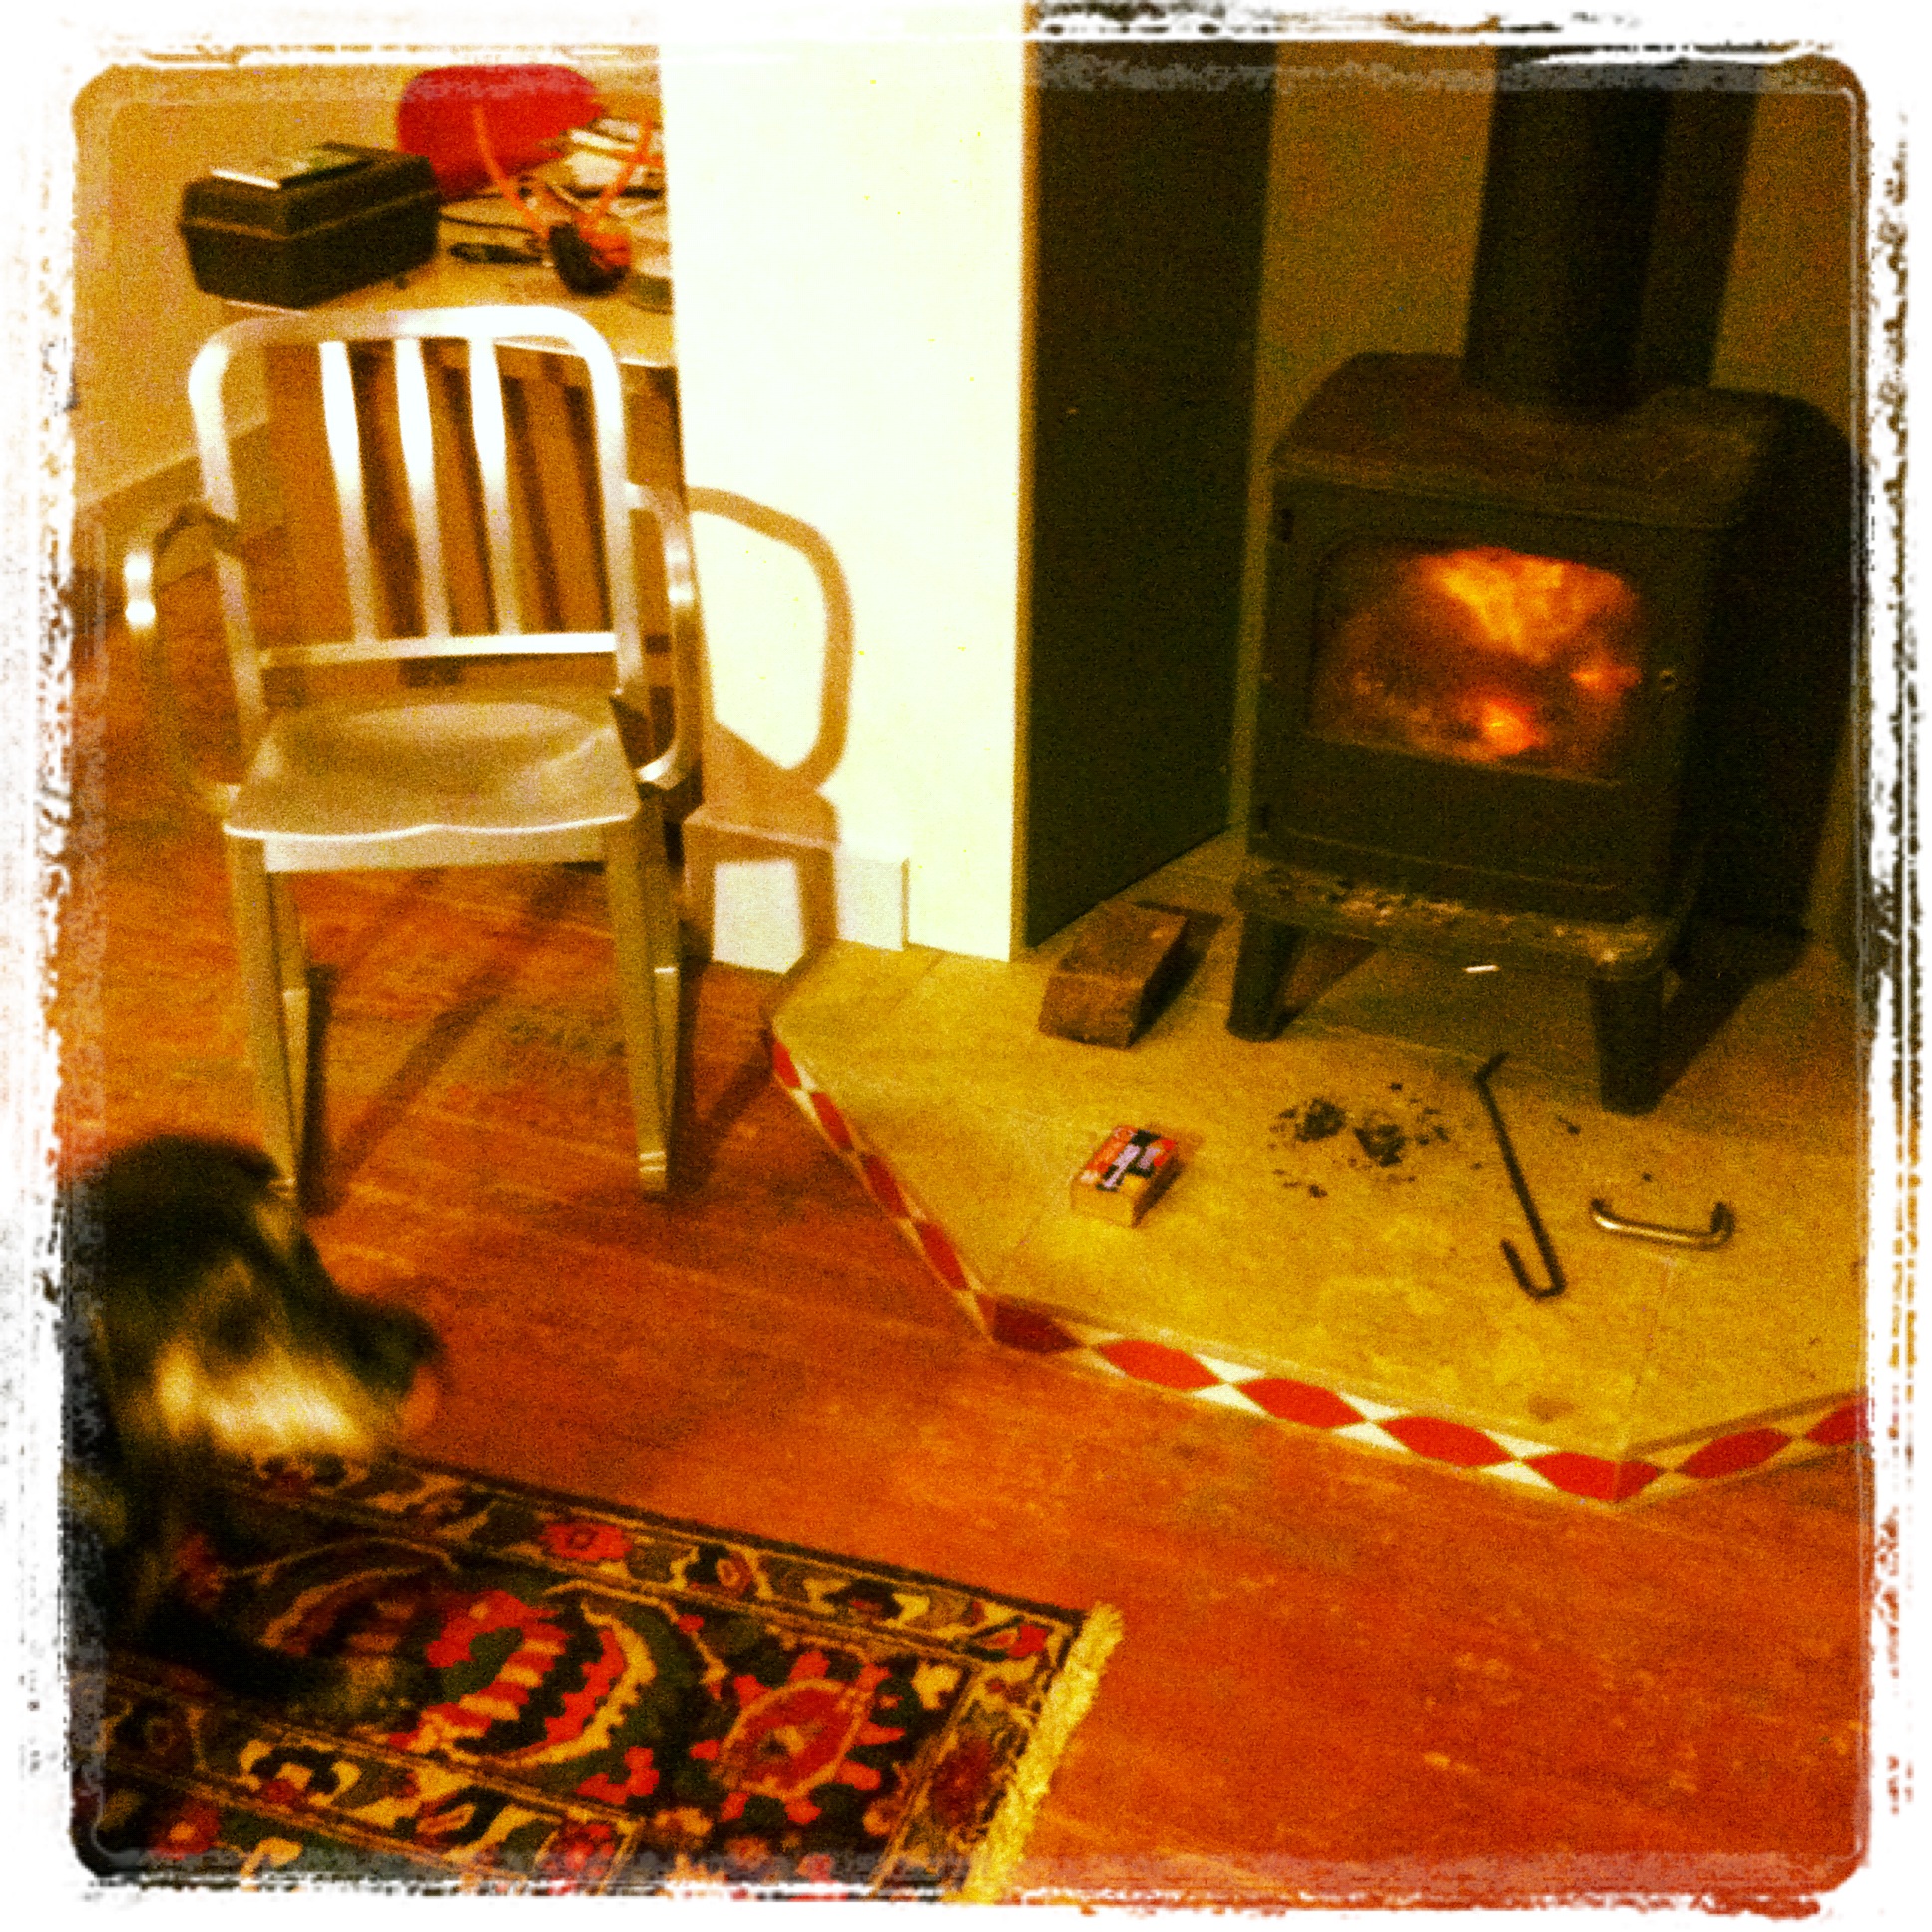
stove reinstalled on new hearth, closet door from Omega Salvage looking like new – we just need to touch up the paint and refinish the fir floors
The owner of this shop is responsible for most of the salvaged and rustic aesthetic. Deeds design assisted with the technicalities and accessibility issues and helped keep the permit process moving along so they could open on time.